Creamy, rich peanut butter cheesecake filled with crushed Butterfinger candy bars and topped with peanut butter drizzle. This is one incredibly indulgent dessert recipe, and it all sits on top of an Oreo crust!
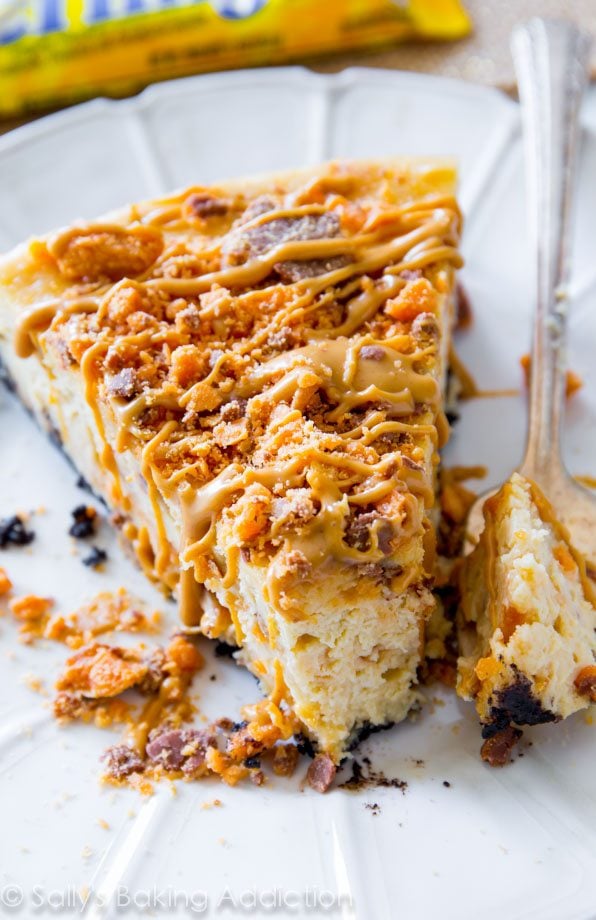
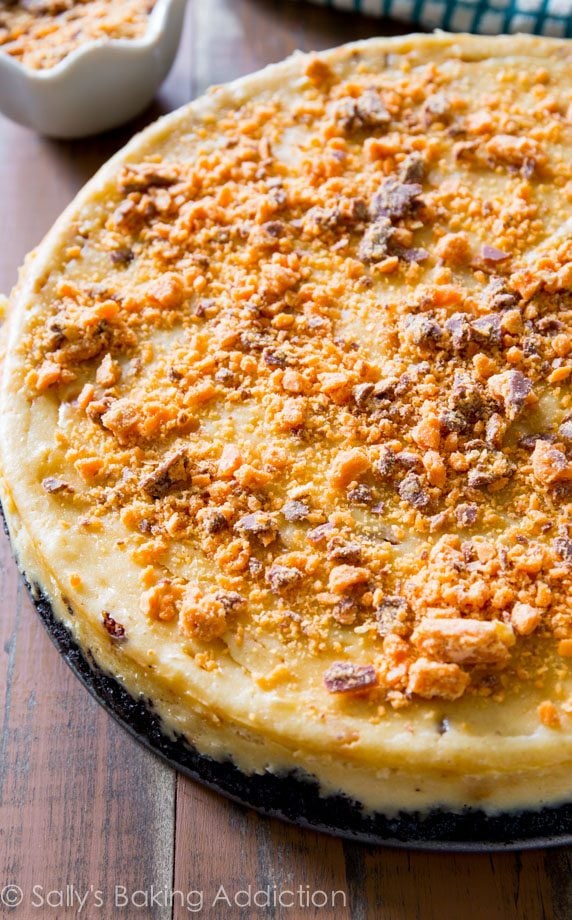
A creamy, thick peanut butter cheesecake that actually tastes like peanut butter (more on that later), on top of an Oreo cookie crust, filled with crushed Butterfinger candy bars, topped with more Butterfingers candy bars, and a peanut butter drizzle. Not diet food.
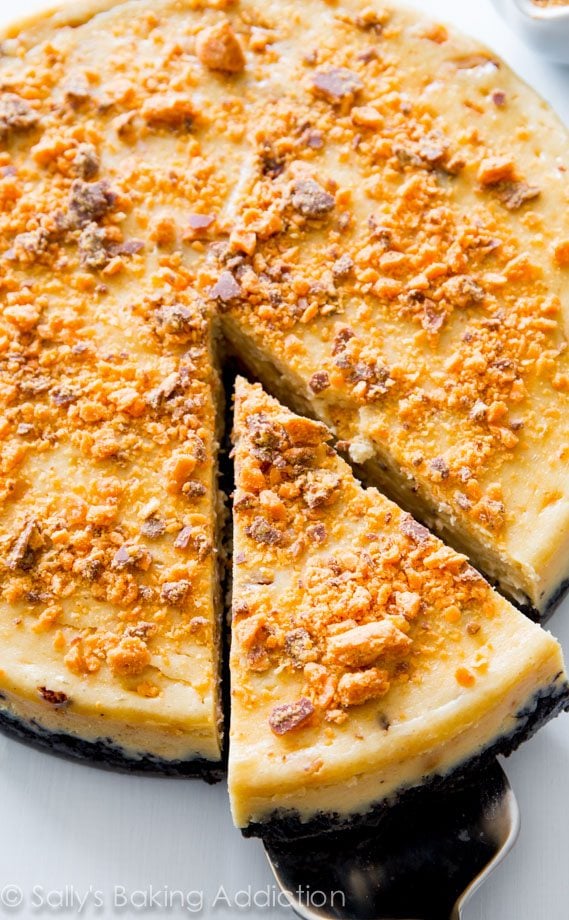
Let’s discuss the creamy cheesecake filling real quick.
I tested a few filling recipes when I made this a couple weeks ago. My test recipes were all sweet, thick, and creamy, but they lacked a rich, peanut butter flavor. Don’t you just hate biting into a peanut butter dessert that lacks peanut butter flavor?
I changed some things around, added more peanut butter, reduced a few other ingredients, and all was right in the peanut butter cheesecake world. The end result is nothing short of fabulous. Be sure to use creamy, non-natural, non-homemade peanut butter here. I like Jif or Skippy. You’ll need 1/2 cup.
You’ll also need a lot of Butterfinger candy bars. A dessert recipe calling for 12 fun-size Butterfinger candy bars has to be a good one, right? And if you have any leftover fun size Butterfingers, give these butterfinger cookies a try next. (A no-chill cookie recipe!)
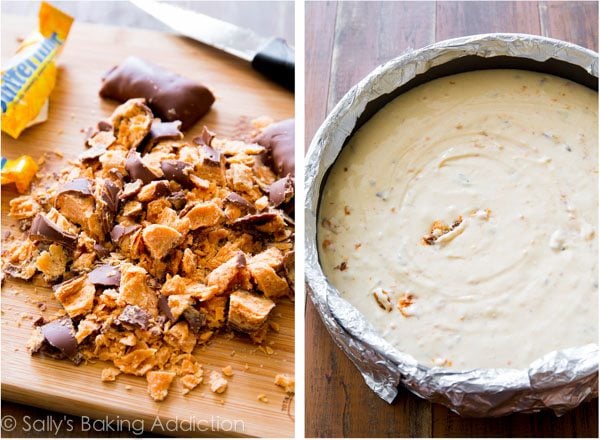
Make sure you read my posts about How to Make a Cheesecake Water Bath (video tutorial there, too!) and How to Avoid Cheesecake Cracks before getting started.
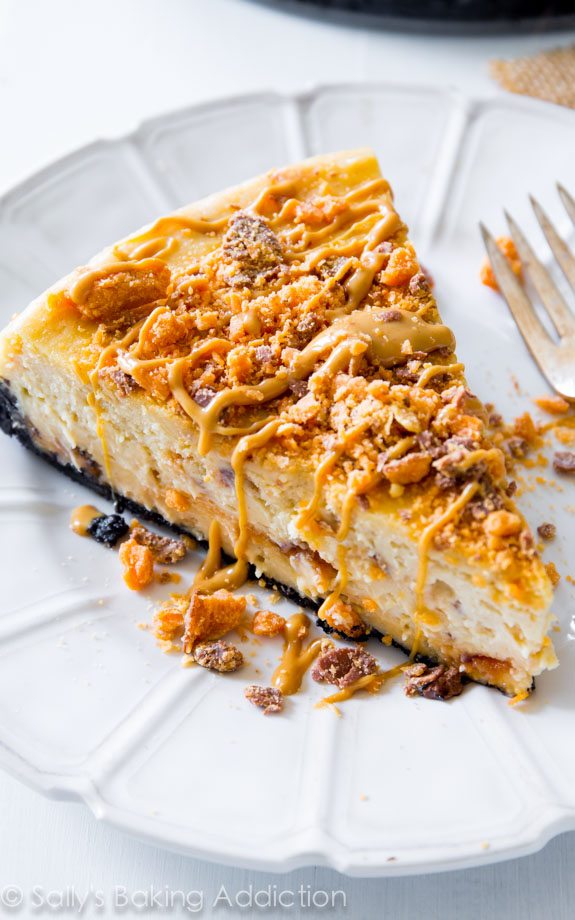
Creamy and crunchy, sweet and salty, peanut butter and chocolate. Every single bite has something different.
When preparing this peanut butter butterfinger cheesecake, plan ahead because there are a few imperative stages. You cannot rush cheesecake! First, it takes awhile to bake through. Second, it must sit in the oven after baking as the oven cools down—this is another trick to avoid cheesecake cracks. Then, once the cheesecake is room temperature, you must chill it. It’s a great make-ahead recipe.
Sounds like a lot of work for cheesecake, but trust me—it’s so worth it! And then give these peanut butter pretzel cheesecake bars a go. So much cheesecake to try, so little time!
More Cheesecake Recipes
- Classic Cheesecake & Mini Cheesecakes
- Blueberry Swirl Cheesecake & Lemon Blueberry Cheesecake Bars
- No Bake Cheesecake
- Snickers Cheesecake
- Confetti Sprinkle Cheesecake
- Caramel Turtle Cheesecake
Peanut Butter Butterfinger Cheesecake
- Prep Time: 30 minutes
- Cook Time: 1 hour
- Total Time: 2 hours, 30 minutes
- Yield: serves 12
- Category: Cheesecake
- Method: Baking
- Cuisine: American
Description
Creamy, rich peanut butter cheesecake filled with crushed Butterfinger candy bars and topped with peanut butter drizzle. This is one incredibly indulgent dessert!
Ingredients
Crust
- 22 regular Oreo cookies (not Double-Stuf)
- 5 Tablespoons (71g) unsalted butter, melted
Filling
- 24 ounces (678g) full-fat brick cream cheese, softened to room temperature
- 1 cup (200g) granulated sugar
- 3/4 cup (180g) full-fat sour cream (or full-fat yogurt), at room temperature
- 1/2 cup (125g) creamy peanut butter*
- 2 teaspoons pure vanilla extract
- 3 large eggs, at room temperature
- 12 fun-size or 5 regular-size Butterfinger candy bars, chopped
- optional: 1/4 cup melted peanut butter for drizzling
Instructions
- Adjust oven rack to the lower third position and preheat the oven to 350°F (177°C). Lightly grease a 9-inch springform pan with nonstick cooking spray. Set aside.
- Make the crust: In a food processor or blender, pulse the whole Oreos (cream filling and cookie) into a fine crumb. You should have about 2 cups (packed) crumbs, or 250g. Combine the Oreo crumbs and melted butter together in a medium bowl. Press tightly into the bottom and up the sides of prepared pan. Wrap aluminum foil on the bottom and tightly around the outside walls of the springform pan. This helps prevent leakage.
- Bake crust for 10 minutes. Allow to slightly cool as you prepare the filling. Leave oven on.
- Make the filling: Using a handheld or stand mixer fitted with a paddle attachment, beat the cream cheese and granulated sugar together on medium speed in a large bowl—about 3 full minutes until the mixture is smooth and creamy. Add the sour cream, peanut butter, and vanilla, beat until combined. On low speed, add the eggs one at a time, beating after each addition until just blended. Do not overmix the filling after you have added the eggs. Using a rubber spatula or large wooden spoon, fold in 3/4 of your chopped Butterfingers. The rest will be for decorating the top of the finished cheesecake.
- Prepare the simple water bath (see note): If needed for extra visuals, see my How to Make a Cheesecake Water Bath; the visual guide will assist you in this step. Boil a pot of water. You need 1 inch of water in your roasting pan for the water bath, so make sure you boil enough. I use an entire kettle of hot water. As the water is heating up, wrap the aluminum foil around the springform pan. Place the pan inside of a large roasting pan. Pour the cheesecake batter on top of the crust. Use a rubber spatula or spoon to smooth it into an even layer. Carefully pour the hot water inside of the pan and place in the oven. (Or you can place the roasting pan in the oven first, then pour the hot water in. Whichever is easier for you.)
- Bake for 50-60 minutes or until the center is almost set.* Turn the oven off and open the door slightly. Let the cheesecake sit in the oven for 1 hour. Remove from the oven and allow to cool completely at room temperature. Refrigerate for at least 6 hours or overnight (preferred).
- Loosen the cheesecake from the rim of the pan and remove the rim. Top with additional chopped Butterfingers and drizzle with melted peanut butter. Cut into slices and serve chilled.Cover leftover cheesecake and store in the refrigerator for up to 4 days.
Notes
- Freezing Instructions: You can easily freeze this cheesecake for up to 2 months. Cover tightly and freeze. Thaw overnight in the refrigerator before serving.
- Special Tools (affiliate links): 9-inch Springform Pan | Food Processor or Blender | Glass Mixing Bowls | Electric Mixer (Handheld or Stand) | Large Roasting Pan
- Oreos: Try using peanut butter Oreos in the crust. Yum!
- Peanut Butter: Do not use natural or homemade peanut butter. You need thick, creamy peanut butter like Jif , Skippy, or similar.
- Alternate Water Bath Method: This method works as well, and you don’t have to bake the cheesecake IN water. Boil a kettle or pot of water. You need 1 inch of hot water in your roasting pan for the water bath, so make sure you boil enough. Place the cheesecake on the center oven rack of the preheated oven. Place a large metal baking or roasting pan (do not use glass—I usually use a 9×13-inch baking pan or an extra-large cast iron skillet) on the bottom rack. Pour boiling water into the empty pan, about 1 inch deep. Immediately close oven to trap the steam inside. This unique water bath adds steam to the oven without having the cheesecake sit inside the water itself. No need to wrap the springform pan in foil. See How to Make a Cheesecake Water Bath for more information.
- Avoid overbaking the cheesecake. When the cheesecake is done, there will still be a 2 or 3 inch wobbly spot in the center; the texture will smooth out as it cools.


Can I use chunky peanut butter?
Hi Raqhel, we don’t recommend it. Creamy processed peanut butter works best here.