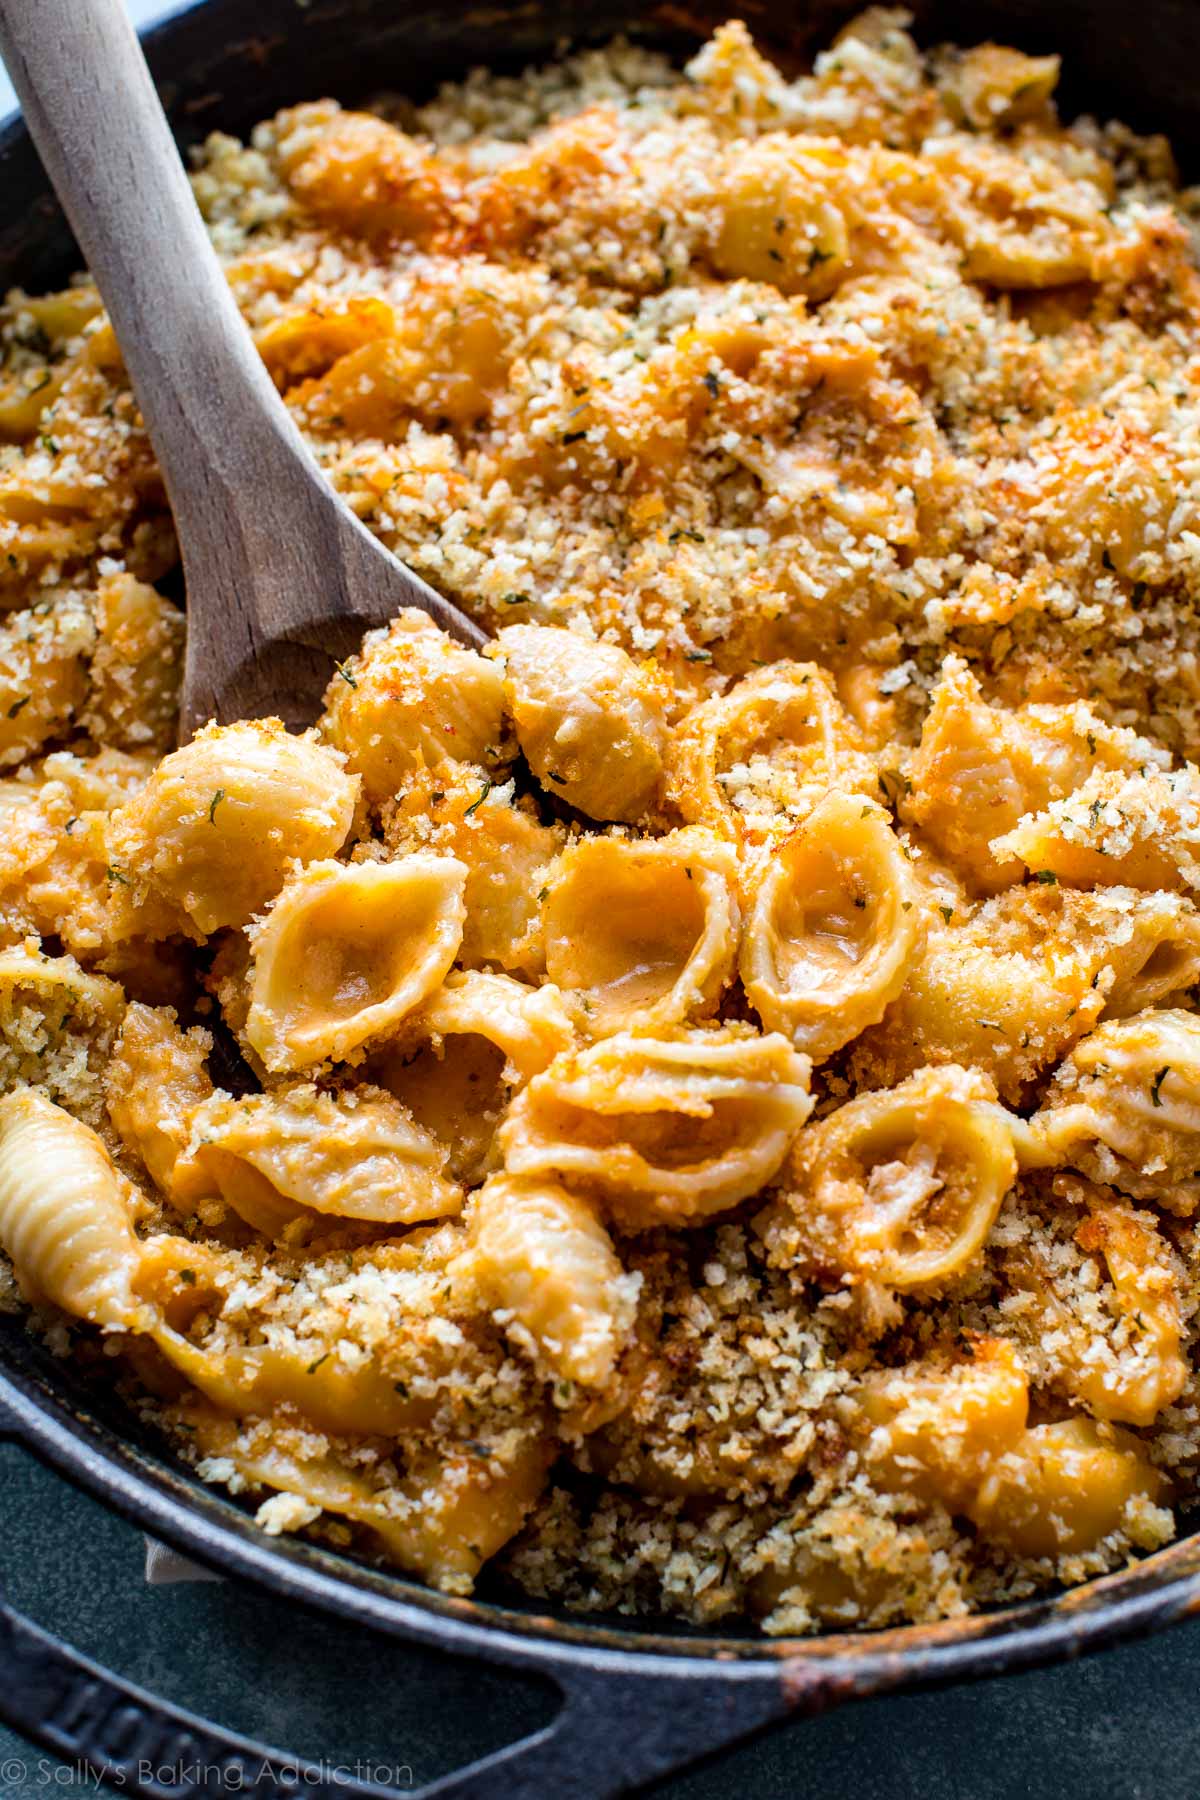
The key to this baked macaroni and cheese is the rich and velvety cheese sauce made with sharp cheddar and smooth cream cheese. Topped with breadcrumbs and baked for a wonderfully crisp and textured finish, this is comfort food at its best.
If you’ve been in a dinner rut lately, you likely need a boost of motivation with a simple strategy. Here’s what I do and you’re welcome to borrow it: prepare a new-to-you dinner recipe just once a week. When I’m bored in the kitchen, I use this easy and manageable one-night-a-week commitment to keep dinnertime creative, interesting, and satisfying.
The latest and greatest dinner recipe in my kitchen is baked macaroni and cheese. It’s certainly nothing new and unique, but it makes a terrific meat-free meal alongside something healthier like fresh salad or steamed green beans.
Tell Me About this Baked Mac & Cheese
- Texture: Elbow macaroni can be used in this recipe, but I prefer pasta shells. I just love the way the cheese sauce sticks to the ridged surface and fills the shells. Coupled with the slightly toasted, crisp Panko topping, this baked mac & cheese is amped up with rustic texture.
- Flavor: This recipe offers all the cheesiness you expect from a good macaroni and cheese recipe, but I’ve enhanced it with garlic powder, smoked paprika, and mustard powder. The mustard powder adds a sharp kick and added depth of flavor. It’s the same seasoning I rave about it in my ham & cheese strata.
- Ease: Pretty easy. The recipe can be broken down into three manageable parts: cooking the pasta, making the sauce, and adding a topping. Plus, it’s an excellent make-ahead freezer meal—prepare everything in advance and freeze it. When you’re ready to serve, thaw overnight and bake.
- Time: Set aside about 40 minutes to complete this recipe.

How to Make the Baked Macaroni & Cheese Sauce
The full printable recipe is below, but let’s walk through how to make the best macaroni & cheese sauce.
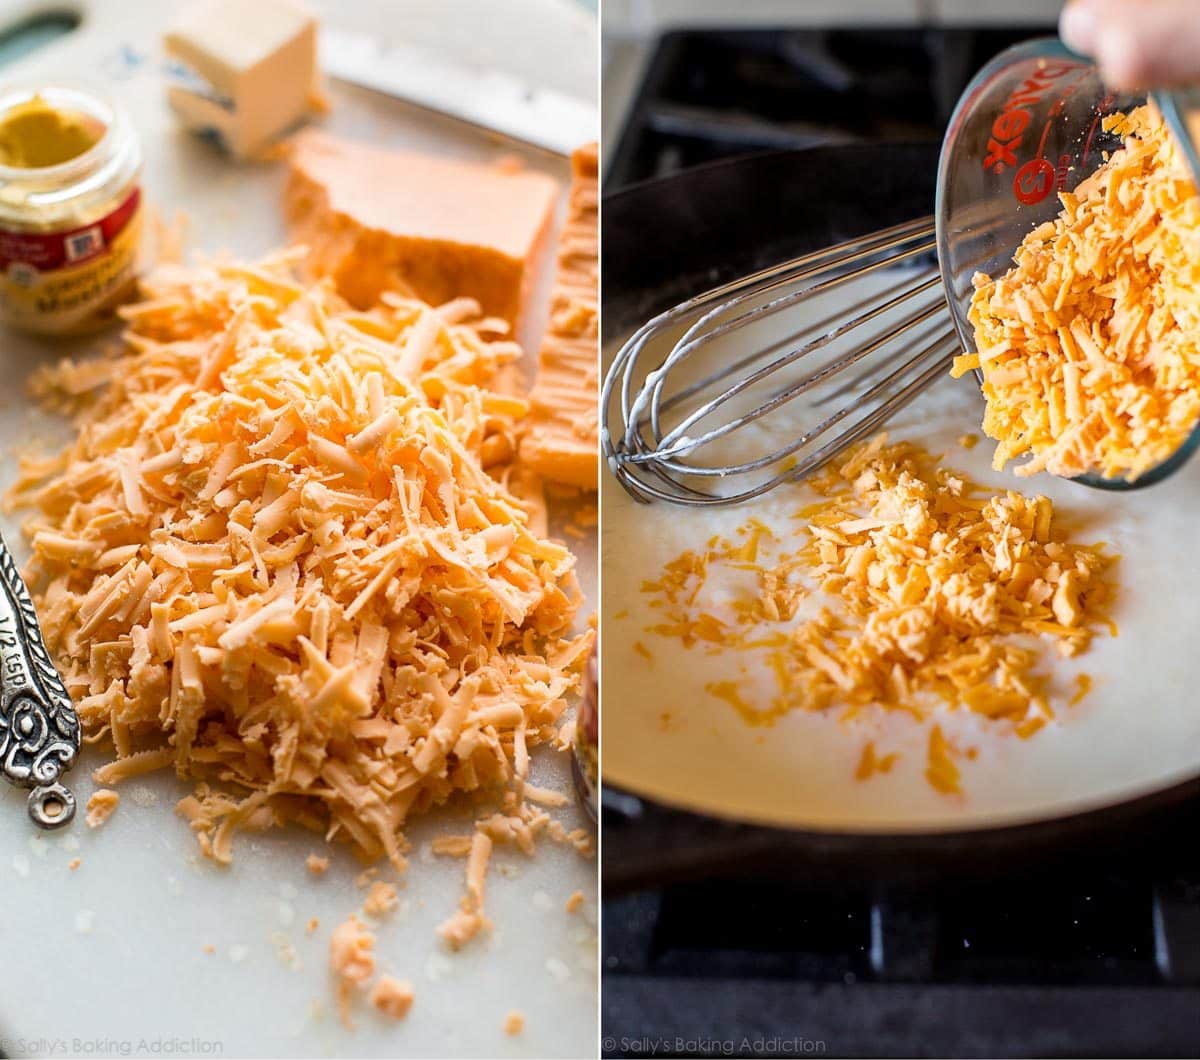
Start the baked macaroni and cheese recipe by making a béchamel sauce. (Don’t get nervous: it’s always the start of a classic cheese sauce.) Melt some butter, add flour and milk, then stir in cheddar cheese, salt, and spices. And a dash of hot sauce for a kick. Let it all simmer and melt for a few minutes. Soon you’ll have the creamiest, most flavorful cheese sauce.
- Best cheese to use: Use extra sharp cheddar for the best flavor. Or instead, try mixing it up by using half cheddar and another cheese such as gouda, fontina, or gruyere.
- For optimal flavor: Shred the cheese yourself. Don’t buy the pre-shredded cheddar, which typically has stabilizers and a drier texture. For the best cheese sauce, you want the cheese right off the block.
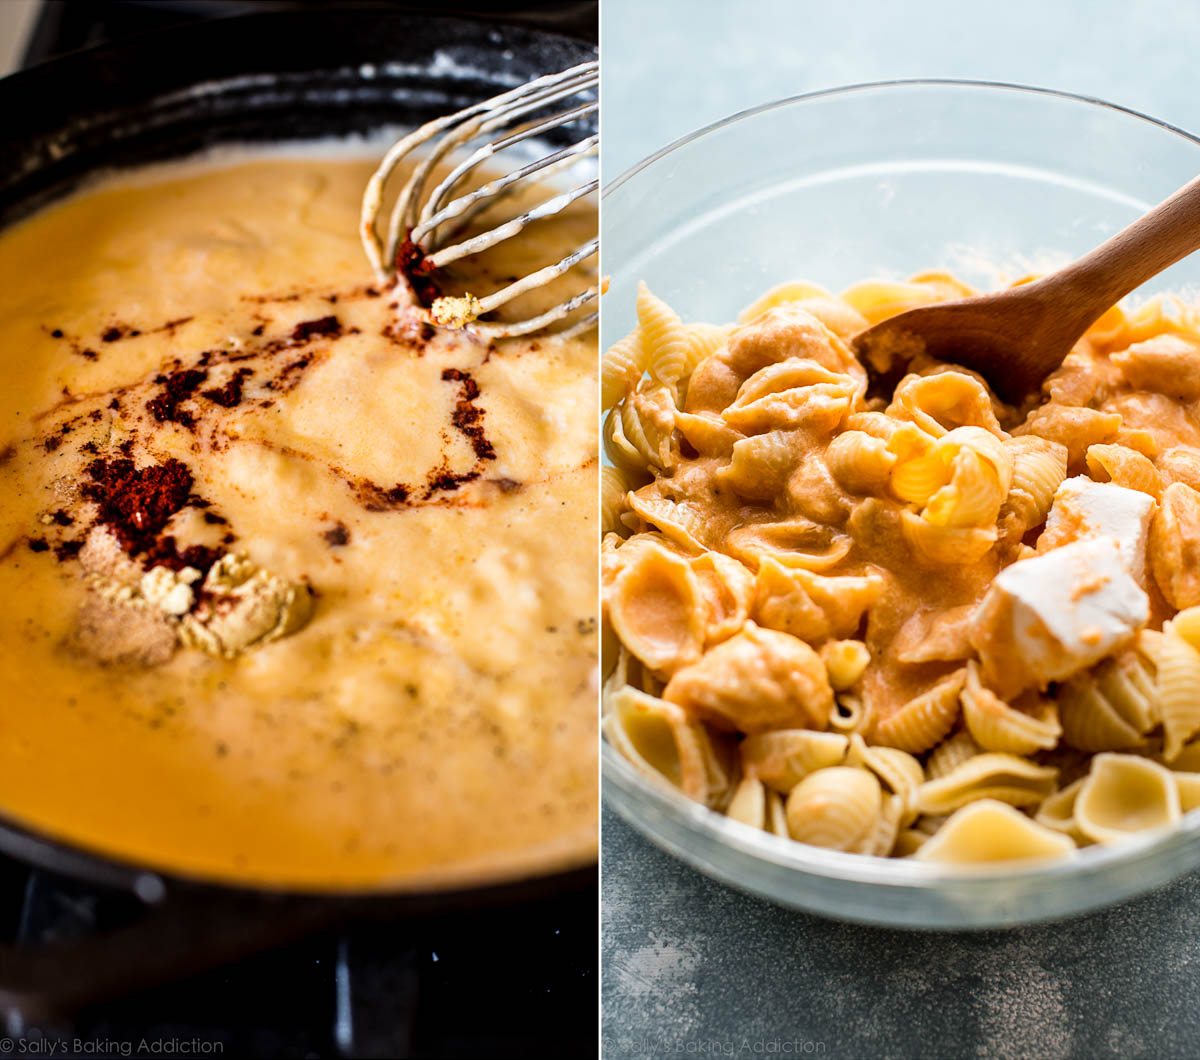
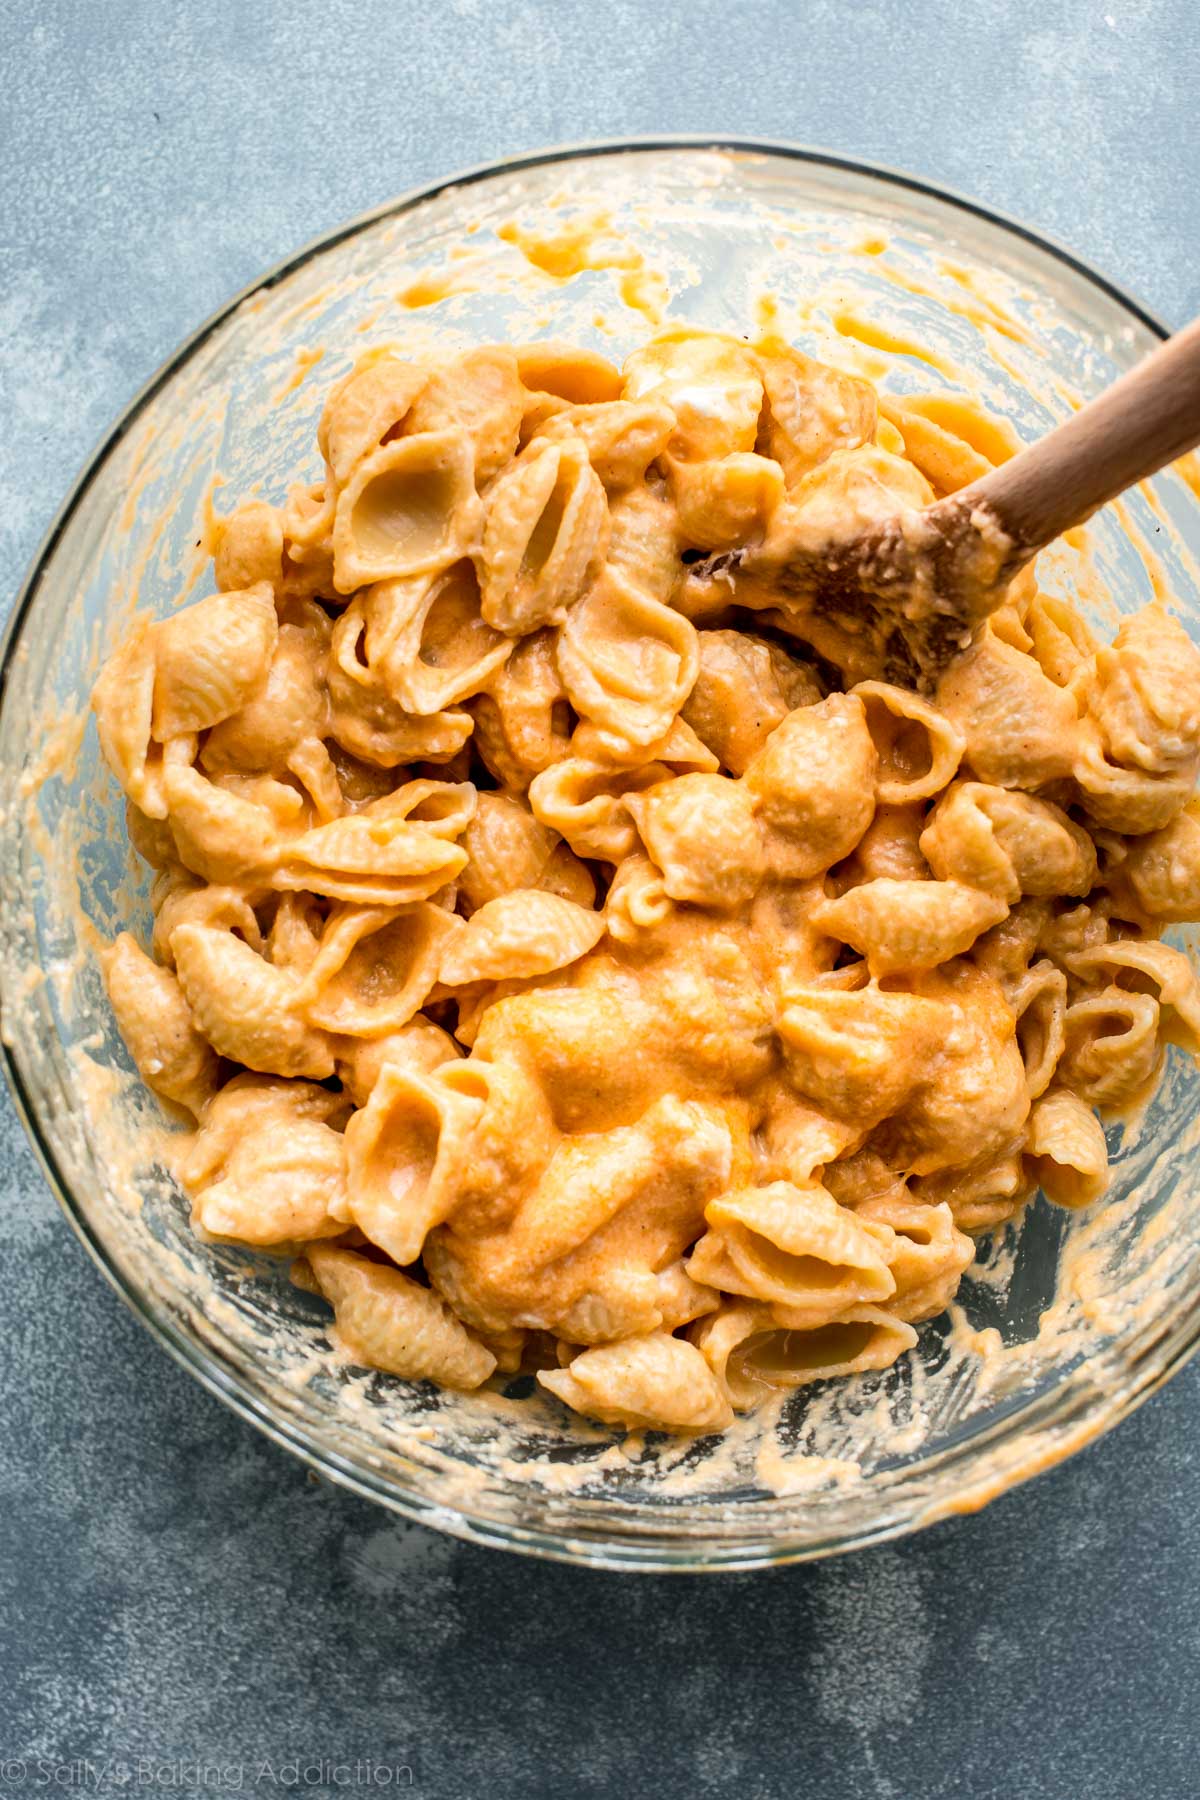
After you combine the buttered noodles and cheese sauce, stir in 3 ounces of cream cheese. This adds creaminess and creates an extra indulgent macaroni and cheese—especially needed since we’ll bake it.
Why Bake Macaroni and Cheese?
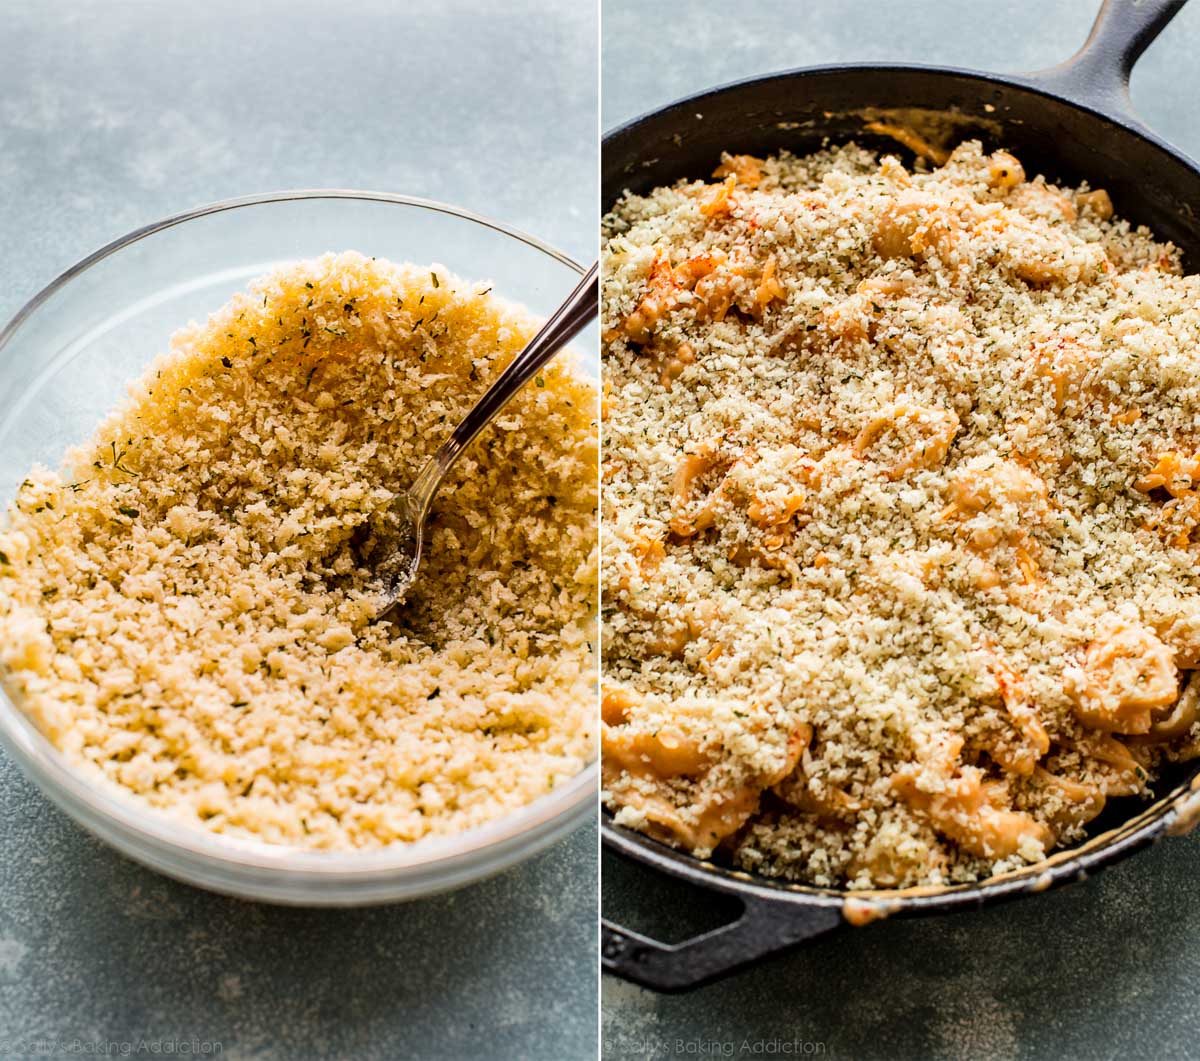
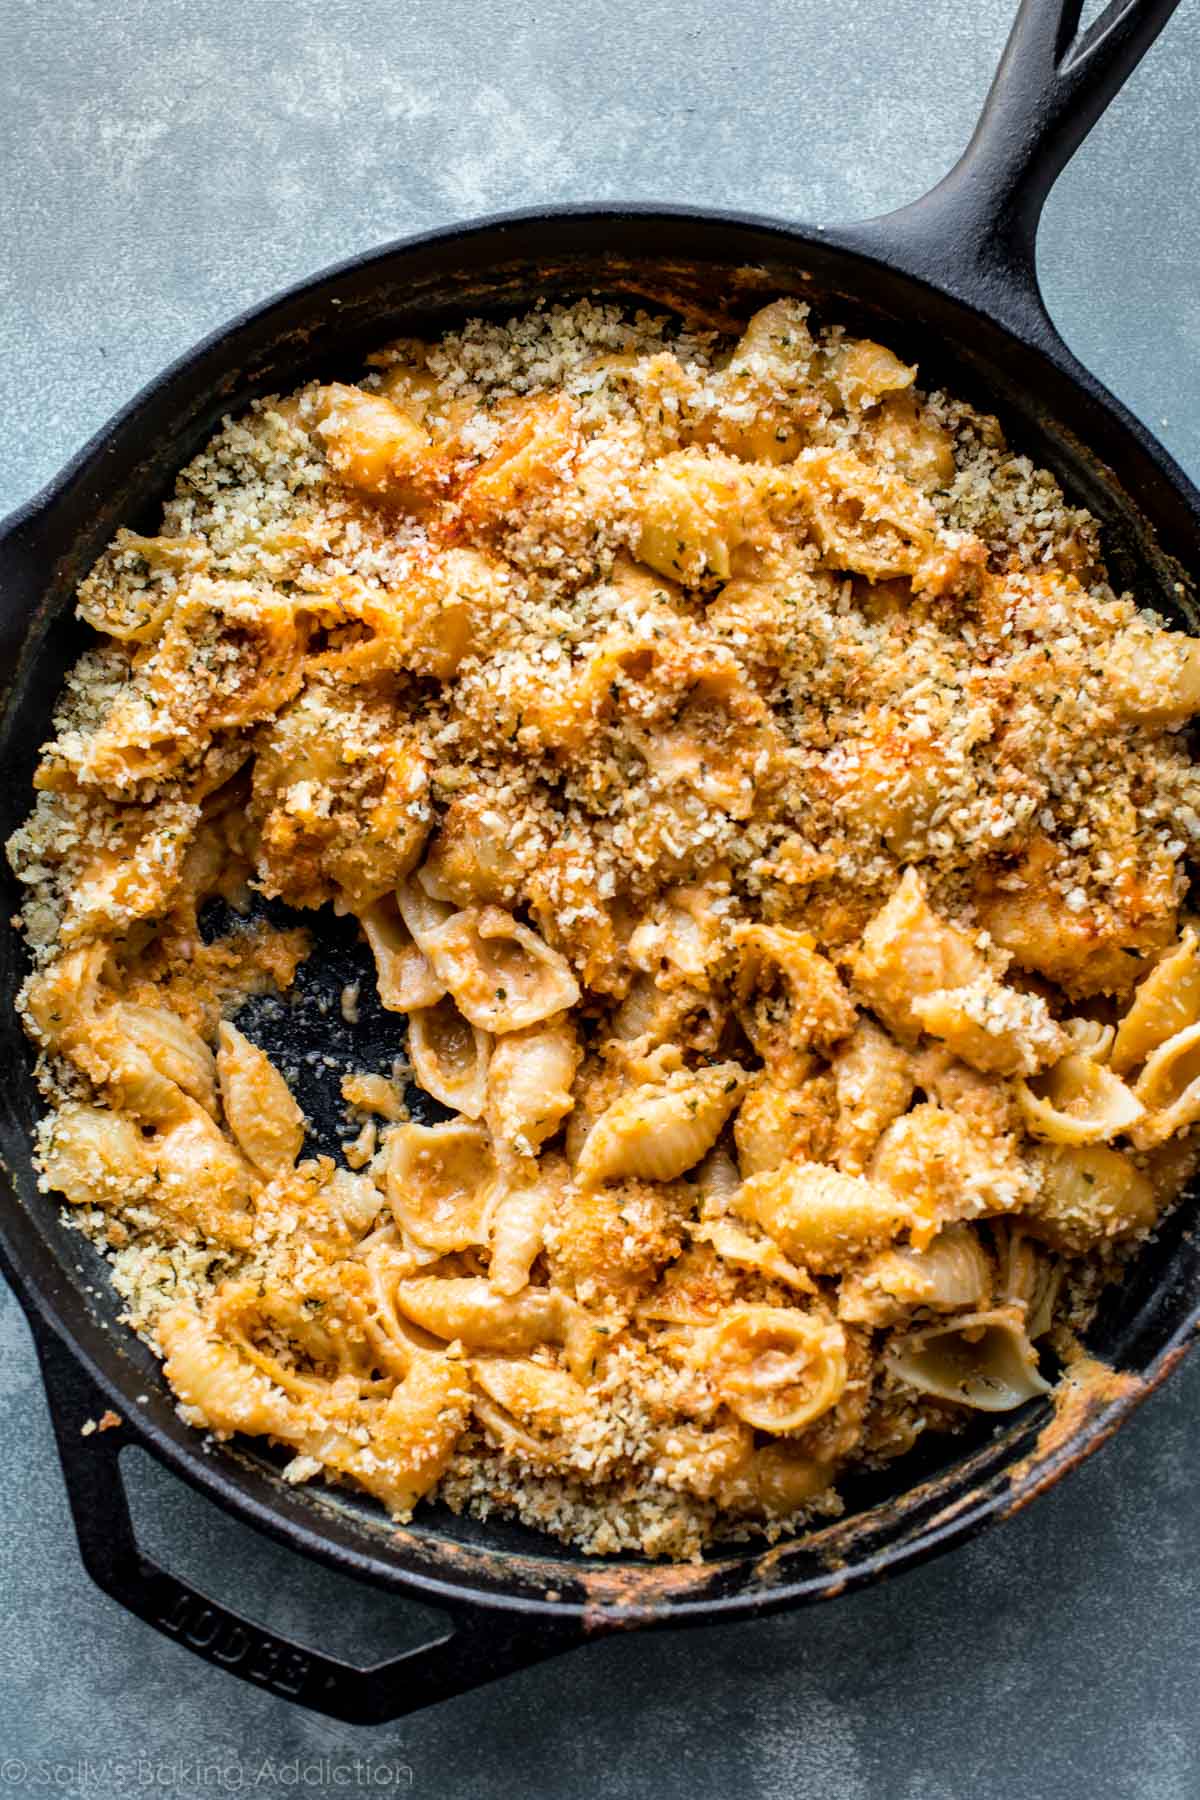
Doesn’t that just add another step? Yes, it does, but a baked macaroni and cheese offers so much more texture than the stovetop versions. Who can resist that cheesy creamy underneath a crisp, toasted topping made with Panko breadcrumbs and melted butter? I used pre-seasoned Panko for extra flavor, but you can add parmesan and garlic powder to plain breadcrumbs or Panko.
If you’re looking for an amped-up favorite, try this macaroni and cheese recipe which features bacon, sautéed spinach, and white cheddar. Or whip up this creamy butternut squash mac and cheese for another tasty twist.
More Dinner Recipes
- Black Bean Burgers
- Pumpkin Chili
- Turkey Meatballs
- Honey Garlic Shrimp
- Crab Cakes
- Corn Fritters
- Maryland Crab Soup
Easy Baked Macaroni and Cheese
- Prep Time: 20 minutes
- Cook Time: 30 minutes
- Total Time: 1 hour
- Yield: serves 8
- Category: Dinner
- Method: Baking
- Cuisine: American
Description
This baked macaroni and cheese recipe combines delicious sharp cheddar and cream cheese for a flavorful and creamy cheese sauce. Before serving, top with breadcrumbs and bake. Breadcrumbs add a wonderfully crisp texture on top of the soft cheesy pasta.
Ingredients
- 1 pound (450g) dry elbow pasta or pasta shells
- 6 Tablespoons (85g) unsalted butter, divided
- 3 Tablespoons (24g) all-purpose flour
- 3 cups (720ml) whole milk*
- 3 and 1/2 cups (about 14 ounces) shredded cheddar cheese*
- 1/2 teaspoon each: salt, ground mustard, smoked paprika, and garlic powder
- dash of hot sauce (optional)
- 3 ounces (85g) full-fat brick cream cheese
- 1 cup (90g) Panko breadcrumbs*
- optional for serving: finely chopped fresh parsley
Instructions
- Preheat oven to 400°F (204°C).
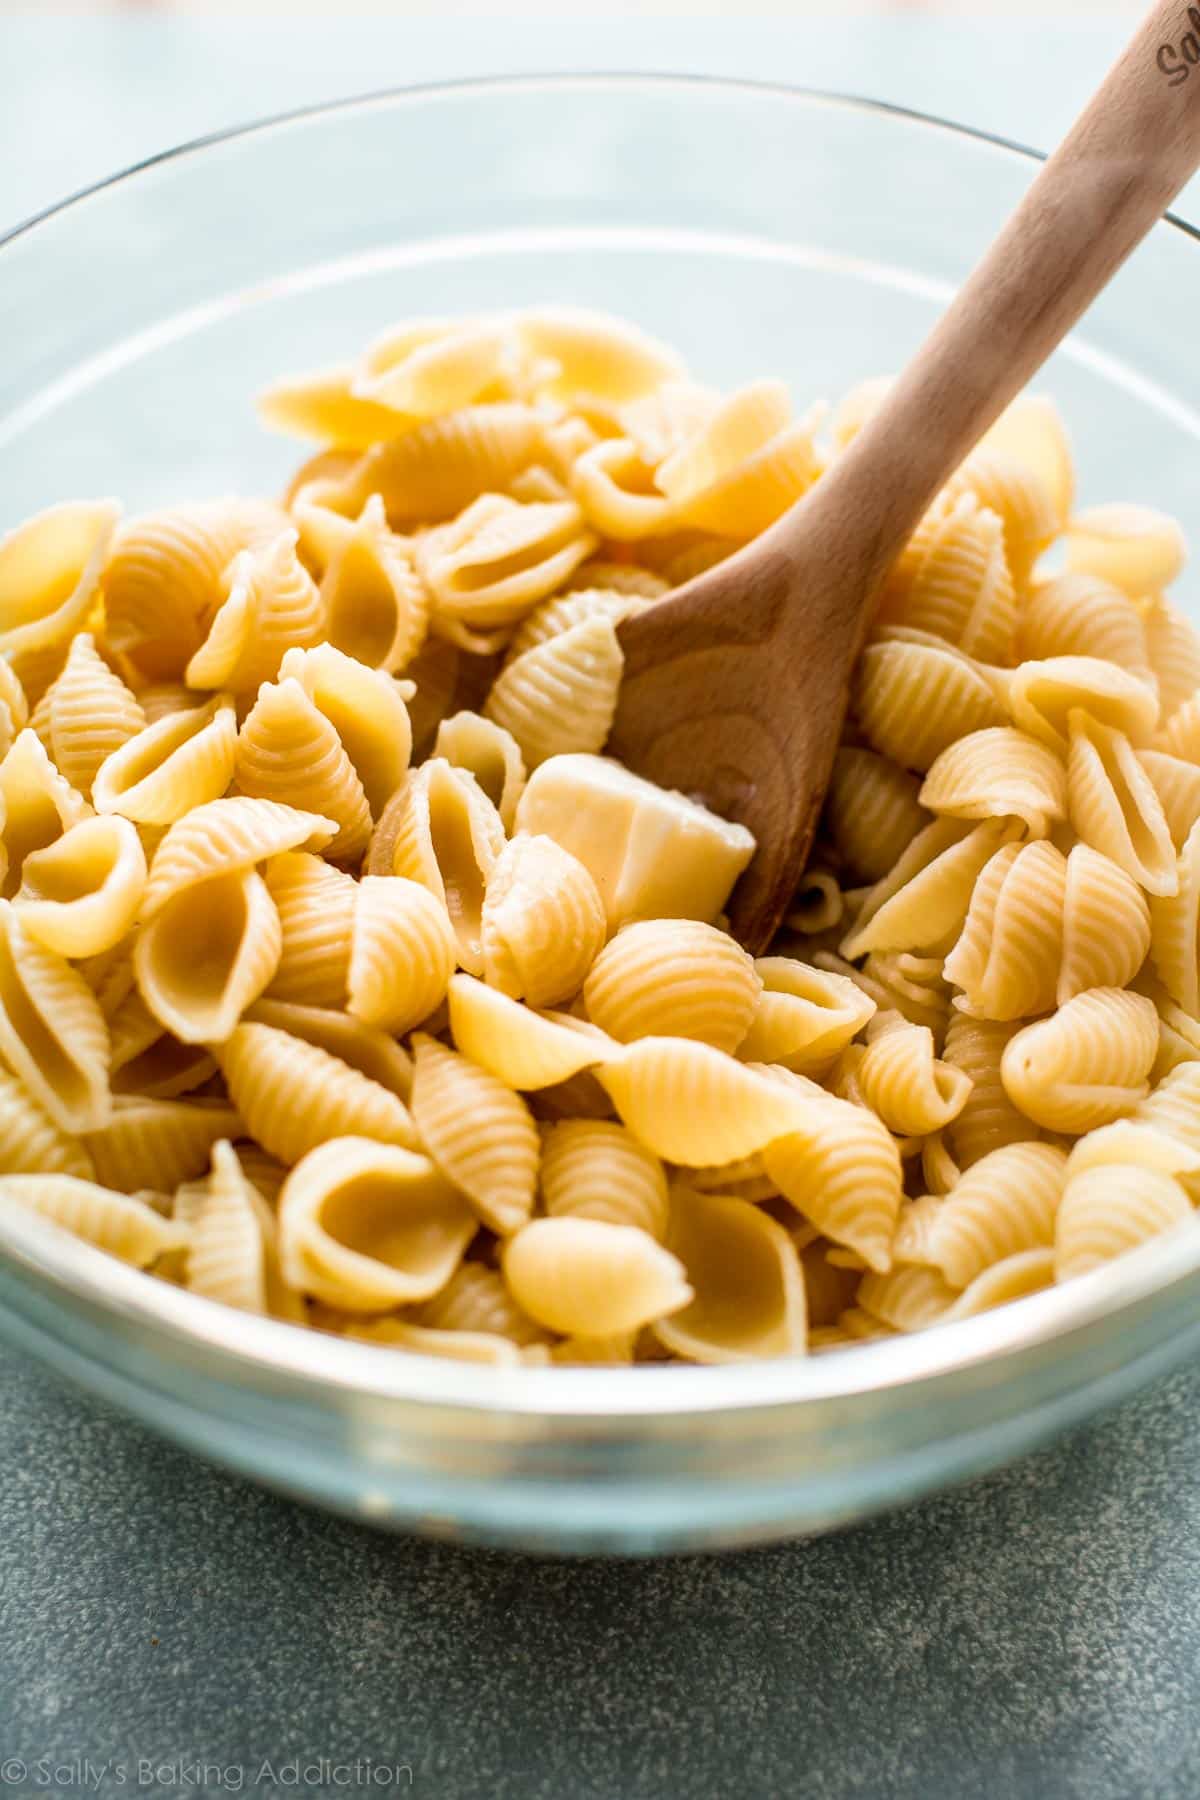
- In a large pot of boiling water, add a pinch of salt and the pasta. Cook the pasta until al dente, about 1-2 minutes less than the package cook time. Drain the cooked pasta, pour into a large bowl and stir in 2 Tablespoons of butter. Set pasta aside.
- In a large saucepan or 12-inch oven-safe skillet, melt 2 Tablespoons of butter over medium heat. Once melted, whisk in the flour to form a thick paste. Cook and whisk the paste for 1 minute, then slowly whisk in the milk. Once all of the milk is added, continue to whisk. Bring to a simmer. Once simmering, whisk in the cheese until smooth. Whisk in the salt, ground mustard, smoked paprika, garlic powder, and hot sauce (if using). Cook for 2-3 minutes until thickened.
- Pour the sauce over the buttered pasta. Add the cream cheese and stir everything together until the pasta is completely coated and cream cheese is melted. Scoop pasta back into skillet or a greased 9×13-inch pan.
- Melt the remaining 2 Tablespoons of butter and mix with the Panko. Sprinkle over pasta.
- Bake pasta for 30 minutes or until it is lightly browned on top and the sides are bubbling. I suggest covering the pasta halfway through bake time to prevent the top from burning.
- Allow to sit for 5 minutes before serving with a little fresh parsley. Careful, it’s hot!
Notes
- Make Ahead & Freezing Instructions: To make ahead of time, simply prepare the dish through step 5. Cover tightly and refrigerate for up to 2 days before continuing with step 6. You can also freeze the macaroni and cheese after step 5 for up to 3 months. Allow to thaw overnight in the refrigerator, then continue with step 6. Add about 5 minutes to bake time. You can also freeze the fully baked macaroni and cheese for up to 3 months. Allow to thaw overnight in the refrigerator, then bake at 400°F (204°C) for 40 minutes.
- Special Tools (affiliate links): Large Pot or Dutch Oven | Skillet | Whisk | 9×13-inch Baking Pan
- Milk: Whole milk is strongly recommended for richest tasting sauce. If needed, you can use a lower fat or nondairy milk. Keep in mind that the sauce won’t taste as rich and creamy.
- Cheese: For best flavor, I recommend sharp cheddar. Buy a block or two and grate it yourself because it’s freshest that way. The pre-shredded bagged cheese typically has stabilizers and a drier texture. You can also use a mix of cheddar and another favorite cheese such as Gruyere, fontina, or gouda.
- Breadcrumbs: I used seasoned Panko, which you can find in the breadcrumb aisle at the store. You can use plain. If you use plain, feel free to add a little dried parsley, grated parmesan cheese, and some garlic powder. This is just for extra flavor.
- Adapted from Alton Brown


This was a good, easy recipe for Mac n’ Cheese. I made a bit extra sauce and wish I’d made even more so it was more creamy. I’ll definitely make it again, but make even more sauce and increase the spices, salt and pepper.
I have a hard time getting block style cream cheese where I live. I can find tub style, but I know that’s not the same for things like frosting, etc. For this recipe, is it worth trying with tub style, or should I find another mac recipe? 🙂 Thank you!
Hi Susan, do you live outside of the US by chance? From what we understand, tub cream cheese sold outside of the US is different and much thicker, and should work just fine in this recipe. Let us know if you give it a try!
Just put this together and am going to bake it tonight. Will let ya know how it is but by the aroma of everything, i suspect it will be a hit! I froze half of it.
My skillet is 10″rather than 12″, so I made this in a 9X13 glass dish. Although I followed the recipe as written, I also thought it was too dry. Great taste and full of flavor, but not creamy. Perhaps it was too spread out in the large dish? Next time I’ll add another cup of milk /TBS of flour and butter so there is more sauce.
I’m thinking about making this for a large potluck and will need to double the recipe. If I do a large aluminum baking pan or 2 9×13’s, how does that change my cook time or oven temperature?
Hi Ashley, use the same baking temperature and if in two separate pans, the baking time should be the same. A larger pan may take a bit longer to fully bake the middle or until lightly browned on top and the sides are bubbling. Hope this helps!
This was amazing! I made it largely as written, but subbed half the pasta for a head of cauliflower in desperate need of using. I roasted the cauliflower with olive oil and the listed spices while I prepped and cooked everything else (~25 min), then I stirred it into the sauce along with the pasta. It worked out great! The cauliflower was unobtrusive, and the illusion of health meant I happily went in for a second bowl!
So good. I left out the mustard powder and cream cheese since there wasn’t any, though one can see how they would have made it even better.
it was really good ! i used mozzarella and cheddar.
Very good for my fist time making homemade Mac and cheese for a 7 year old that is a conissueuer! It was ma little grainy, any tips? I shredded my own sharp cheddar and gruyere.
Wow, made this yesterday and it is so very good. I have to admit when it came out of the oven in a 12″iron skillet, it looked enormous. I told my wife to invite ten cowboys to dinner because we had plenty.
It didnt take long to make a serious dent in the Mac and Cheese as we both had monstrous helpings. The flavors were great. Cant recommend this dish enough.
I really love this recipe!!
Hi Sally
can i substitute the ground mustard with normal mustard or anything else?
Thanks
The ground mustard adds a sharp kick and added depth of flavor but if you don’t have any you can leave it out. If you would like to try using a prepared mustard, Dijon is a better choice than yellow mustard as the flavor is closer.
Hey there Sally! I absolutely loved your recipe. It was just heavenly and family just loves this. All the thanks and praise goes to you. Your deteiled step by step instructions and the pictures helped too. Again thank you Very Much.
Thank you so much for this awesome recipe! It was super easy to whip up and tasted really good! It also was super easy to follow.
~Kathleen Nelson
Hi Sally. I made your Mac-n-Cheese for Thanksgiving dinner and it was a big hit with the kiddos. I think it tastes even better the next day! Thanks for a Kid-Winning Recipe!! This will surely be going on the table for Christmas dinner! Thanks again!
Hi! I am making this recipe for Thanksgiving. I am wondering if it can be baked for longer at 350 degrees instead of 400? My other sides all need to be baked at 350! Thank you! Happy Thanksgiving!
Absolutely! A 350F oven is perfectly fine– just keep it in the oven a few minutes longer. Happy Thanksgiving to you as well!
Delicious! Thumbs up from me & my kids!
Hi Sally! I made this a while ago, and it was delicious, but I prefer the sauce a little more creamy….. Is there a way to make the sauce creamier without ruining such a wonderful recipe? Thank you!
Hi Shantelle! I suggest increasing the milk to 3 cups. That should help 🙂
Just made this for dinner!! Beyond delicious! The paprika made such an appearance :). Thanks as always Sally!!
Hi Sally!
I made this mac & cheese recipe a few nights ago for dinner & it was fantastic!!! I used fresh (homemade) macaroni cause i’m obsessed with my pasta maker attachment for the kitchenaid (so fun!). We really loved the flavor with all those spices!! I used 2% milk cause thats what I always have on hand & the cream cheese was reduced fat as well, & about 2/3 of the total cheese being sharp cheddar & 1/3 gouda cause I happen to have some in the fridge. SO creamy & cheesy & yummy!! Will definitely be making this one a lot!! 🙂
This was perfect this past week for our dinner. We both had dental work and I figured it would be great to make this for our dinner because it was soft food, but also comfort food. It was perfect and delicious. Easy too. I did add fontina to the cheddar as I happened to have some I need to use up. Additionally, I did not add the cream cheese or the panko crumb topping…only to save a little on calories. I did use whole milk. I love the texture of the shells and how the gooey cheese sauce collected in the hollows. So good! Thank you.
I make homemade mac n cheese all the time for comfort, and quick food. So I was reading through yours because well its yours and love anything you share. However you commented on freezing this? I’ve tried freezing mac n cheese before, but I find it really really dry when I take it out and pop into oven. The whole idea of freezing is something I can toss in over after college classes, but seems no matter how much butter or milk I add, it still dries out in freezer. I make this and freeze in seal container, so its not from freezer drying out? I was feeling maybe the noodles soak up whatever sauce is left? Any idea’s?
Love everything and anything (most anything) that is SBA!!
Hey Shelli! I have frozen this baked macaroni and cheese in the past month or so, thawed it, baked it– no problems with drying out! If you’d like, you can make a little extra cheese sauce so it’s extra saucy and cheesy going into the freezer. I freeze mine in sealed containers, yep! Or a disposable casserole dish covered very tightly.
This macaroni and cheese is INCREDIBLE! My entire family loved it….and that doesn’t happen very often. 🙂 Thank you for an outstanding recipe!
Made this tonight for valentines. So darn great! Thank you. :). Hubby loved it and he is a pasta fiend. 🙂