This fresh and flavorful zucchini & herbed ricotta flatbread pizza uses my 1-hour flatbread pizza dough. Top with herbed garlic ricotta cheese, zucchini, blistered tomatoes, and a little goat cheese for a quick and refreshing dinner recipe the whole family loves!
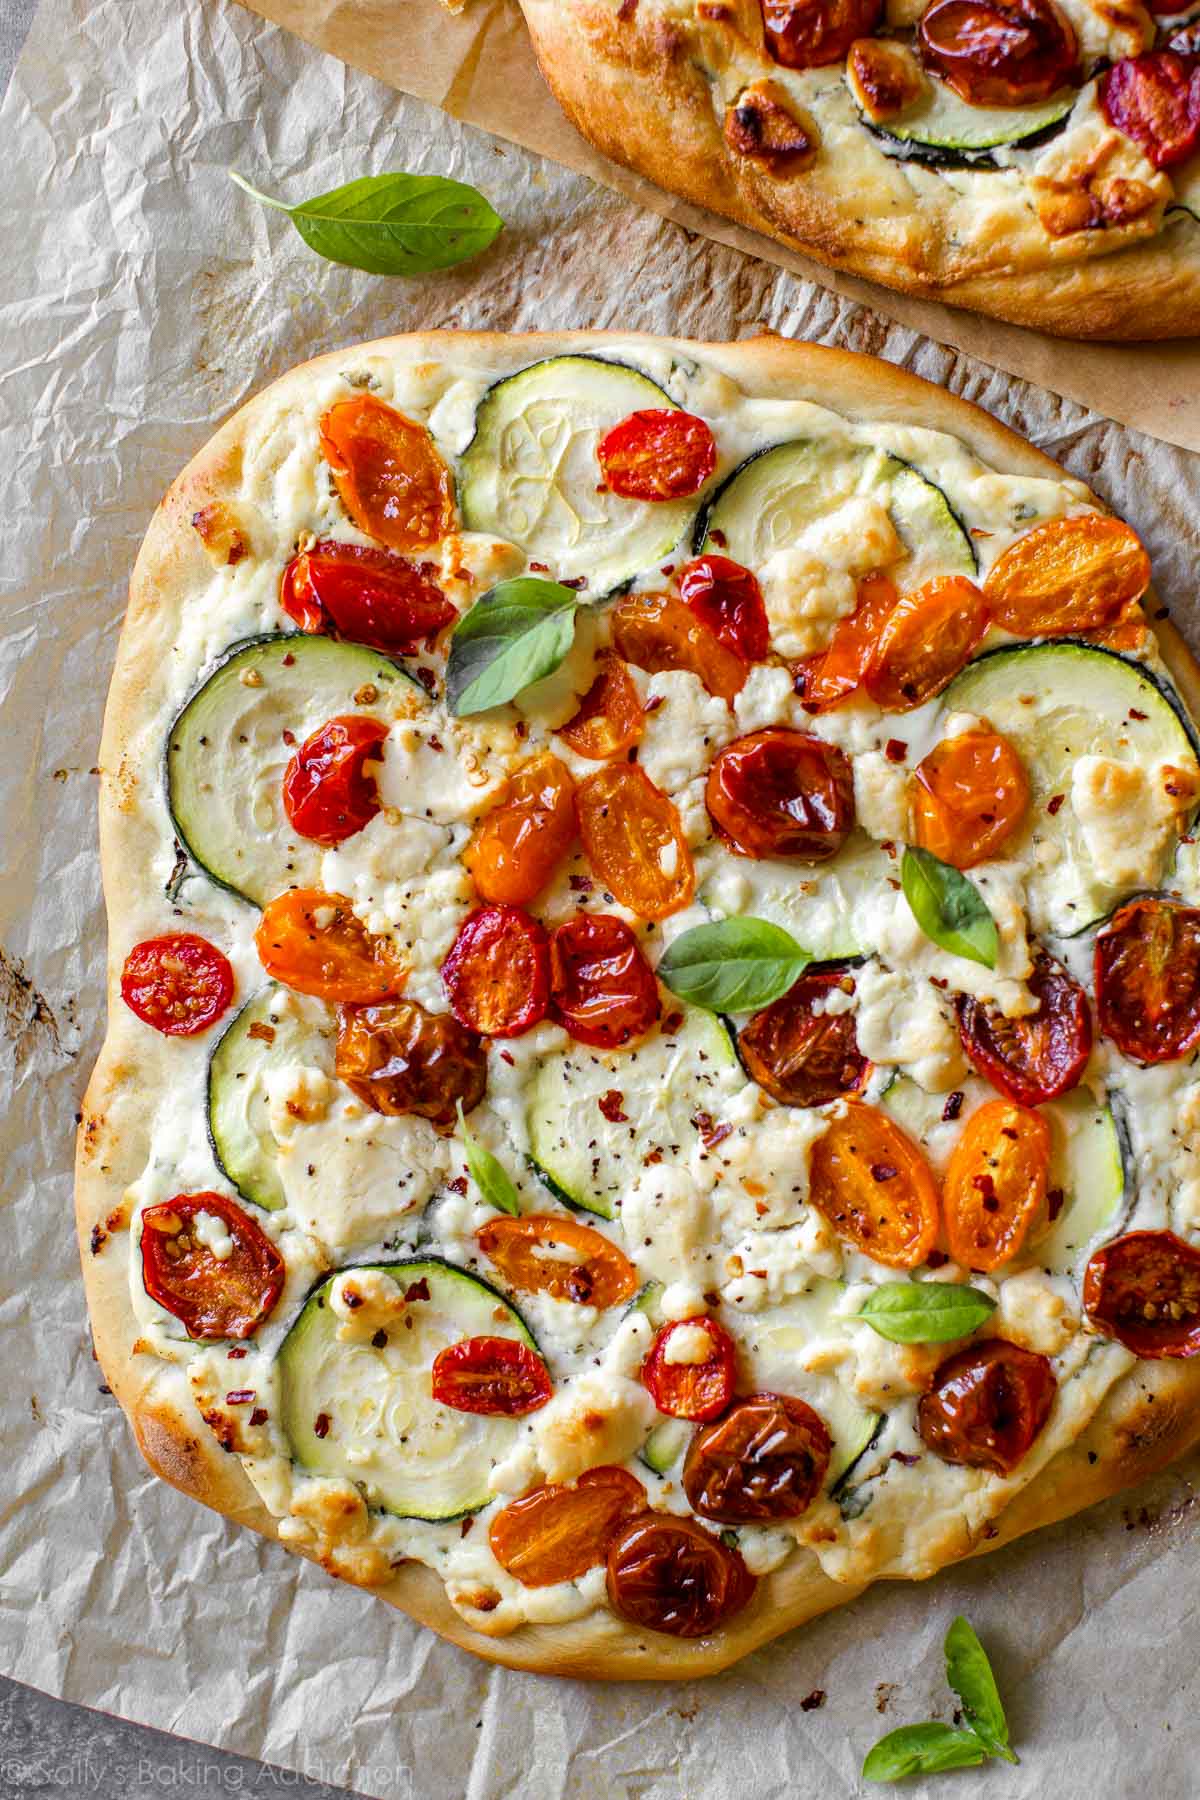
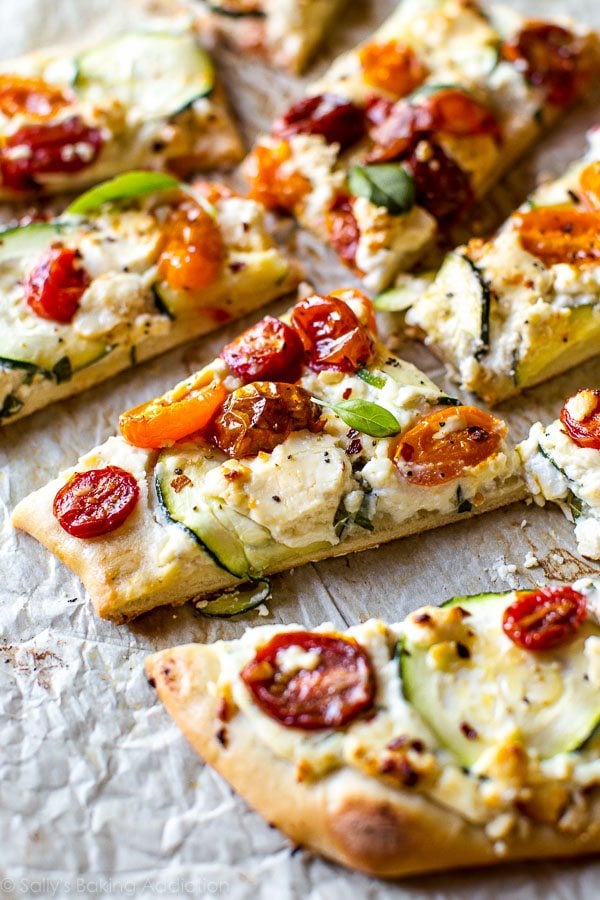
I’m so excited to share a new homemade flatbread pizza recipe with you! This recipe yields 2 flatbreads, perfect for serving 1-2 people each. Both flatbreads didn’t last more than 24 hours in this house and my husband praised it as one of the best pizzas I’ve ever made. The goat cheese was a sweeter variety, the tomatoes were salty and blistered, and the ricotta was wonderfully herbed.
Adapted from my favorite pizza crust recipe, my homemade flatbread pizza bakes up into a thin and chewy base for your favorite flatbread toppings. Quicker, easier, and thinner than a full size pizza, my flatbread recipe takes about 1 hour start to finish and is perfect for beginners.
This Zucchini & Herbed Ricotta Flatbread Is:
- Cheesy
- Loaded with fresh toppings
- Refreshing & perfect for summertime (one of my favorite Memorial Day recipes, in fact!)
- Garlicky
- Savory
- Adaptable to the topping ingredients you enjoy
- Easy to make ahead
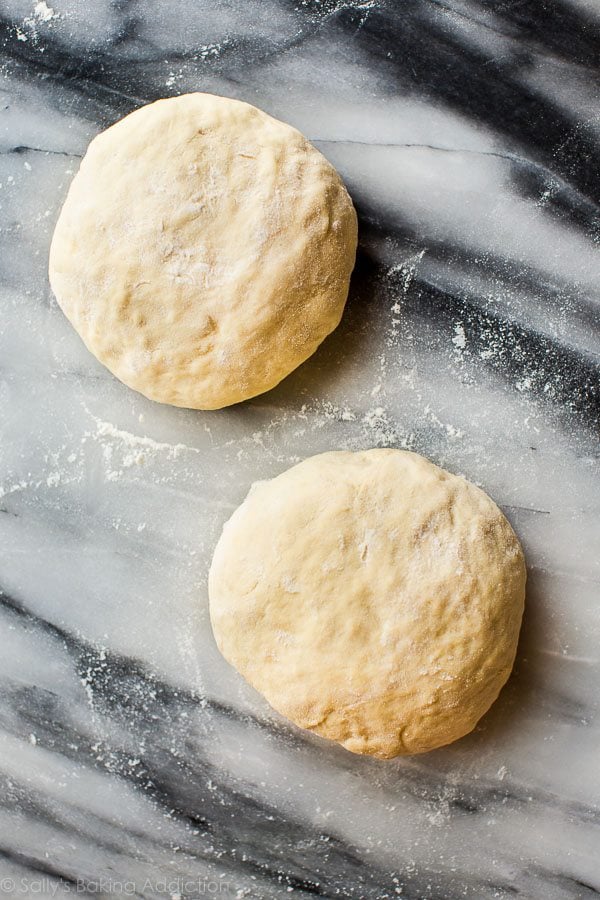
Homemade Flatbread Dough
Homemade flatbread dough—and pizza dough for that matter—is actually incredibly simple. If you have a fear of yeast, put those scary thoughts aside because it’s just another easy ingredient you’ll add to the mix. There’s very little rise time, so it’s a quick recipe you can make for dinner during the week. If you don’t have a lot of time, you can make the flatbread dough up to 2 days in advance and keep it in the refrigerator. And I actually find that time gives the dough just a little more flavor. So if you have time today, make the dough and enjoy flatbread for dinner later this week.
Though the recipe is included below, I have an entire separate page for my homemade flatbread dough. (For extra tips and step-by-step pictures, take a look.). My cold veggie pizza also uses the same dough with some very small tweaks.
Flatbread Pizza Video Tutorial
You can watch me make my flatbread dough in the following video tutorial. Here I’m topping it with mozzarella and fresh tomatoes, but the process will be the same. Simply swap the toppings for today’s herbed ricotta, zucchini, and tomatoes.
I’m not kidding you; this dough is so easy to handle!
If you’re new to bread-baking, my How to Knead Dough video tutorial will be helpful, too.
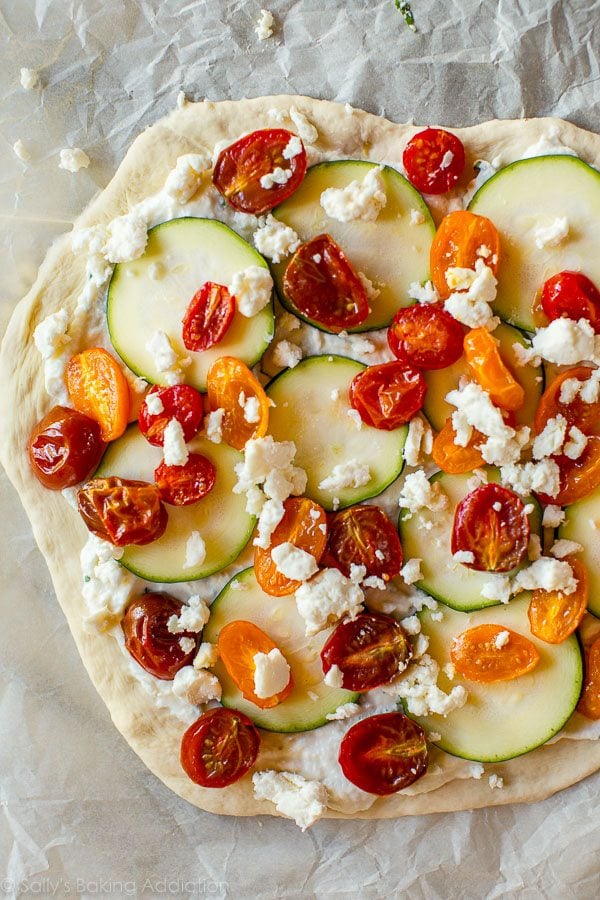
I was inspired to use a zucchini/ricotta/tomato blend for the topping from a recent issue of Cooking Light. I believe the magazine just used those fabulous toppings for a pizza, but I feel like flatbreads are very summery? Or maybe they’re just very in. And I say “in” knowing I’m not very “in” at all, but who doesn’t love a flatbread. And it’s something new I can teach you anyway. 😉
Toppings For Zucchini & Herbed Ricotta Flatbread
We use 4 simple, yet incredibly flavorful toppings for today’s flatbread pizza.
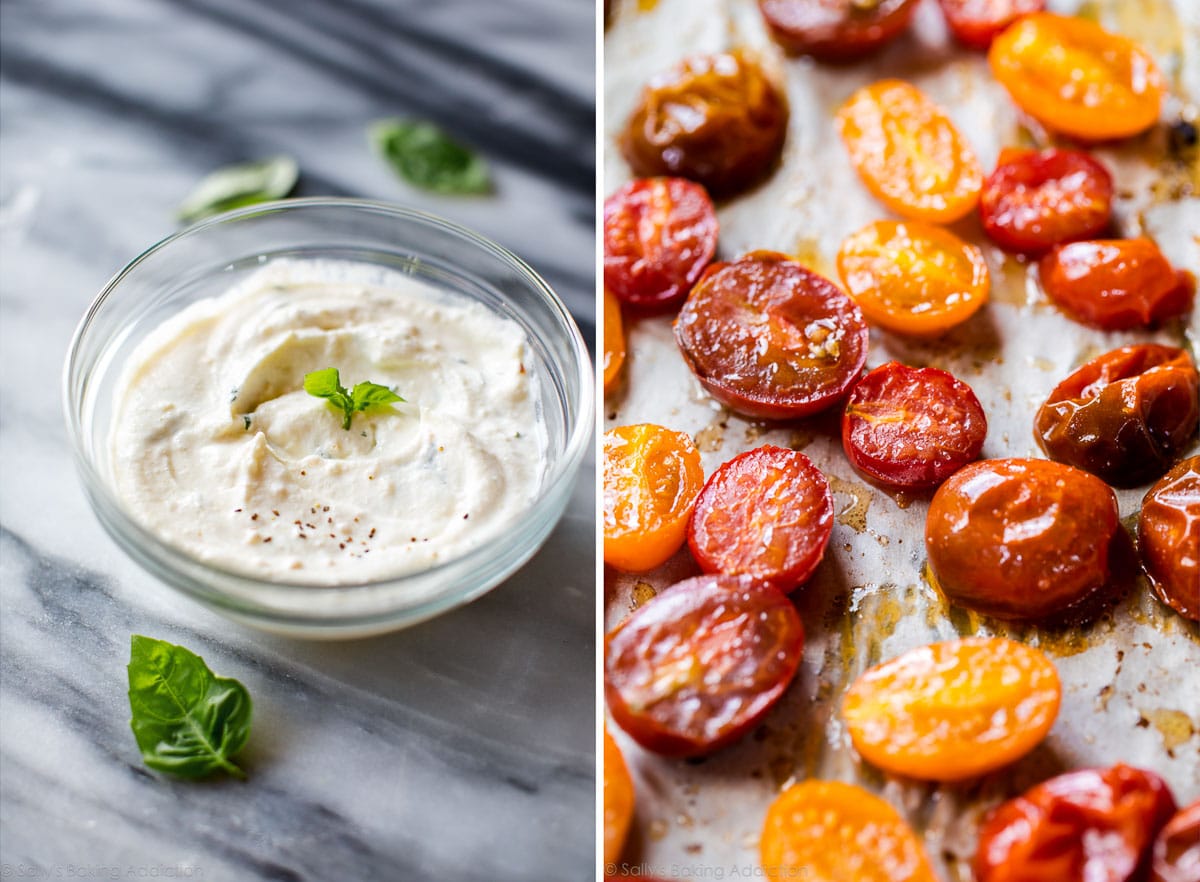
- Cherry Tomatoes: Though I use cherry tomatoes in the pictured flatbread, you can use any variety. No matter which type of fresh tomato I use, I like to roast them in the oven with a little olive oil, salt, and pepper before using. This is optional, but it really adds another layer of flavor. (The roasting step is included in the recipe below.)
- Semi-Homemade Herbed Ricotta: Pick up some store-bought ricotta cheese. Add a bunch of chopped fresh basil, a squeeze of lemon, salt, pepper, and some milk to thin out.
- Fresh Zucchini: Grab a fresh zucchini, thinly slice it, and layer it on top. If you have more zucchini to use up, try zucchini muffins, zucchini fritters, zucchini bread, or even zucchini casserole! I bake and cook with this vegetable a lot. Here are all my favorite zucchini recipes, if you need more inspiration. These zucchini biscuits are another wonderful savory option.
- Goat Cheese: For extra flavor, top the entire flatbread with crumbles of goat cheese. I love using a honey flavored goat cheese which adds a little sweetness. (It’s delicious!) Use any goat cheese you love. Feta, shredded mozzarella, or even blue cheese works here too.
This recipe makes 2 flatbreads, so the toppings are enough for both. You can easily halve the toppings if you’re just making 1 flatbread. I will say, however, that the flatbreads aren’t very big at all. And if you have more than 3 people eating, make both. If not, you can always have leftovers for tomorrow’s lunch.
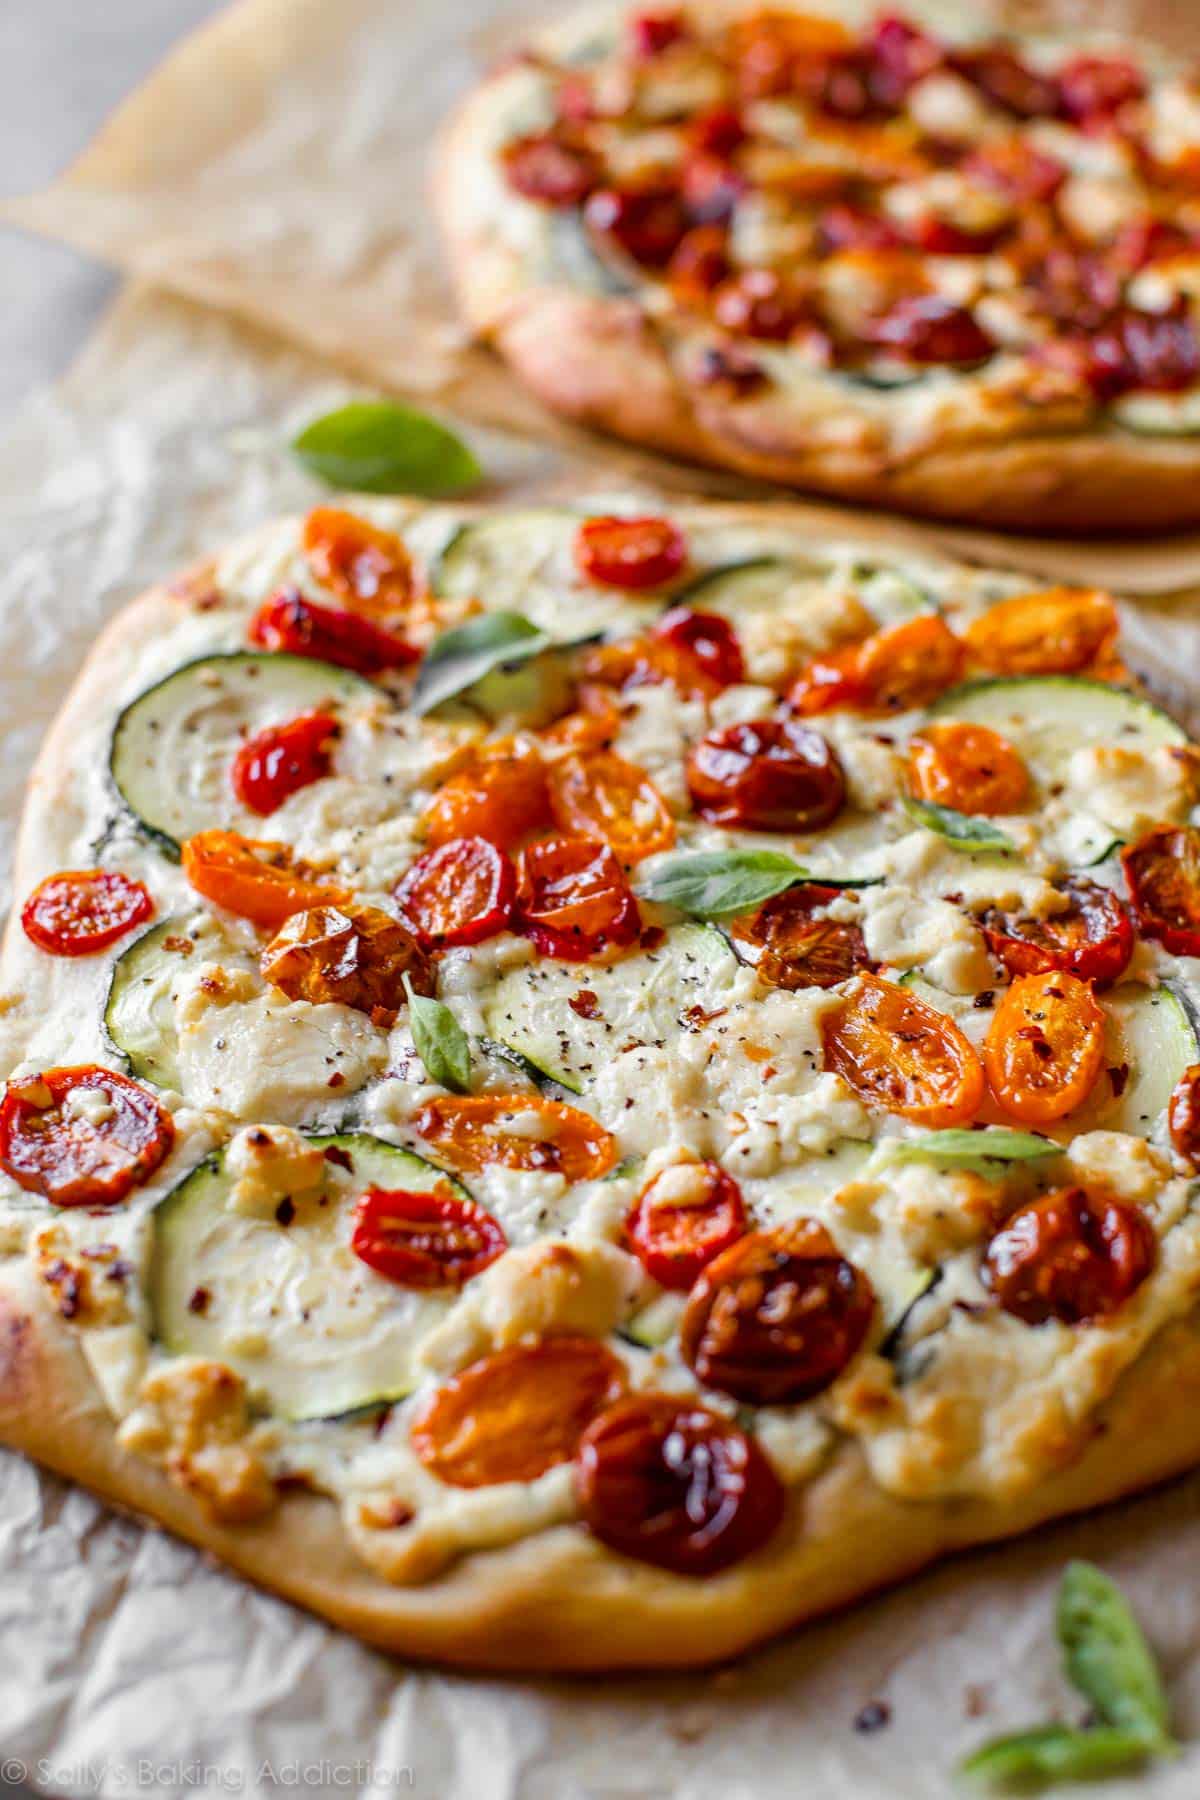
After baking, add a sprinkle of fresh basil on top and then we’re ready to eat! I love serving this flatbread with my strawberry bacon salad or fresh berry quinoa salad.
More Baking from Scratch
- Pizza Dough & Whole Wheat Pizza Dough
- Homemade English Muffins
- Sandwich Bread
- Homemade Bagels
- Cheesy Breadsticks
- Homemade Biscuits
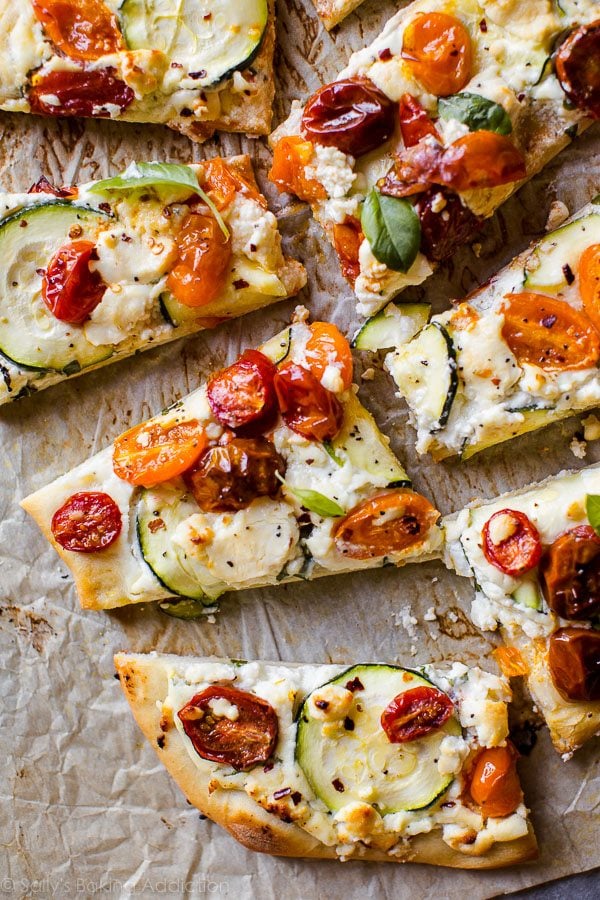
Zucchini & Herbed Ricotta Flatbread
- Prep Time: 1 hour
- Cook Time: 20 minutes
- Total Time: 1 hour, 20 minutes
- Yield: 2 flatbreads; 2 servings each
- Category: Dinner
- Method: Baking
- Cuisine: Italian
Description
Easy homemade flatbread pizza topped with summery zucchini, herbed ricotta, roasted tomatoes, and fresh basil.
Ingredients
Flatbread
- 1 teaspoon active dry or instant yeast
- 1 teaspoon granulated sugar
- 3/4 cup (180ml) warm water, (between 100-110°F, 38-43°C)
- 2 cups (250g) all-purpose flour or bread flour (spooned & leveled), plus more for hands and surface
- 1 Tablespoon (15ml) olive oil, plus 1 teaspoon for brushing the dough
- 1 teaspoon salt
Toppings
- 2 cups (300g) halved cherry tomatoes
- 1 Tablespoon + 1 teaspoon olive oil, divided
- salt & freshly ground black pepper
- 2 cups part-skim ricotta cheese
- 3 Tablespoons chopped fresh basil
- 2 Tablespoons milk, to thin
- 1–2 teaspoons fresh lemon juice
- 2 teaspoons minced garlic (or a few cloves, chopped)
- 2 cups (about 240g) sliced zucchini (1–2 medium zucchini, about 1/2 lb.)
- 6–8 ounces goat cheese (depending how much you like!)
- optional: crushed red pepper flakes and fresh basil to top
Instructions
- Prepare the dough: Whisk the yeast, sugar, and warm water together in the bowl of your stand mixer. Loosely cover and allow to sit for 5–10 minutes until foamy and frothy on top. *If you do not own a stand mixer, you can do this in a large mixing bowl and in the next step, mix the dough together with a large wooden spoon/silicone spatula. It will take a bit of arm muscle. A hand mixer works, but the sticky dough repeatedly gets stuck in the beaters. Mixing by hand with a wooden spoon or silicone spatula is a better choice.*
- Add the flour, olive oil, and salt (and garlic/seasoning if using). Mix on low speed with the dough hook attachment until combined, about 2 minutes. The dough should be thick, yet soft and slightly sticky. It should pull away from the sides of the bowl as it mixes. When it does, it is ready to knead. If, however, the dough is too sticky to handle, mix in more flour, 1 Tablespoon at a time. Make sure you do not add too much extra flour; you want a soft, slightly tacky dough.
- Knead the dough: Keep the dough in the mixer (and switch to the dough hook if using the paddle) and beat for an additional 6-8 full minutes, or knead by hand on a lightly floured surface for 6-8 full minutes. (If you’re new to bread-baking, my How to Knead Dough video tutorial can help here.) If the dough becomes too sticky during the kneading process, sprinkle 1 teaspoon of flour at a time on the dough or on the work surface/in the bowl to make a soft, slightly tacky dough. Do not add more flour than you need because you do not want a dry dough. After kneading, the dough should still feel a little soft. Poke it with your finger—if it slowly bounces back, your dough is ready to rise. You can also do a “windowpane test” to see if your dough has been kneaded long enough: tear off a small (roughly golfball-size) piece of dough and gently stretch it out until it’s thin enough for light to pass through it. Hold it up to a window or light. Does light pass through the stretched dough without the dough tearing first? If so, your dough has been kneaded long enough and is ready to rise. If not, keep kneading until it passes the windowpane test.
- Place the dough in a greased bowl (I use nonstick spray to grease) and cover with plastic wrap, aluminum foil, or a clean kitchen towel. Allow to sit and rest for 45 minutes at room temperature. Once it has rested and slightly risen, you can continue with the recipe or place the covered dough in the refrigerator for up to 2 days. More instructions in the make ahead Note below.
- As the dough is resting and rising, prepare the toppings. Toss the halved cherry tomatoes with 1 Tablespoon olive oil and a sprinkle of salt and pepper. Spread onto a parchment paper or silicone baking mat-lined baking sheet and bake in a 400°F (204°C) oven for about 20 minutes until blistered and roasted. Set aside.
- Turn the oven up to 475°F (246°C).
- Whisk the ricotta, basil, milk, lemon juice, and garlic together in a medium bowl. You can use a mixer for this if needed. Add salt and pepper to taste.
- Shape the dough: Punch the dough down to release any air. Divide the dough in half. On a lightly floured surface with floured hands and working with one dough piece at a time, begin shaping and stretching the dough until it is 1/4 inch thick. You can use a floured rolling pin for this too. Don’t worry about the shape of the dough, just make sure it’s pretty thin. Repeat with the second piece of dough. Carefully transfer both pieces of dough to a parchment paper or silicone-mat lined baking sheet, or use a pizza stone. (You can also shape/roll out the doughs directly on a silicone baking mat or a large sheet of parchment if that is easier for you and then just transfer the whole thing to the baking sheet.)
- Poke your fingers all around the surface of the flatbreads or prick a few holes with a fork. Drizzle or brush each with 1 teaspoon of olive oil. Spread half of the ricotta mixture onto each, then top with zucchini, tomatoes, and finish them by crumbling the goat cheese on top of each.
- Bake for 15-20 minutes or until the crust and toppings are browned to your liking. Remove from the oven and sprinkle with crushed red pepper, fresh basil, and/or freshly ground pepper. Slice and serve warm.
- Cover and store leftovers in the refrigerator for up to 1 week.
Notes
- Make Ahead & Freezing Instructions: The tomatoes can be baked about 2 days in advance; just keep in the refrigerator until ready to use. Likewise, the ricotta mixture can be mixed and prepared 2 days in advance. Cover and keep in the refrigerator. The dough can be prepared through step 4, then after it has risen, cover and place in the refrigerator for up to 2 days. Continue with step 5. To freeze the dough, prepare it through step 4. After it has risen, punch it down to release any air. Divide it in 2, if desired, then wrap in plastic wrap and place in a freezer-friendly container for up to 3 months. When ready to use, thaw the dough overnight in the refrigerator. Then let the dough sit at room temperature for about 1 hour before stretching out/shaping and topping. If the thawed dough keeps shrinking back as you try to shape it, lightly cover it with plastic wrap or a clean kitchen towel and let it rest on the counter or your work surface for 15 minutes. (The gluten just needs a chance to settle.)
- Special Tools (affiliate links): Stand Mixer or Glass Mixing Bowl and Wooden Spoon / Silicone Spatula | Baking Sheet | Silicone Baking Mat or Parchment Paper | Pizza Stone | Pizza Cutter
- Yeast: You can use instant or active-dry yeast with zero changes. If you’re new to working with yeast, I recommend reviewing my Baking with Yeast guide. I used to make flatbread with 1 and 1/2 teaspoons of yeast, but recently reduced it down to 1 teaspoon. This is plenty for a thin flatbread crust. Note that 1 teaspoon is less than 1 standard packet. If you want a no-yeast flatbread, I recommend searching for another recipe that’s modified without its addition. (Don’t simply leave the yeast out of this one!)
- Adapted from June 2016 Cooking Light.


Absolutely delicious! I loved the lemon in the ricotta. I roasted my garlic with the tomatoes and added red onion as a topping. Enjoyed the leftover flatbread with a sunny side up egg for breakfast. Thank you for brining joy and inspiration to your readers! Will be making again