Learn how to make a deliciously soft and buttery 6-inch vanilla cake, plus a dozen other cake flavors for your smaller 6-inch cake pans. These are perfect for smaller gatherings and much easier to decorate, too!
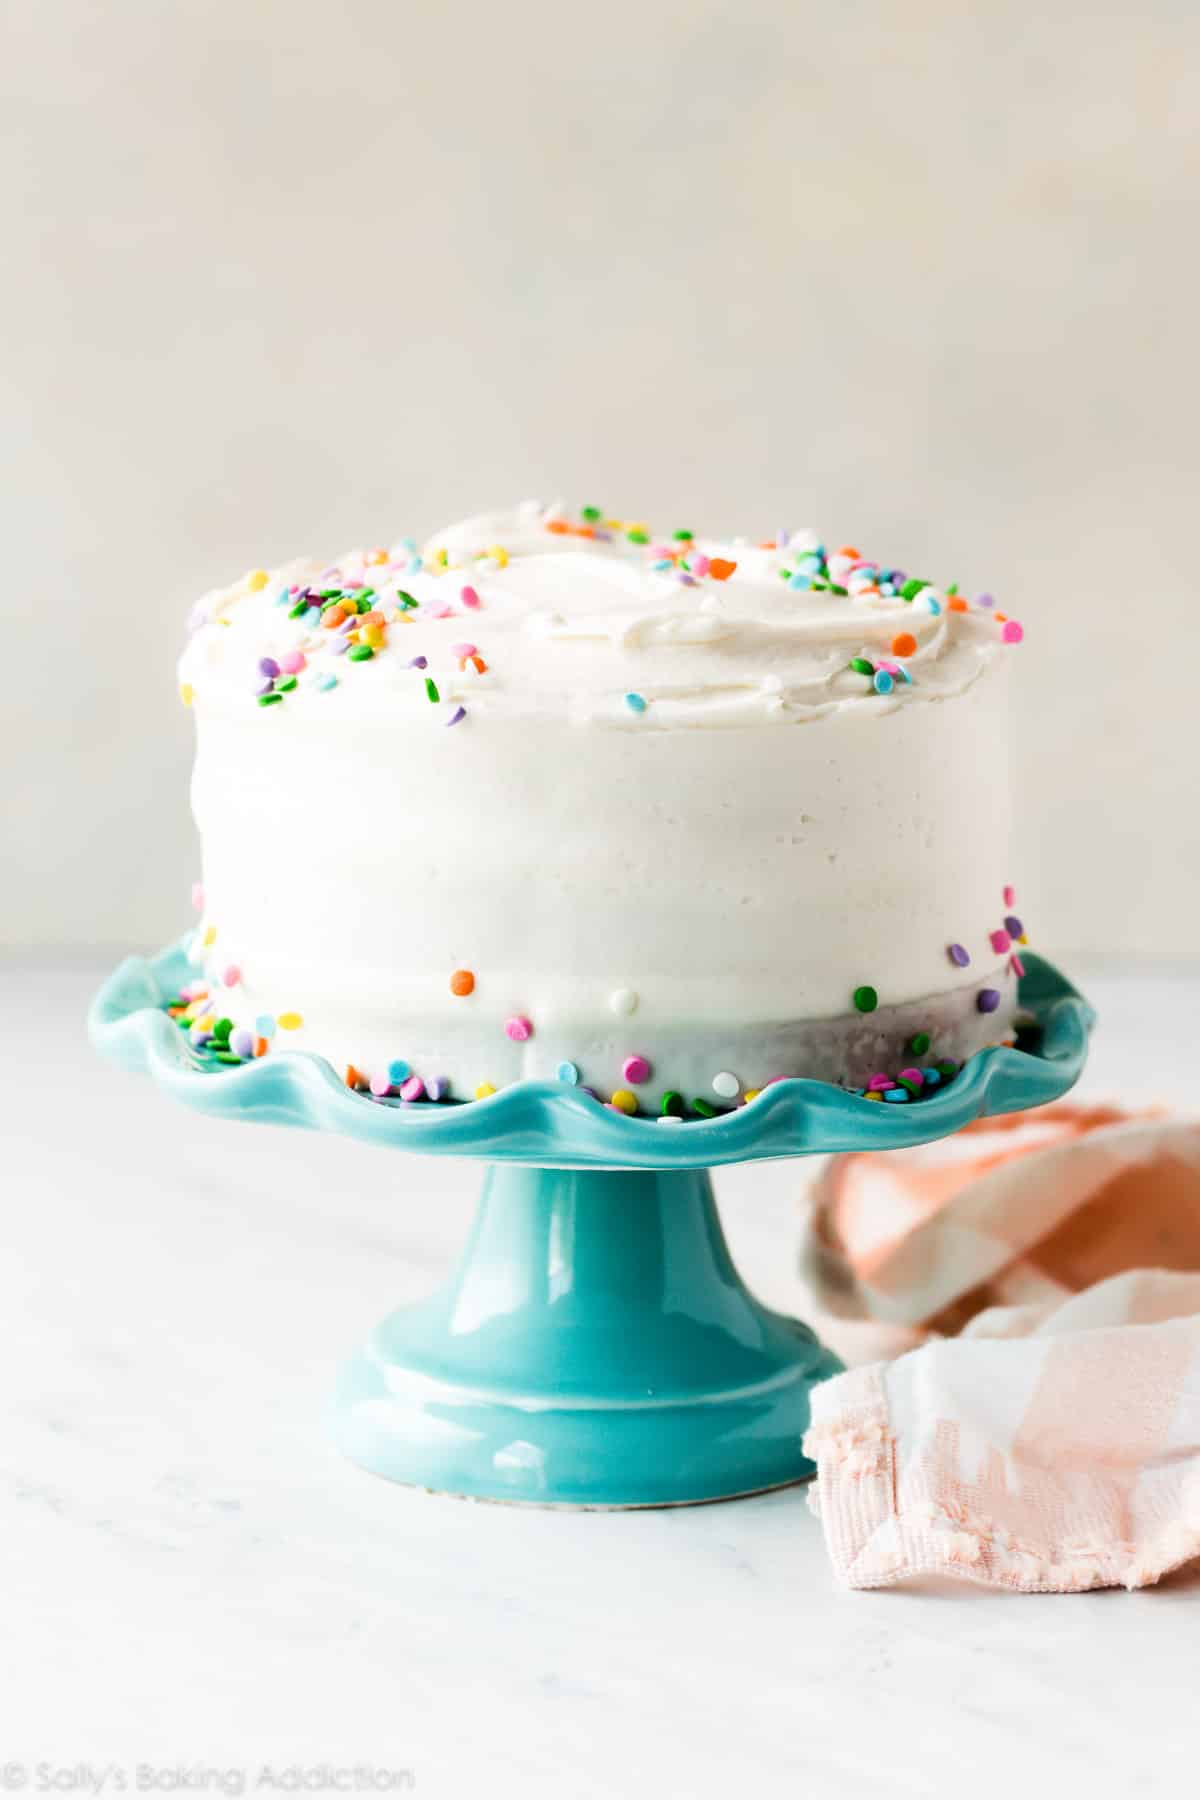
More and more over the past few years, I see questions about adapting large layer cake recipes to fit smaller 6-inch cake pans. 6-inch cakes are very popular and yet most traditional cake recipes don’t accommodate the smaller size.
But last year I discovered an easy solution when I made a 6-inch birthday cake. I no longer adapted cake recipes to fit the smaller cake pan size. Instead, I began using cake batter from my CUPCAKE recipes. (And most of my cupcake recipes are actually adapted from the larger cake variety, so the work is already done!)
I know it’s nothing groundbreaking, but it was a total lightbulb moment as I suddenly had dozens of 6-inch cake flavors to bake. I love the 6-inch size for children’s birthday cakes, small gatherings and celebrations, or bridal/baby showers where there’s a lot of other desserts. And when it comes to decorating, 6-inch is a very non-intimidating size cake!
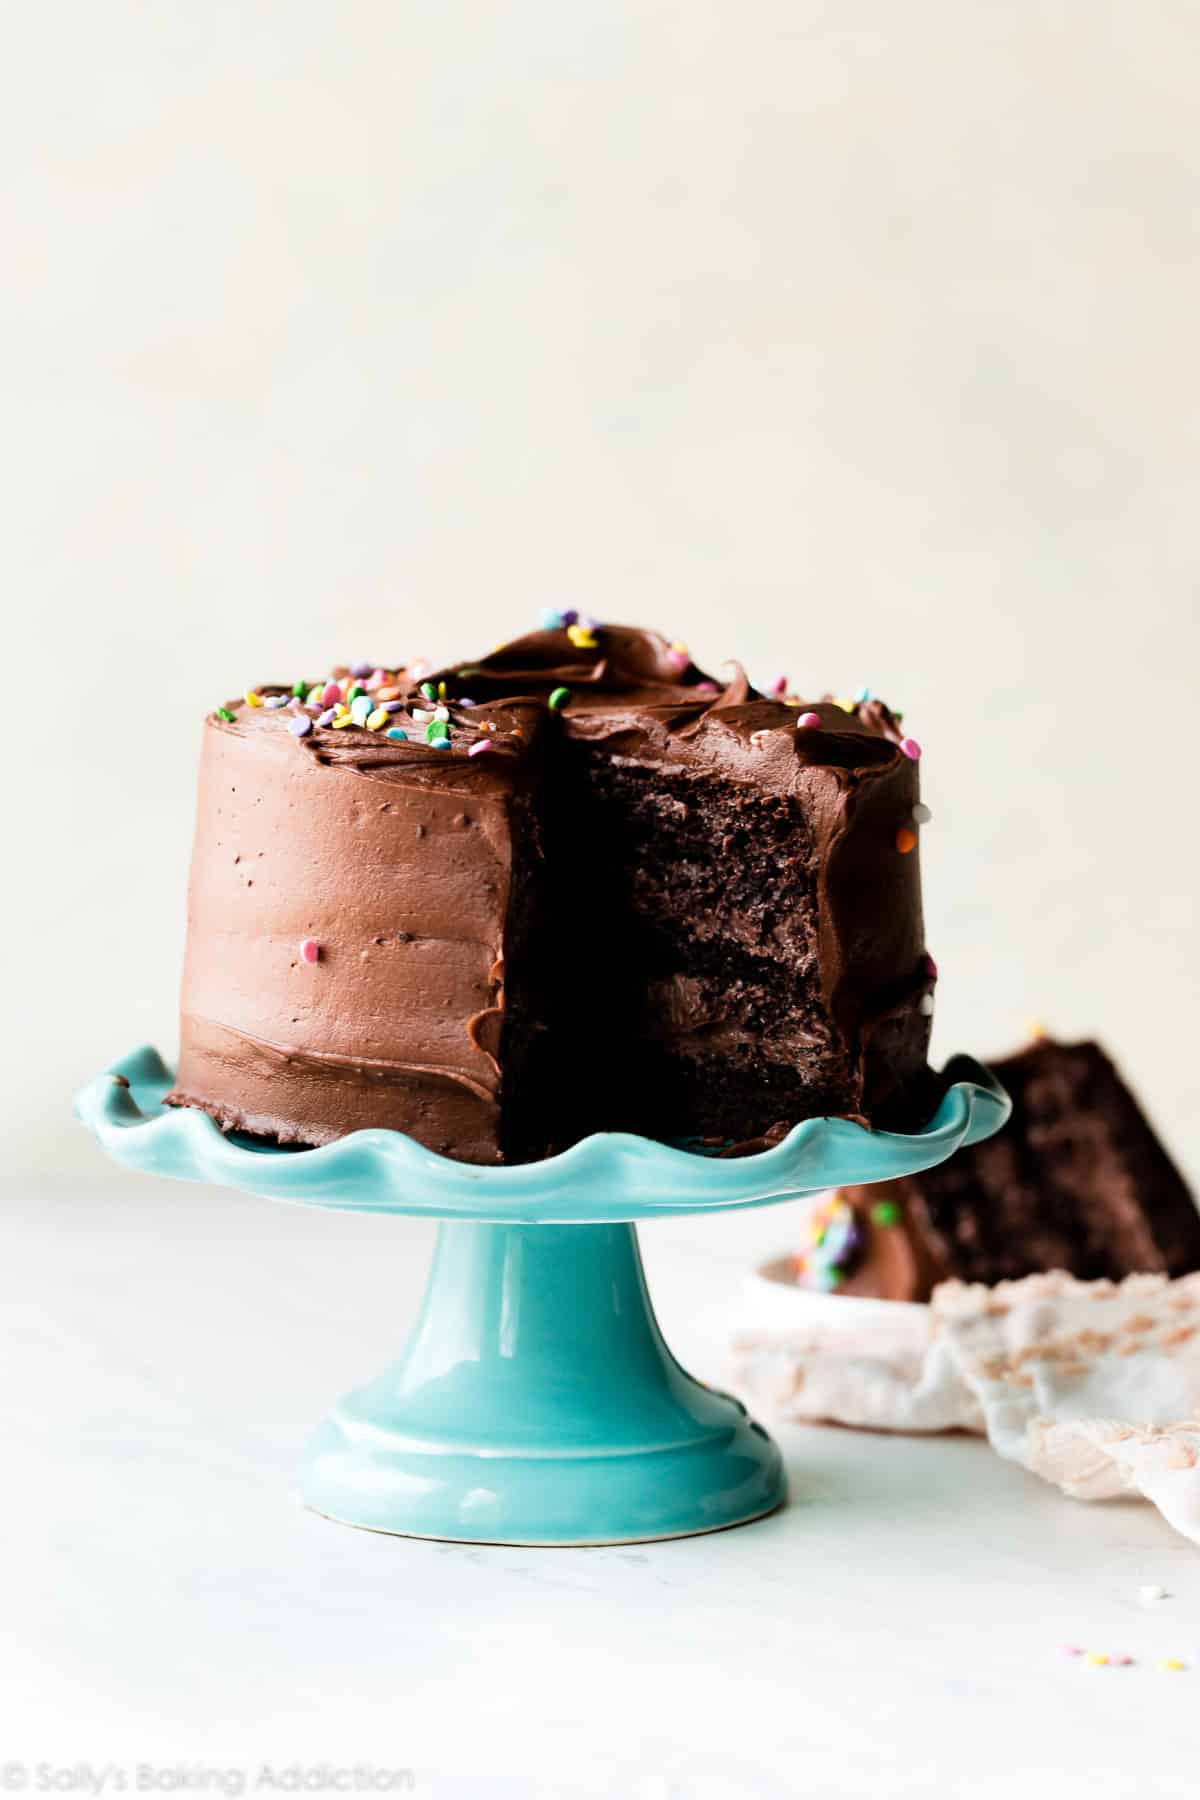
Cupcake Batter = 3 Layer 6-Inch Cake
Cupcake batter that produces about 12-15 cupcakes is the perfect amount for a 3 layer 6-inch cake. One dozen cupcakes usually takes about 3-4 cups of cake batter, which divides perfectly between 3 6-inch cake layers. This means that you can essentially turn any batch of cupcakes into a small layer cake. I’ve tested this several times with many different flavors, but usually stick with vanilla cake and chocolate cake, which are made from my vanilla cupcakes and chocolate cupcakes respectively.
6-Inch Cake Flavors
Use the batter for the following recipes to make different flavor 6 inch cakes:
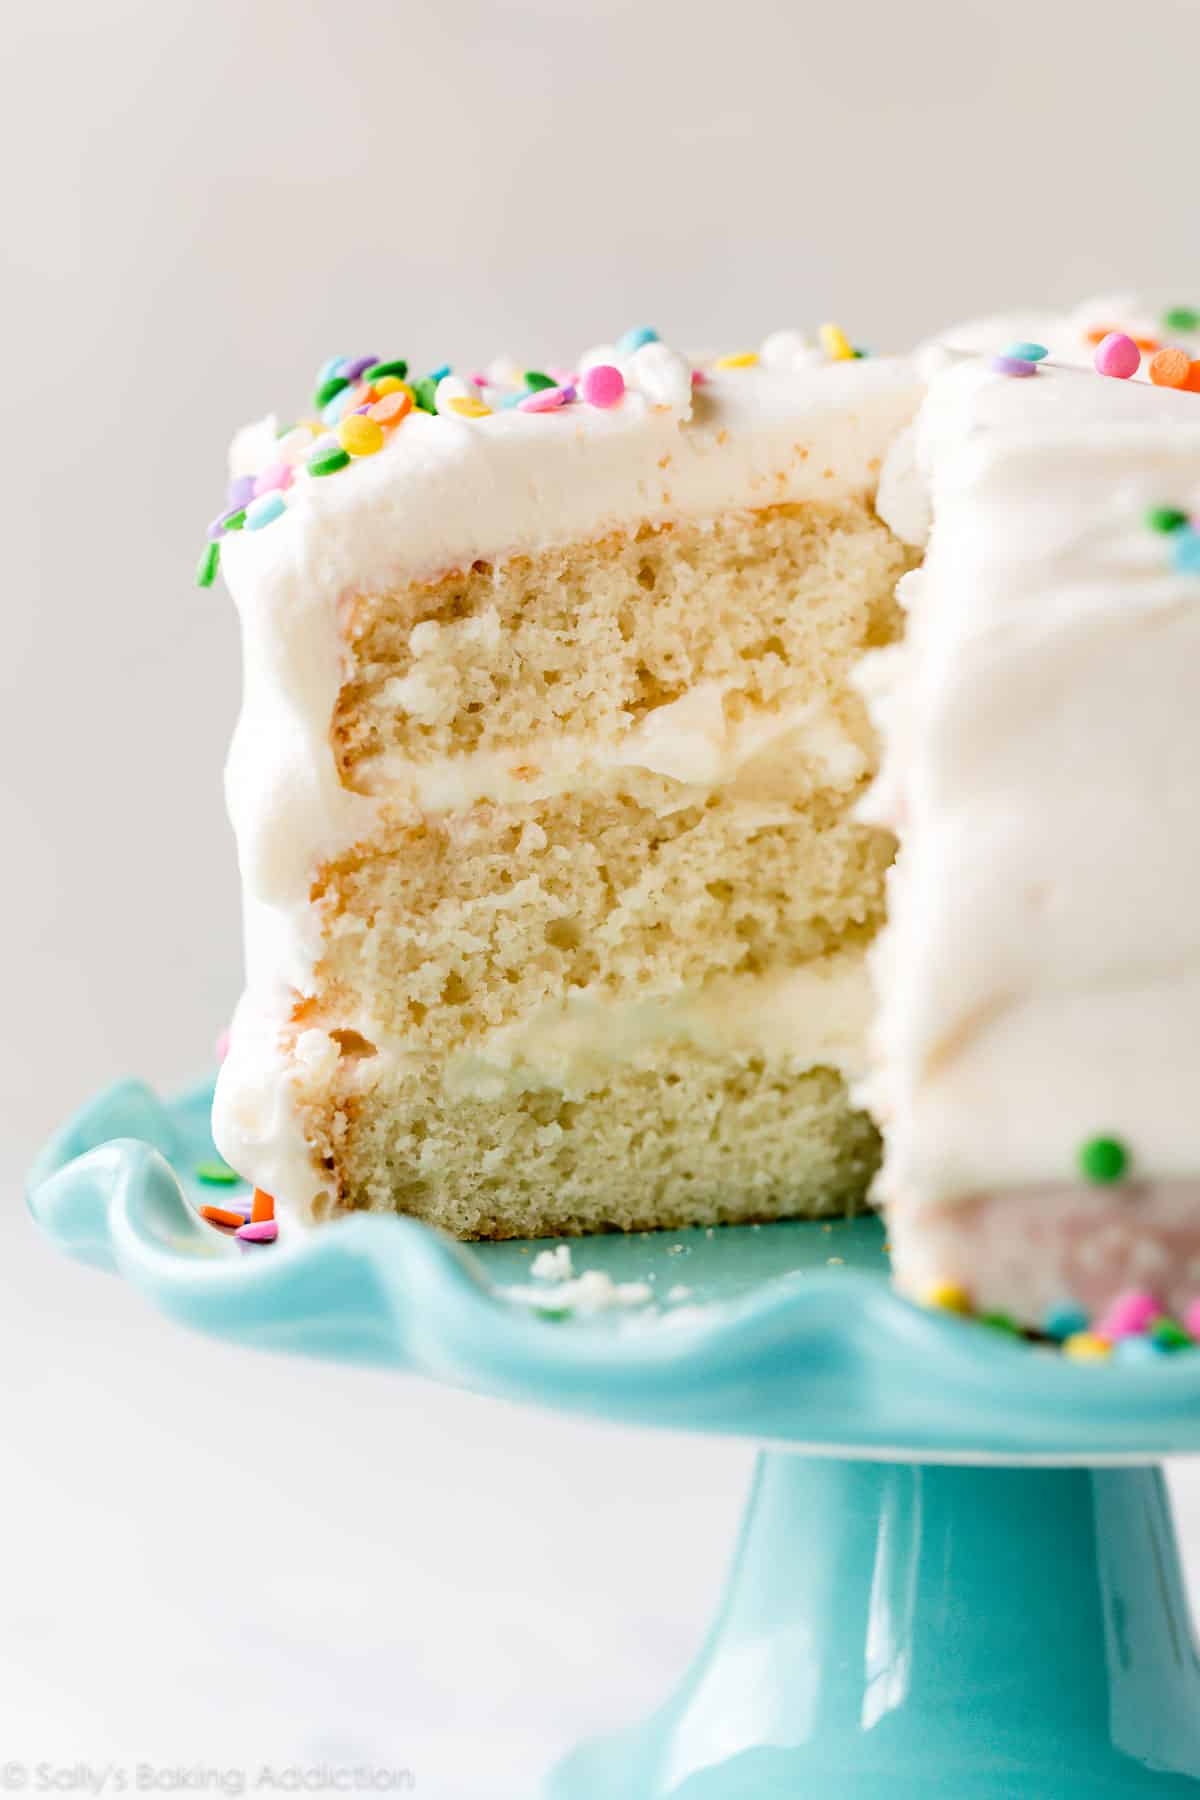
- Vanilla Cupcakes (pictured as a cake and recipe included below)
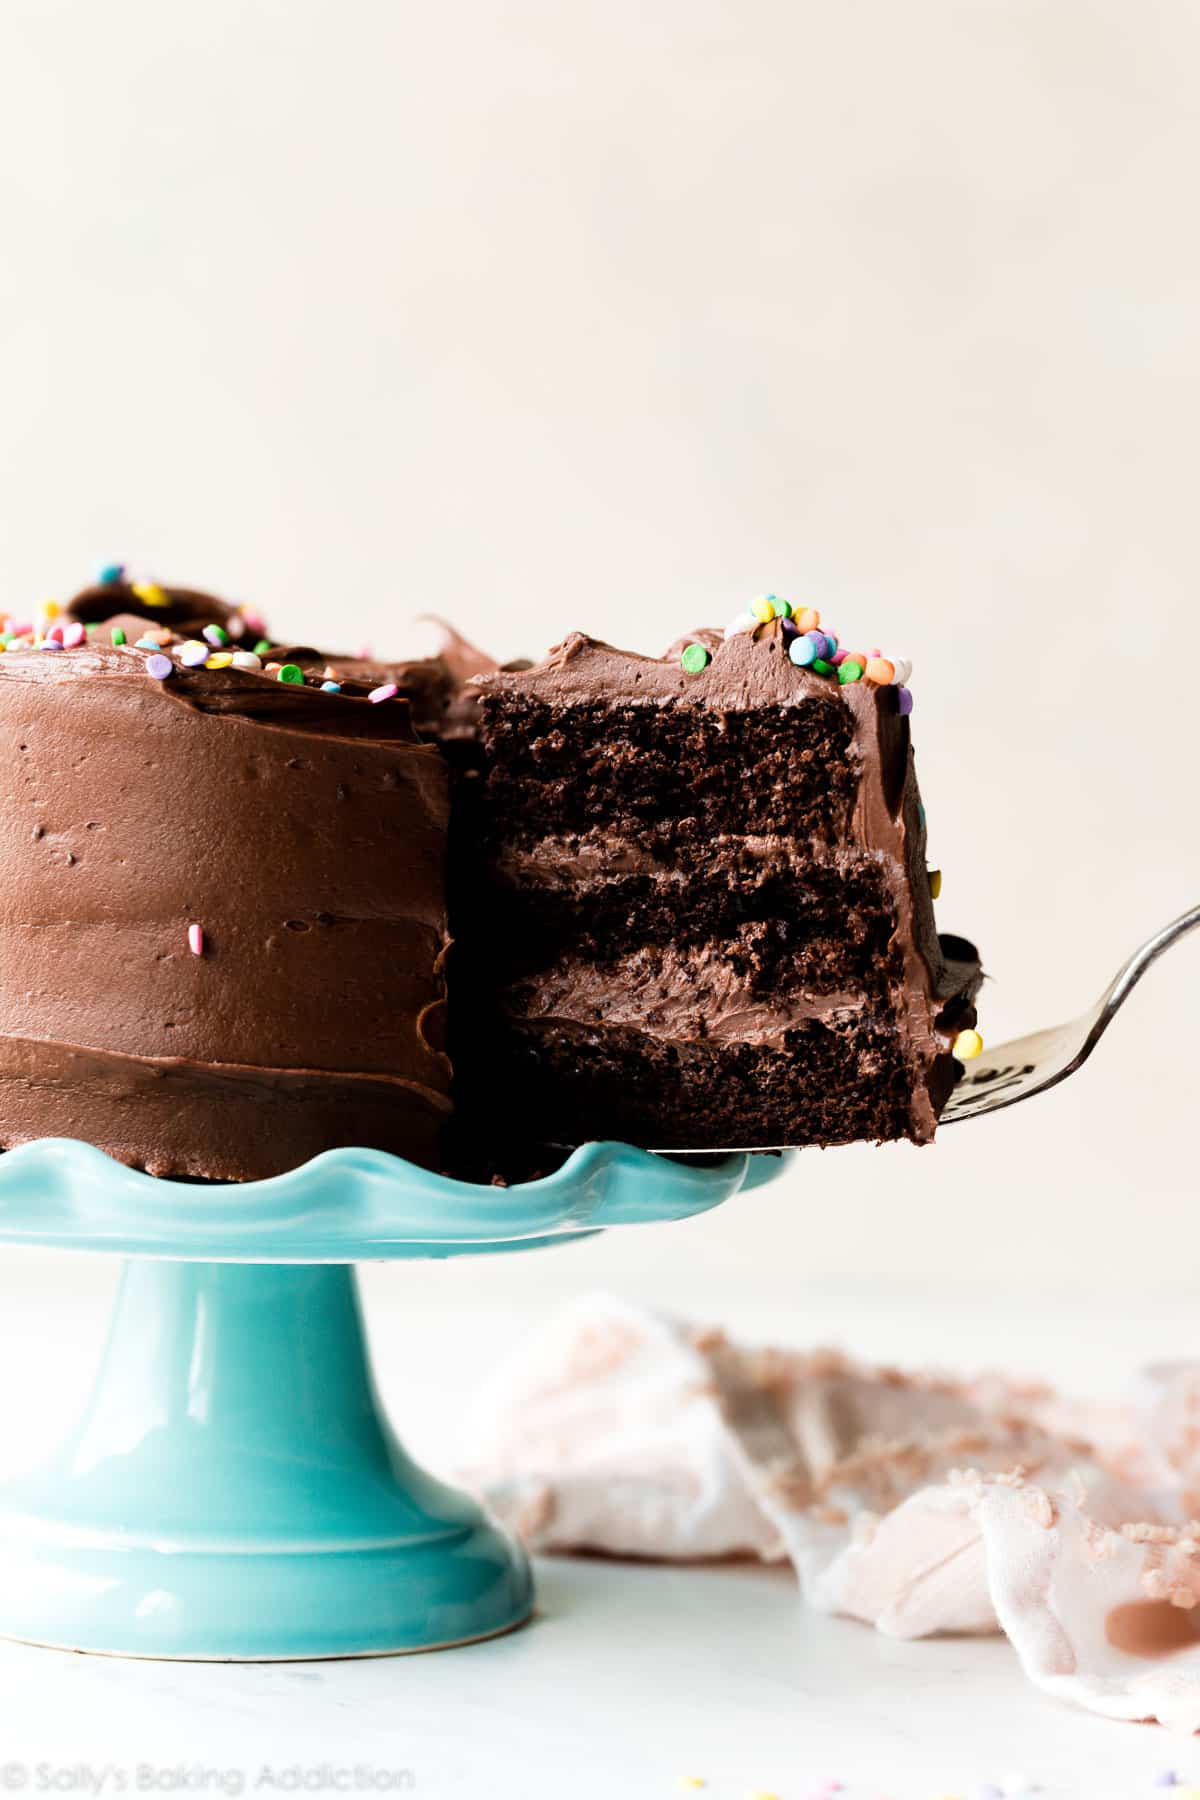
- Chocolate Cupcakes (pictured on this page as a cake!)
- Lemon Cupcakes
- Red Velvet Cupcakes
- Peanut Butter Cupcakes
- Pumpkin Cupcakes
- White Chocolate Strawberry Cupcakes
- Gingerbread Cupcakes
- Confetti Cupcakes
- Pistachio Cupcakes
- Coconut Carrot Cupcakes
- Carrot Cake Cupcakes
- Citrus Cake (written as a cake)
- Lemon Blueberry Cupcakes
- Cream-Filled Chocolate Cupcakes (use the cream filling between the cake layers and top the entire cake with ganache!)
- Snickerdoodle Cupcakes
All 6-inch cake layers take about 18-21 minutes at 350°F (177°C). You need about 2.5-3 cups of frosting for a 3 layer 6-inch cake, which is usually the amount used for 1 dozen cupcakes. Any of the frosting recipes paired with the listed cupcakes would be perfect. 🙂
How to Prep Your 6 Inch Cake Pans
After you choose your 6-inch cake batter, it’s time to start prepping the cake pans. First, make sure you have quality 6-inch cake pans. I started using Fat Daddio’s 6-inch cake pans last year and loved them so much that I switched out my 9-inch and 8-inch cake pans for the Fat Daddio’s brand. From one baker to another—these pans are incredible quality for the price. Not working with this brand, just a genuine fan.
The smaller the cake, the more difficult it is to neatly release from the baking pan. Here’s my guaranteed solution so that your 6 inch cake layers glide right out:
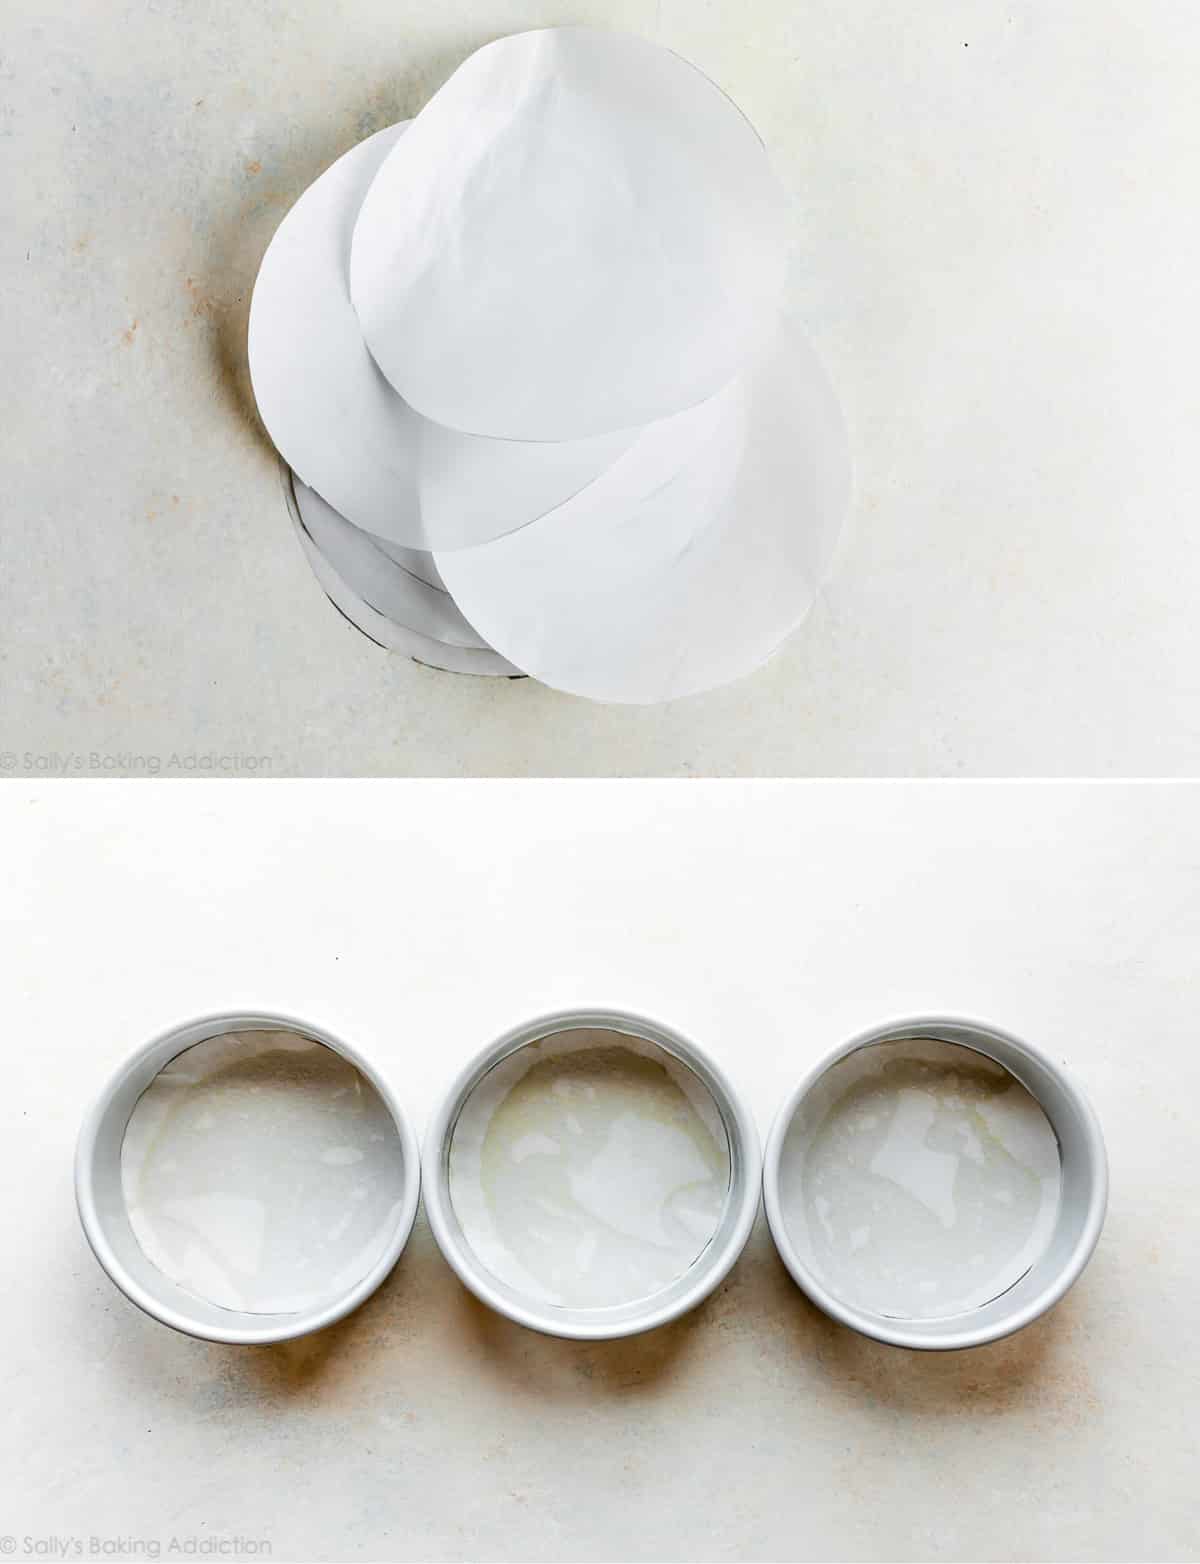
- Make a parchment paper round. Trace the bottom of the cake pans on a large piece of parchment paper. Cut out the parchment circles.
- Very lightly grease the baking pans.
- Place the parchment round inside.
- Grease the parchment round too. Using butter or baker’s nonstick spray, I grease the pan AND the parchment. This promises an ultra non-stick environment for your cake. Never any sticking.
I usually keep a stack of parchment rounds on hand just in case I’m in a rush to get a cake in the oven. For cake emergencies, of course.
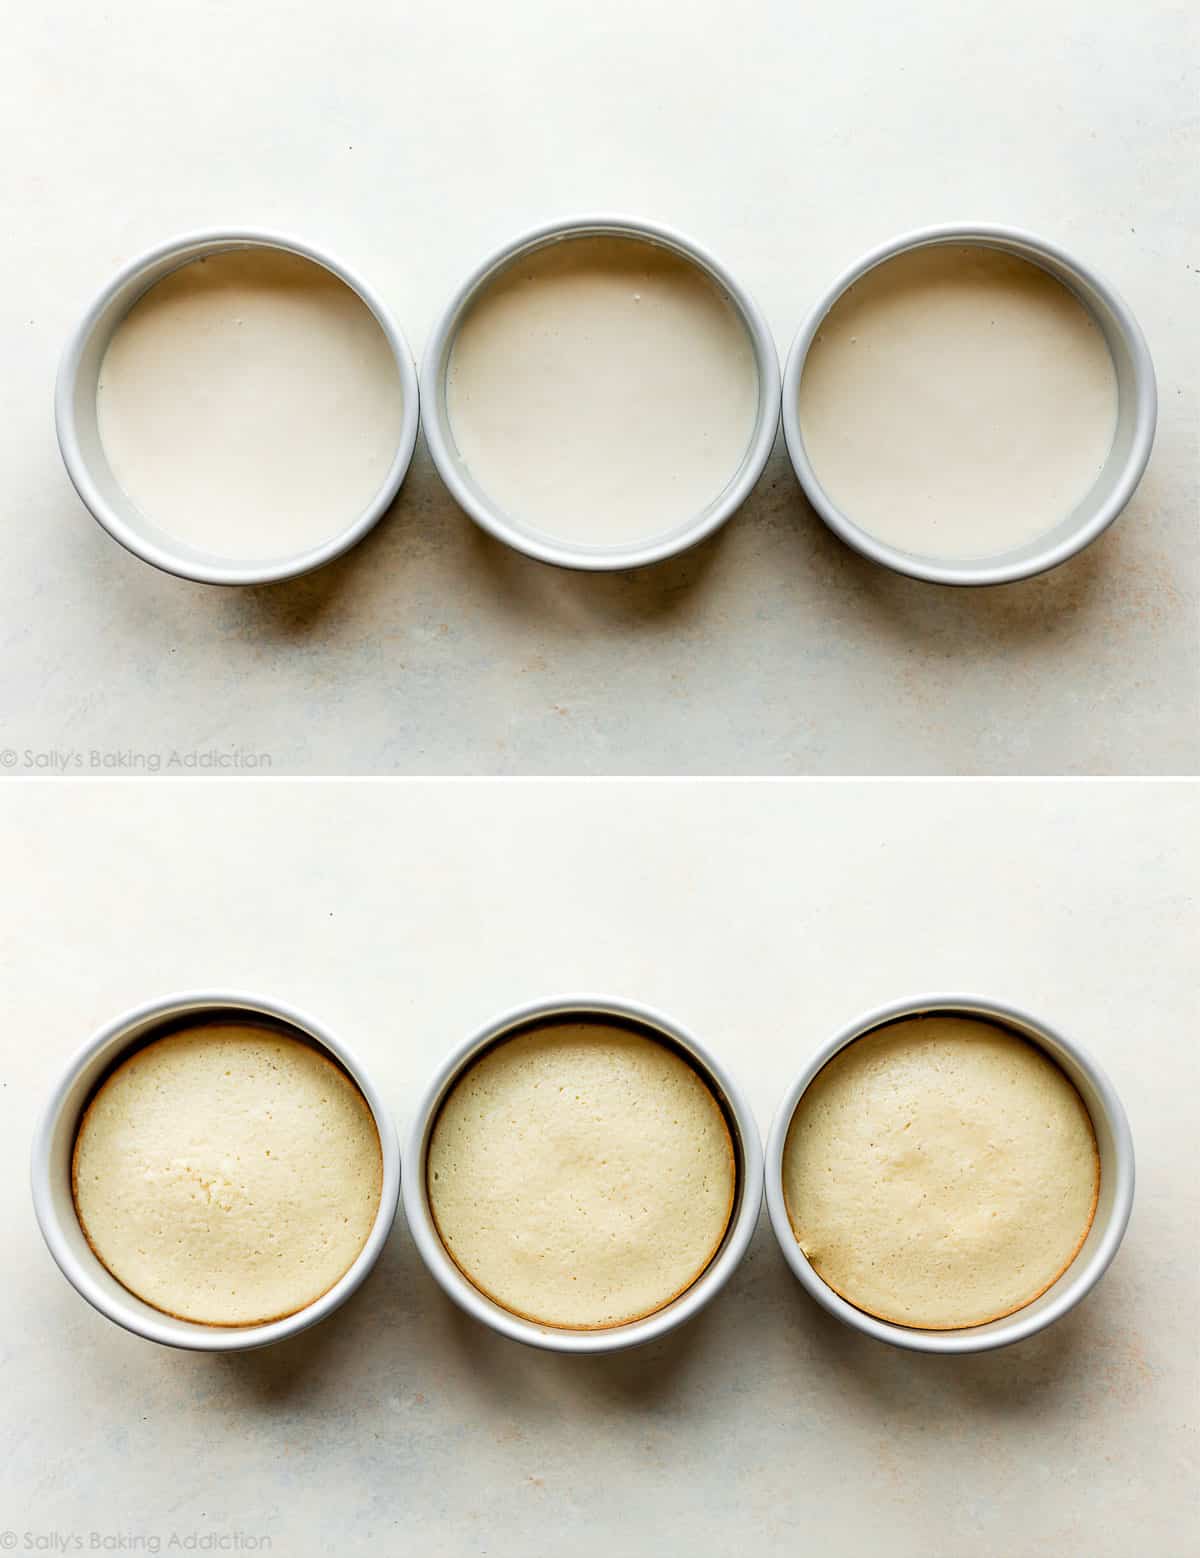
Divide the batter evenly between the cake pans and bake.
How to Frost & Decorate a 6-Inch Cake
You need about 2.5-3 cups of frosting to frost a 3 layer 6-inch cake. The frostings paired with the cupcake recipes listed above are plenty for your 6-inch cake, such as vanilla buttercream, chocolate buttercream, strawberry buttercream frosting, or white chocolate buttercream frosting. You can also add fillings such as raspberry cake filling between the layers. Assembling and decorating a 6 inch cake is just like putting together a larger cake, but the smaller size is definitely easier to work with.
Tools I find helpful:
- Cake Turntable: This size is great for larger 9-inch cakes as well. A cake turntable makes it easy to frost the sides of a cake with a bench scraper.
- Bench Scraper: I like to run a bench scraper around the sides of the cake to smooth out the frosting. This works for any size cake. If you’ve never used one before to decorate a cake, you can watch me use it in my vanilla cake video. They’re very handy!
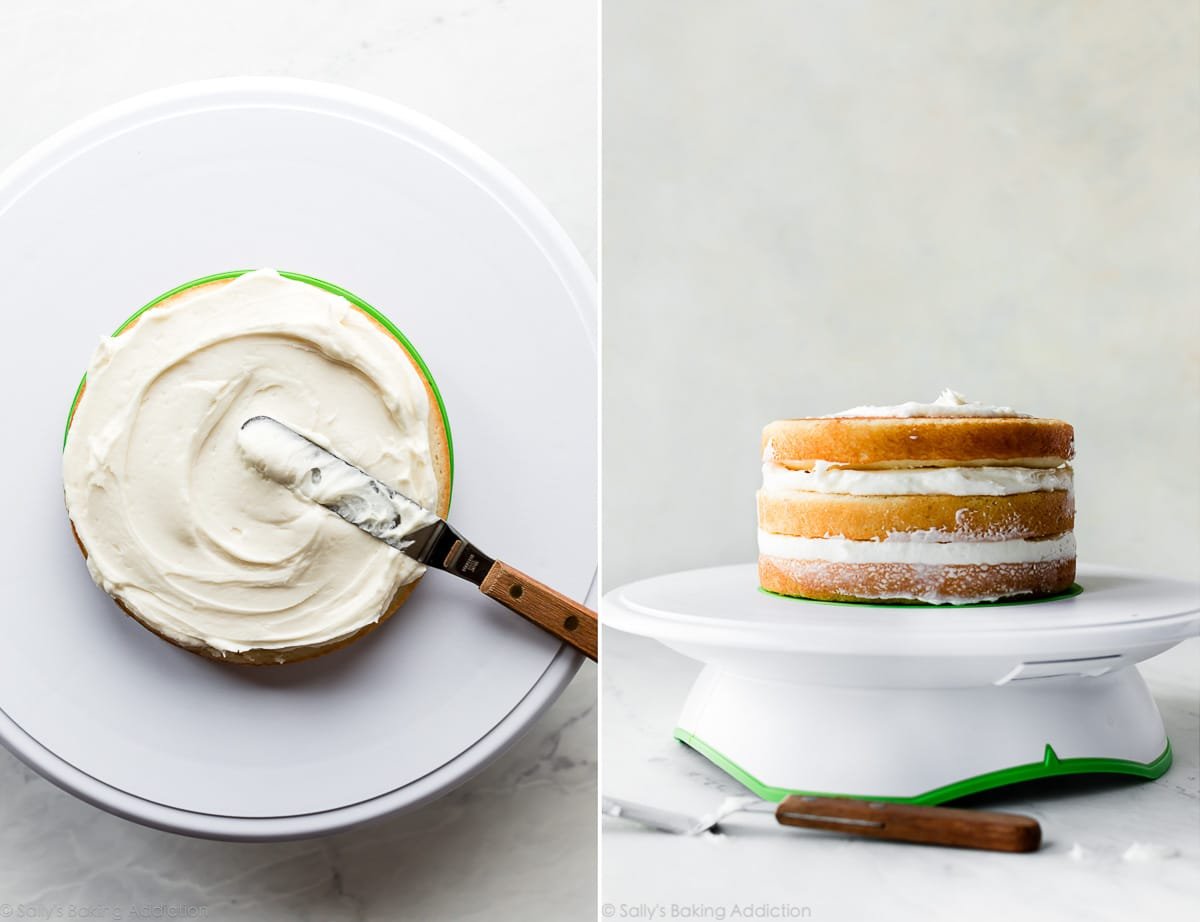
- Small Offset Icing Spatula: Use this for spreading the frosting between the layers and on top of the cake. The small size is great for frosting cupcakes too.
Since this is a small cake, it’s easy to pick up with a couple flat spatulas and carefully transfer to a cake stand or serving plate. You can also use cake boards, which are cardboard cut-outs that provide a sturdy foundation for your cake if you need to move it to another surface.
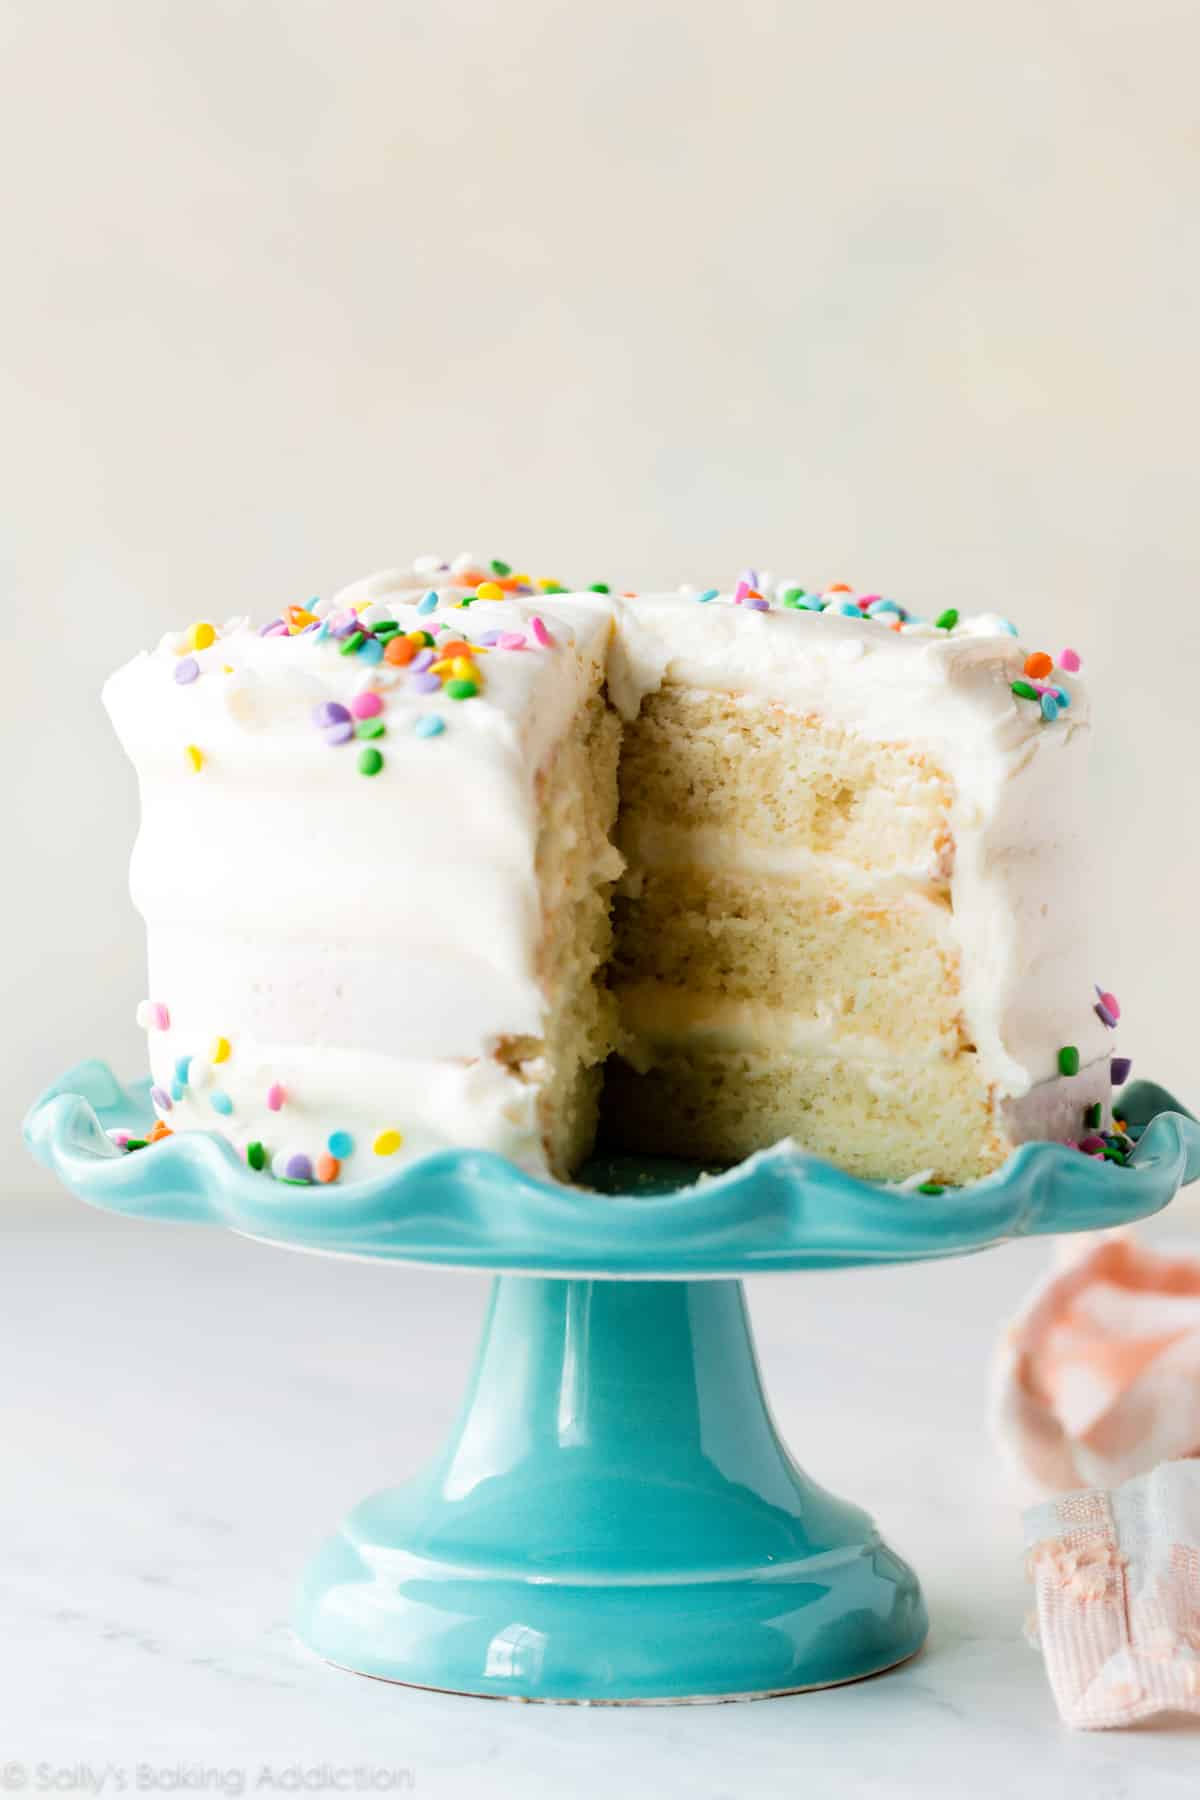
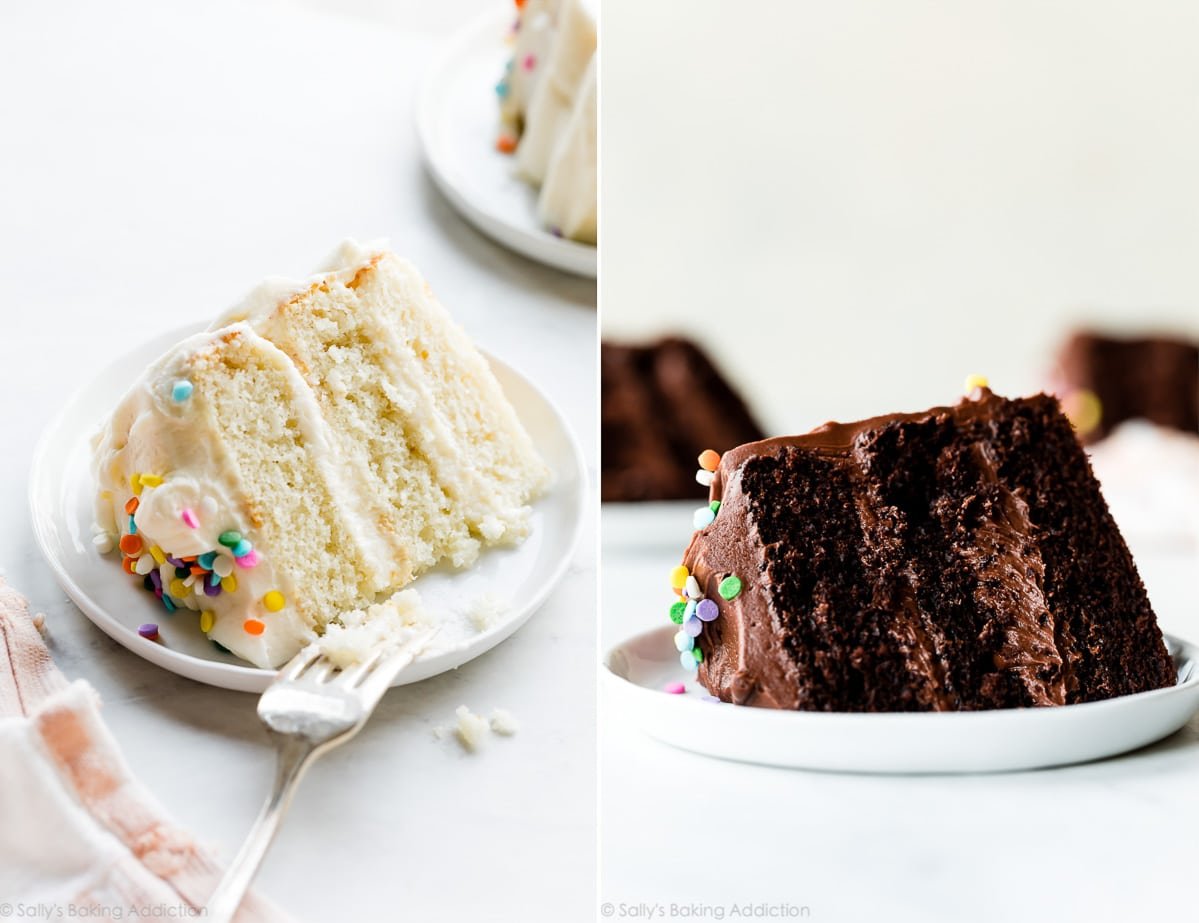
Small cakes are taking over! Which flavor will you try first?
PS: I bought the pictured teal cake stand from Home Goods and unfortunately can’t find a link to it for you! Make sure you find a cake stand that’s about 8 inches in diameter to comfortably fit the 6-inch cake.
Print
6 Inch Vanilla Cake
- Prep Time: 30 minutes
- Cook Time: 20 minutes
- Total Time: 3 hours
- Yield: serves 8
- Category: Dessert
- Method: Baking
- Cuisine: American
Description
Learn how to make a deliciously soft and buttery 6 inch vanilla cake, plus a dozen other cake flavors for your smaller 6 inch cake pans. 6 inch cakes are perfect for smaller gatherings and much easier to decorate, too!
Ingredients
- 1 and 3/4 cups (207g) cake flour (spooned & leveled)
- 3/4 teaspoon baking powder
- 1/4 teaspoon baking soda
- 1/4 teaspoon salt
- 1/2 cup (8 Tbsp; 113g) unsalted butter, softened to room temperature
- 1 cup (200g) granulated sugar
- 3 large egg whites, at room temperature
- 2 teaspoons pure vanilla extract
- 1/2 cup (120g) full-fat sour cream at room temperature
- 1/2 cup (120ml) whole milk at room temperature
Vanilla Buttercream
- 1 cup (16 Tbsp; 226g) unsalted butter, softened to room temperature
- 4 – 5 cups (480-600g) confectioners’ sugar
- 1/4 cup (60ml) heavy cream or whole milk
- 2 teaspoons pure vanilla extract
- salt, to taste
- sprinkles for decorating
Instructions
- Preheat oven to 350°F (177°C). Grease three 6×2 inch cake pans, line with parchment paper rounds, then grease the parchment paper. Parchment paper helps the cakes seamlessly release from the pans. (If it’s helpful, see this parchment paper rounds for cakes video & post.)
- Make the cake: Whisk the cake flour, baking powder, baking soda, and salt together. Set aside.
- Using a handheld or stand mixer fitted with a paddle attachment, beat the butter on high speed until smooth and creamy, about 1 minute. Add the sugar and beat on high speed for 2 minutes until creamed together. Scrape down the sides and up the bottom of the bowl with a rubber spatula as needed. Add the egg whites and vanilla extract. Beat on medium-high speed until combined, then beat in the sour cream. Scrape down the sides and up the bottom of the bowl as needed. With the mixer on low speed, add the dry ingredients until just incorporated. With the mixer still running on low, slowly pour in the milk until combined. Do not over-mix. You may need to whisk it all by hand to make sure there are no lumps at the bottom of the bowl. The batter will be slightly thick.
- Pour batter evenly into cake pans. Bake for around 18-21 minutes or until the cakes are baked through. To test for doneness, insert a toothpick into the center of the cake. If it comes out clean, it’s done. Allow cakes to cool completely in the pans set on a wire rack. The cakes must be completely cool before frosting and assembling
- Make the frosting: With a handheld or stand mixer fitted with a paddle attachment, beat the butter on medium speed until creamy, about 2 minutes. Add 4 and 1/2 cups confectioners’ sugar, the heavy cream, and vanilla extract. Beat on low speed for 30 seconds, then increase to medium-high speed and beat for 2 full minutes. Add up to 1/2 cup more confectioners’ sugar if frosting is too thin or another Tablespoon of cream if frosting is too thick. Add a pinch of salt if frosting is too sweet. (I add 1/8 teaspoon salt.)
- Assemble and decorate: Using a large serrated knife, slice a thin layer off the tops of the cakes to create a flat surface. Discard (or crumble over ice cream!). Place 1 cake layer on your cake stand, cake turntable, or serving plate. Evenly cover the top with about 3/4 cup of frosting. Top with 2nd cake layer and evenly cover the top with about 3/4 cup of frosting. Top with the third cake layer. Spread the remaining frosting all over the top and sides. A bench scraper and small offset spatula are handy for decorating. Decorate with sprinkles if desired.
- Refrigerate for at least 30-45 minutes before slicing. This helps the cake hold its shape when cutting.
- Cover leftover cake tightly and store in the refrigerator for 5 days.
Notes
- Make Ahead & Freezing Instructions for any flavor: The cake layers can be baked, cooled, and covered tightly at room temperature overnight. Likewise, the frosting can be prepared then covered and refrigerated overnight. Let the frosting sit at room temperature to slightly soften for 10 minutes before assembling and frosting. If the frosting is still too stiff, beat it on medium speed with an electric mixer until it’s soft and spreadable again. Add a splash of milk or cream to thin out if needed. Frosted cake or unfrosted cake layers can be frozen up to 2-3 months. See How to Freeze Cakes. Thaw overnight in the refrigerator and bring to room temperature before decorating/serving.
- Special Tools (affiliate links): 6-inch Round Cake Pan | Glass Mixing Bowl | Whisk | Electric Mixer (Handheld or Stand) | Cooling Rack | Cake Turntable | Bench Scraper | Small Offset Spatula
- Cake Flour: If you can’t get your hands on cake flour, use this cake flour substitute.
- 6 Inch Chocolate Cake: Skip steps 2 & 3 and instead, use the chocolate cake batter from my chocolate cupcakes. Frost with chocolate buttercream.
- More Flavors: See post above for links to more cake flavors using my cupcake batters. Skip steps 2 & 3 above, swapping out the vanilla batter for your chosen flavor.


This cake is easy & delicious! Perfectl for 3 layer 6” cake. A definite keeper.
I wasn’t a fan of the buttercream flavour but I think it could be clear vanilla just doesn’t taste the same as the real stuff. That aside, I love this site. Great info!!
Would it be okay to fold in mini chocolate chips to the batter? I am desperately searching for a great chocolate chip cake recipe and love this cake on its own so thinking they would be outstanding together!
Hi Kathleen, absolutely! We’d recommend about 3/4 cup of mini chocolate chips.
I thought I’d make this cake but only have 1 6” tin. If I divide the mixture equally into 1/3rds will the mixture be ok not cooked immediately thanks so much
Julia x
Hi Julia, yes, you can leave the remaining batter covered at room temperature while waiting for the current layer to bake. Enjoy!
My finished cake looked very much like yours, and I have to say, it’s the best vanilla cake I have ever made. Still, it was very disappointing, and everyone who tried it agreed. The vanilla vanilla cake was just too boring, too bland. I will make it again but jazz it up—add strawberries to the fillling or lemon curd or…. There’s great potential here, but for my family, not as an all vanilla cake. I am, however, much appreciative for the excellent vanilla cake recipe.
what if my pans are 6×3
Hi Courtney, that will work just fine. We still recommend splitting the batter between 3 pans. Enjoy!
Just a quick question for clarification – It is said above that “One dozen cupcakes usually takes about 3-4 cups of cake batter, which divides perfectly between 3 6-inch cake layers. This means that you can essentially turn any batch of cupcakes into a small layer cake.” This then translates to approximately 1 to a little over 1 cup of batter per pan. Is this correct? At this measurement, approximately how high do the cakes rise?
Hi Patty, this is correct. The exact rise will depend on the specific recipe, and the final height of the cake will depend on how heavily you frost between the layers. Hope this helps!