Puff pastry makes these handheld cherry pies a piece of cake pie to prepare.
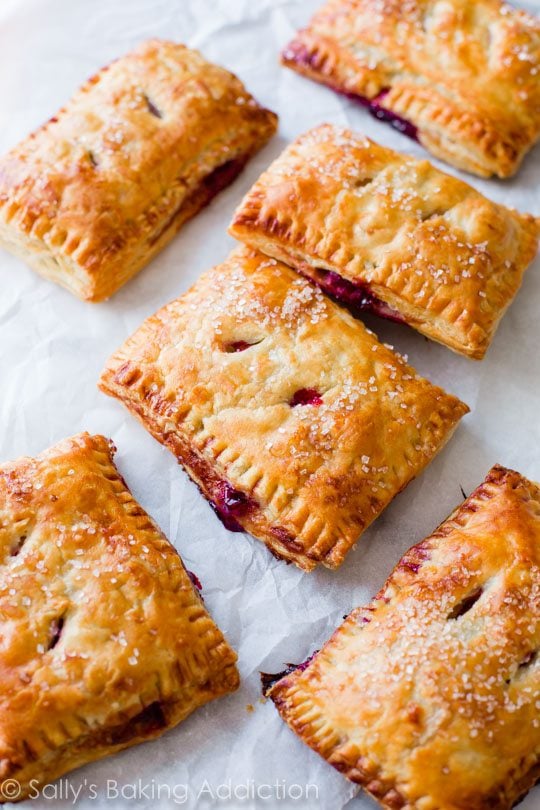
GUESS WHAT. I made little handheld pies! And I have to say/type that these simple cherry pastry pies are my favorite dessert of the summer. That says a lot considering s’mores tartlets.
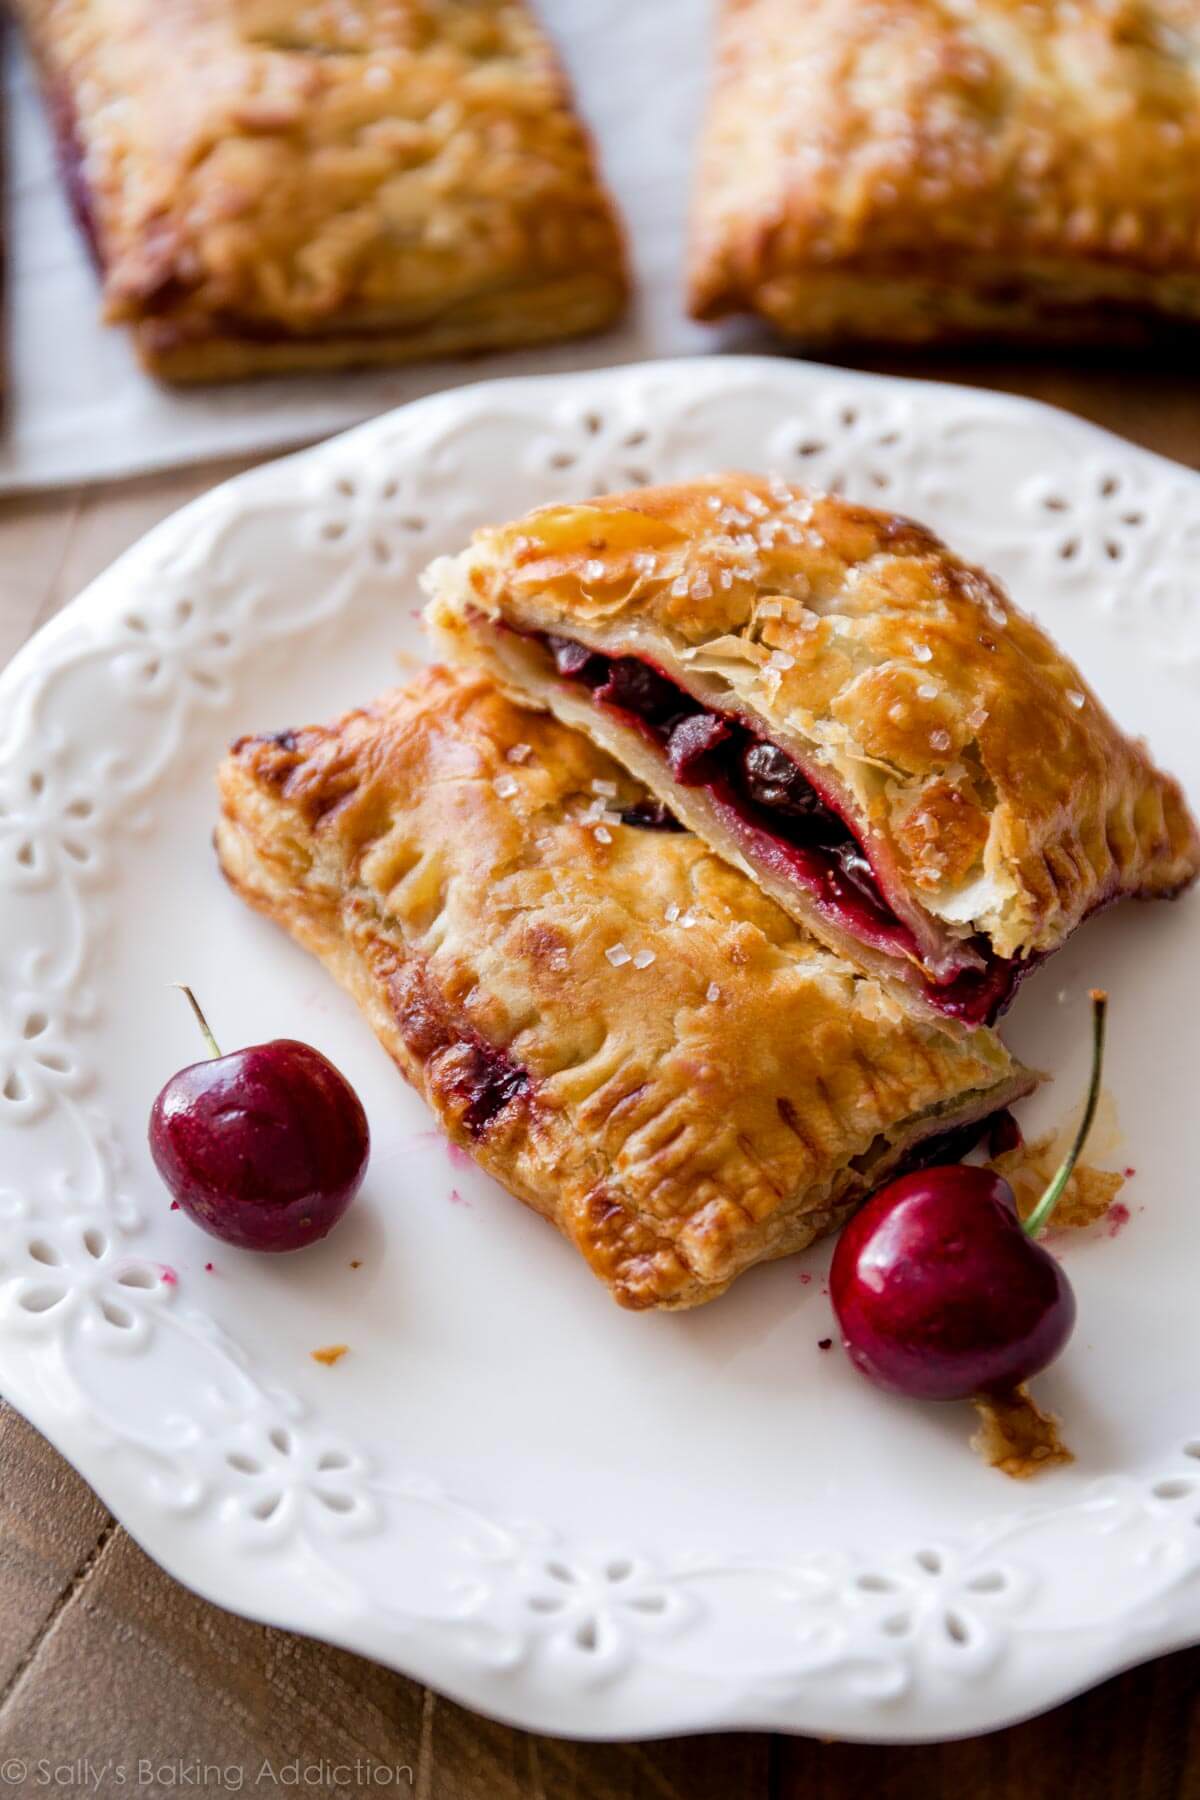
So about the pastry pies. They’re hand pies! And also sort of like toaster strudels, which is enough reason to make a mad dash to the kitchen like, right now. But what makes them even better than store-bought toaster strudels is that the filling is made from actual real fruit. Summer sweet cherries to be exact.
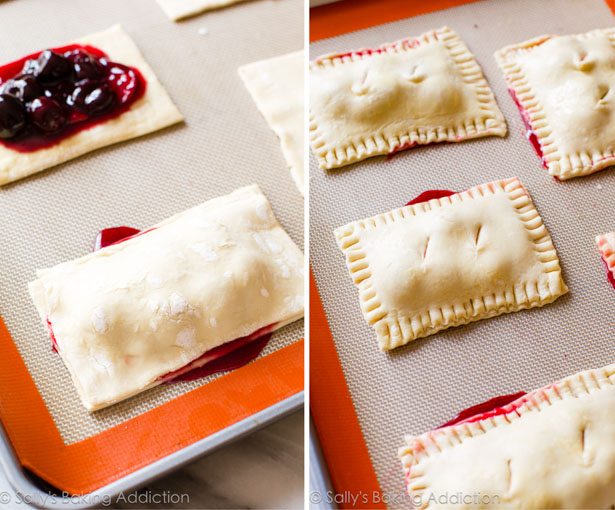
We’re using frozen puff pastry today. Store-bought puff pastry is a lifesaver in the kitchen—I sometimes use it for these apple turnovers, too. Buttery, crisp, flaky, and convenient all in one. One package of puff pastry comes with 2 sheets. You’re going to cut each sheet into 6 rectangles, like so:
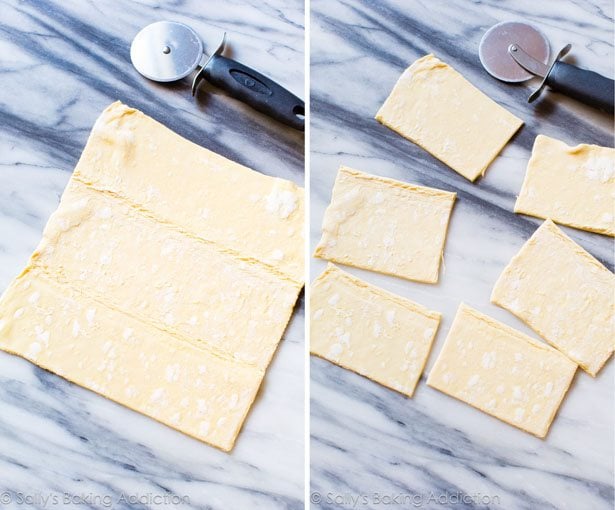
So, you’ll end up with 12 rectangles. 6 will be the bottoms of the pastry pies and 6 will be the top. Following?
Now you’ll layer on a homemade cherry filling. The great thing about this filling is not only are you using real cherries, you can use frozen cherries. Making my adorable cherry pastry pies a year-round treat.
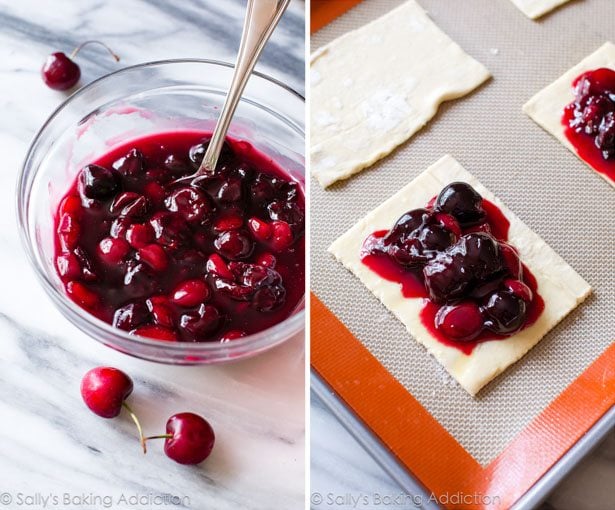
Now, layer the remaining rectangles on top. Crimp the edges with a fork to seal all that cherry goodness inside. Which will still likely ooze out a little. Embrace the slight spillage. It’s yum.
The cherry pastry pies turn a beautiful golden brown as they bake. Before going into the oven, brush them with a little egg wash, which gives the tops a beautiful sheen. A sprinkle of coarse sugar adds a little sparkle.
Clearly, a necessity in my kitchen.
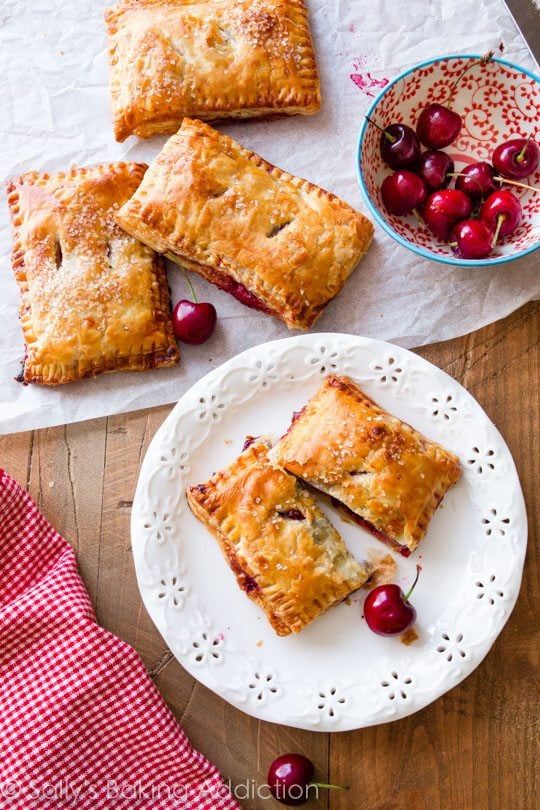
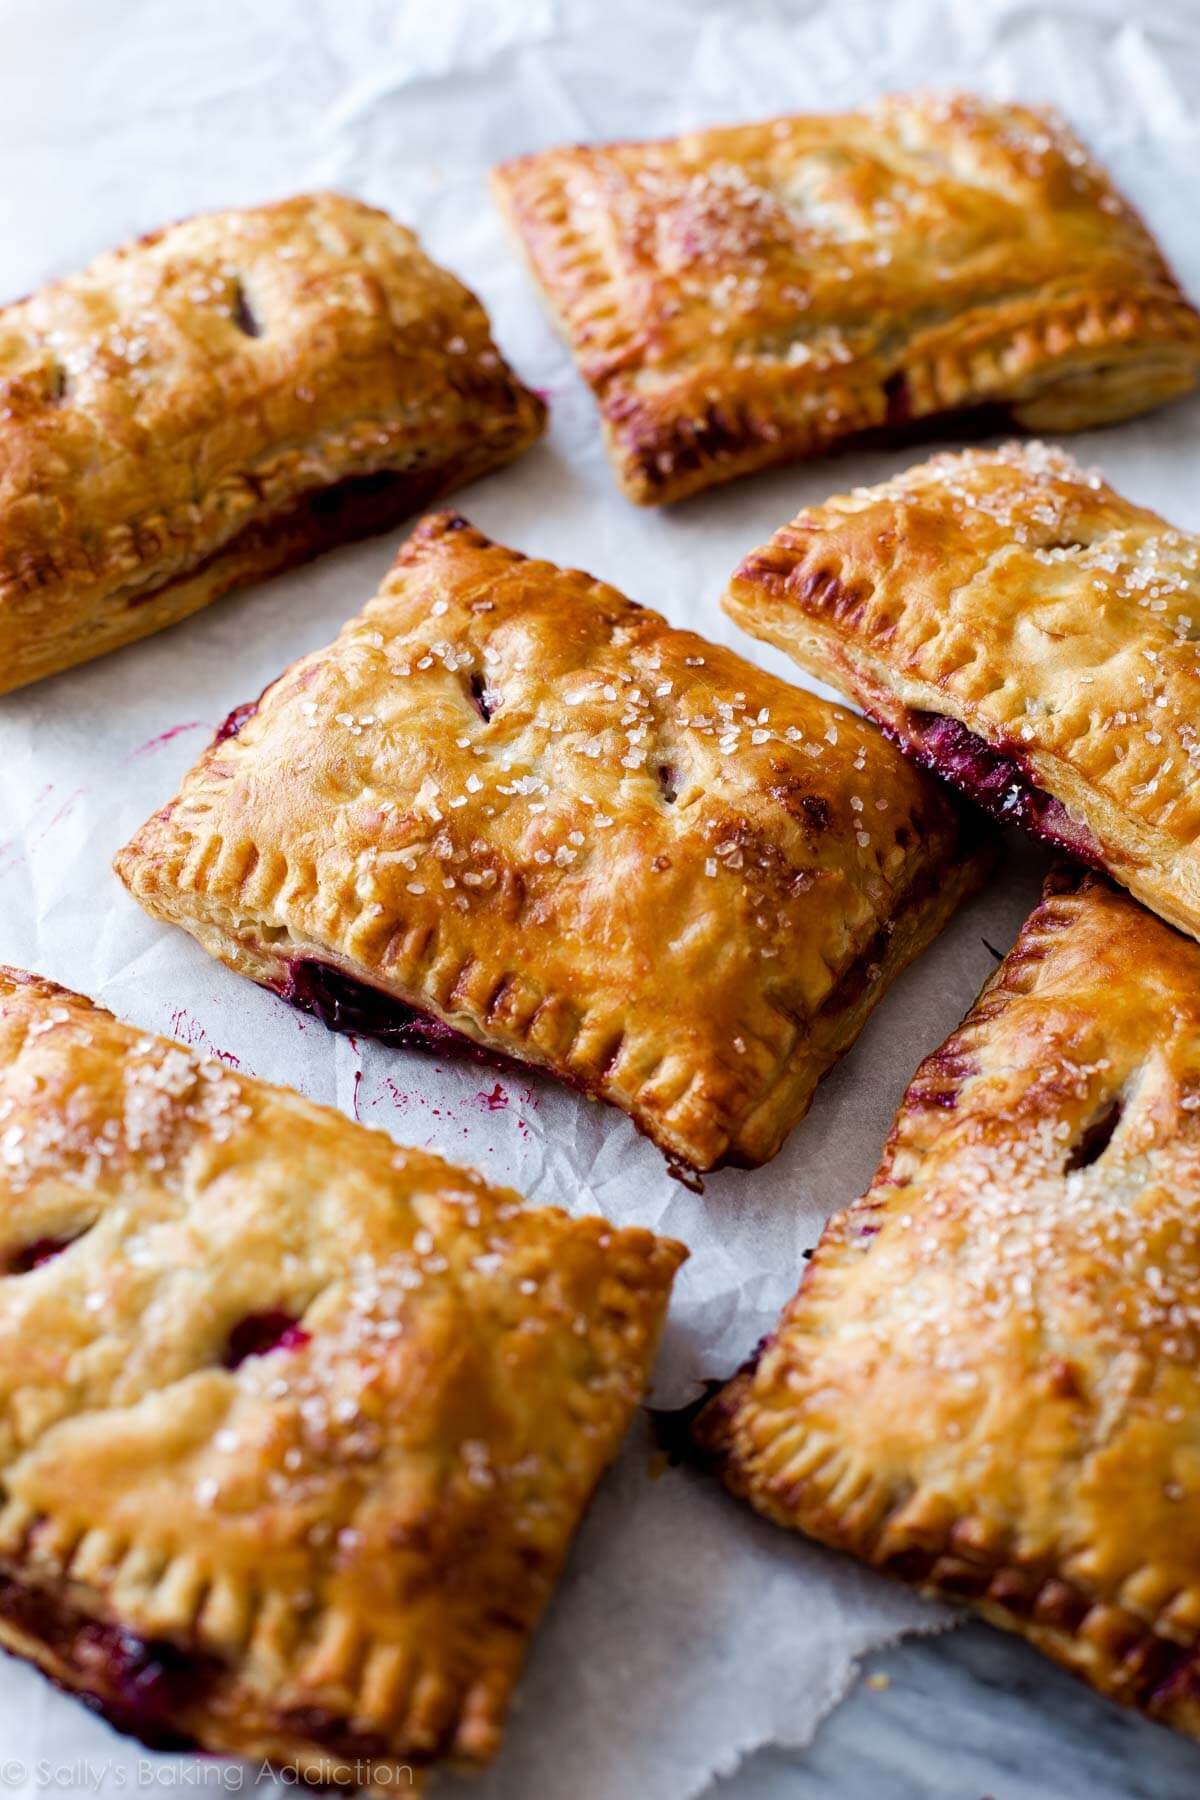
Since they’re sort of like toaster strudels—and totally like pop-tarts too—I’m having one for breakfast to shake up my very blah morning. If you are in more of a pop tart mood you can (and should!) try my chocolate pop tarts or brown sugar cinnamon pop tarts!
If you love baking with cherries, you’ll also love my cherry pie, cherry pie bars, cherry cobbler, cherry almond linzer cookies, and cherry pastry pies.
Print
Simple Cherry Pastry Pies
- Prep Time: 2 hours
- Cook Time: 30 minutes
- Total Time: 3 hours
- Yield: 6 pies
- Category: Dessert
- Method: Baking
- Cuisine: American
Description
The shortcut is in the frozen puff pastry!
Ingredients
Crust
- 1 box (2 sheets) frozen puff pastry, thawed in the refrigerator*
- egg wash: 1 large egg beaten with 2 teaspoons milk
- coarse sugar for garnish
Filling
- 1 and 1/2 Tablespoons cornstarch
- 1 and 1/2 Tablespoons room temperature water
- 12-ounce bag frozen cherries OR 2 and 1/4 cups (500g) fresh cherries, pitted and stemmed
- 1/2 cup (100g) granulated sugar
- 1 teaspoon fresh lemon juice
- 1/8 teaspoon salt
- 1 teaspoon pure vanilla extract
Instructions
- Make the filling: Mix the cornstarch and water together in a small bowl until combined and milky. Set aside. In a medium saucepan, combine the cherries, sugar, lemon juice, and salt. Stirring occasionally with a rubber spatula or wooden spoon, cook over medium heat until the cherries begin to release their juices—about 4-6 minutes. Stir in the cornstarch mixture, then bring to a boil while stirring often. Once boiling, let boil for 1 minute. Remove from heat then stir in the vanilla. Allow to cool completely at room temperature. The filling can be made up to 5 days in advance and stored in the refrigerator.
- Line a large baking sheet with parchment paper or a silicone baking mat. On a lightly floured surface, lay out one pastry sheet. Using a pizza cutter or sharp knife, cut sheet into 6 rectangles. 3 of these rectangles will be the bottom pastry pie crust, 3 will be the top. Transfer the 3 bottom rectangles to the prepared baking sheet. (Make sure there will room for all 6 pastry pies—if not, use a second baking sheet.) Using a pastry brush, brush the edges of the bottom rectangles with the egg wash. Spoon 2-3 Tablespoons of cooled cherry mixture onto each of the 3 bottom rectangles. Place the top rectangles over the cherry filling, lining up the edges as best you can. Crimp the edges with a fork to seal shut. Repeat this entire step with 2nd pastry sheet so you have a total of 6 pastry pies. Slice 2-3 slits in the tops for air vents (use a super sharp knife to do that). Use my photos in this post to help guide you in this step.
- Brush the tops of the pastry pies with egg wash, then sprinkle with coarse sugar. Chill the pies in the refrigerator for at least 25 minutes or up to 1 day.
- During the last few minutes of chill time, preheat oven to 375°F (190°C).
- Bake the pastry pies for 30-35 minutes, or until the tops are golden brown. Make sure to rotate the baking sheet once or twice during bake time. Remove pies from the oven and allow to cool on the pan until ready to handle and serve. Wrap each leftover pastry pie up tightly in plastic wrap and store in the refrigerator for up to 5 days.
Notes
- Make Ahead & Freezing Instructions: The filling can be made up to 5 days ahead of time; see step 1. The pastry pies can be assembled up to 1 day ahead of time; see step 3. You can also prepare and bake the pastry pies in advance and store the baked pastry pies in the freezer for up to 3 months. Thaw overnight in the refrigerator, then reheat in the microwave or a 300°F (149°C) oven for 20 minutes before serving.
- Special Tools (affiliate links): Glass Mixing Bowls | Whisk | Medium Saucepan | Silicone Spatula or Wooden Spoon | Baking Sheet | Silicone Baking Mat or Parchment Paper | Pastry Brush
- Puff Pastry: I always use Pepperidge Farm brand frozen puff pastry. It’s the perfect balance of buttery, flaky, and crispy without being greasy. Always thaw it in the refrigerator. I recommend thawing overnight.


These look fun. I just got a fresh picked bag of tart cherries. Would I just need to increase the sugar a bit?
Hi Tammi, yes, I’d say increase to 3/4 cup (150g) if using sour/tart cherries.
Made these today after cherry picking yesterday and they are heavenly! Thank you for the delicious recipe!
Hi Sally, Does this recipe work for berries
Hi Karen, sure does! Keep in mind that some berries (like raspberries in particular) can release more liquids, especially if you’re using frozen. If the filling seems especially wet, try to leave behind some of the liquids when you add the filling to the crusts. Enjoy!
My family and I loved this so much! Yummy & delicious. I used your rough puff pastry recipe as well. 🙂
Incredible! Perfect and delicious ☺️
Can the filling be made and stored in the freezer for future use? Thank you.
Hi Lisa! The filling can be made up to 5 days in advance and stored in the refrigerator, but we wouldn’t freeze the prepared filling. Fresh cherries can be frozen, and then used to make the filling later, if desired.
Incredible! Perfect and delicious!
If I want to make these with homemade rough puff pastry, would I be able to use the amounts from your berry turnover recipe? would i have to adjust any amounts? thanks
Hi Suzie, you can use the rough puff pastry from the berry turnovers. It should be just the right amount. Enjoy!