Be a pie dough master! Here’s a helpful video and tutorial for how to braid pie crust.
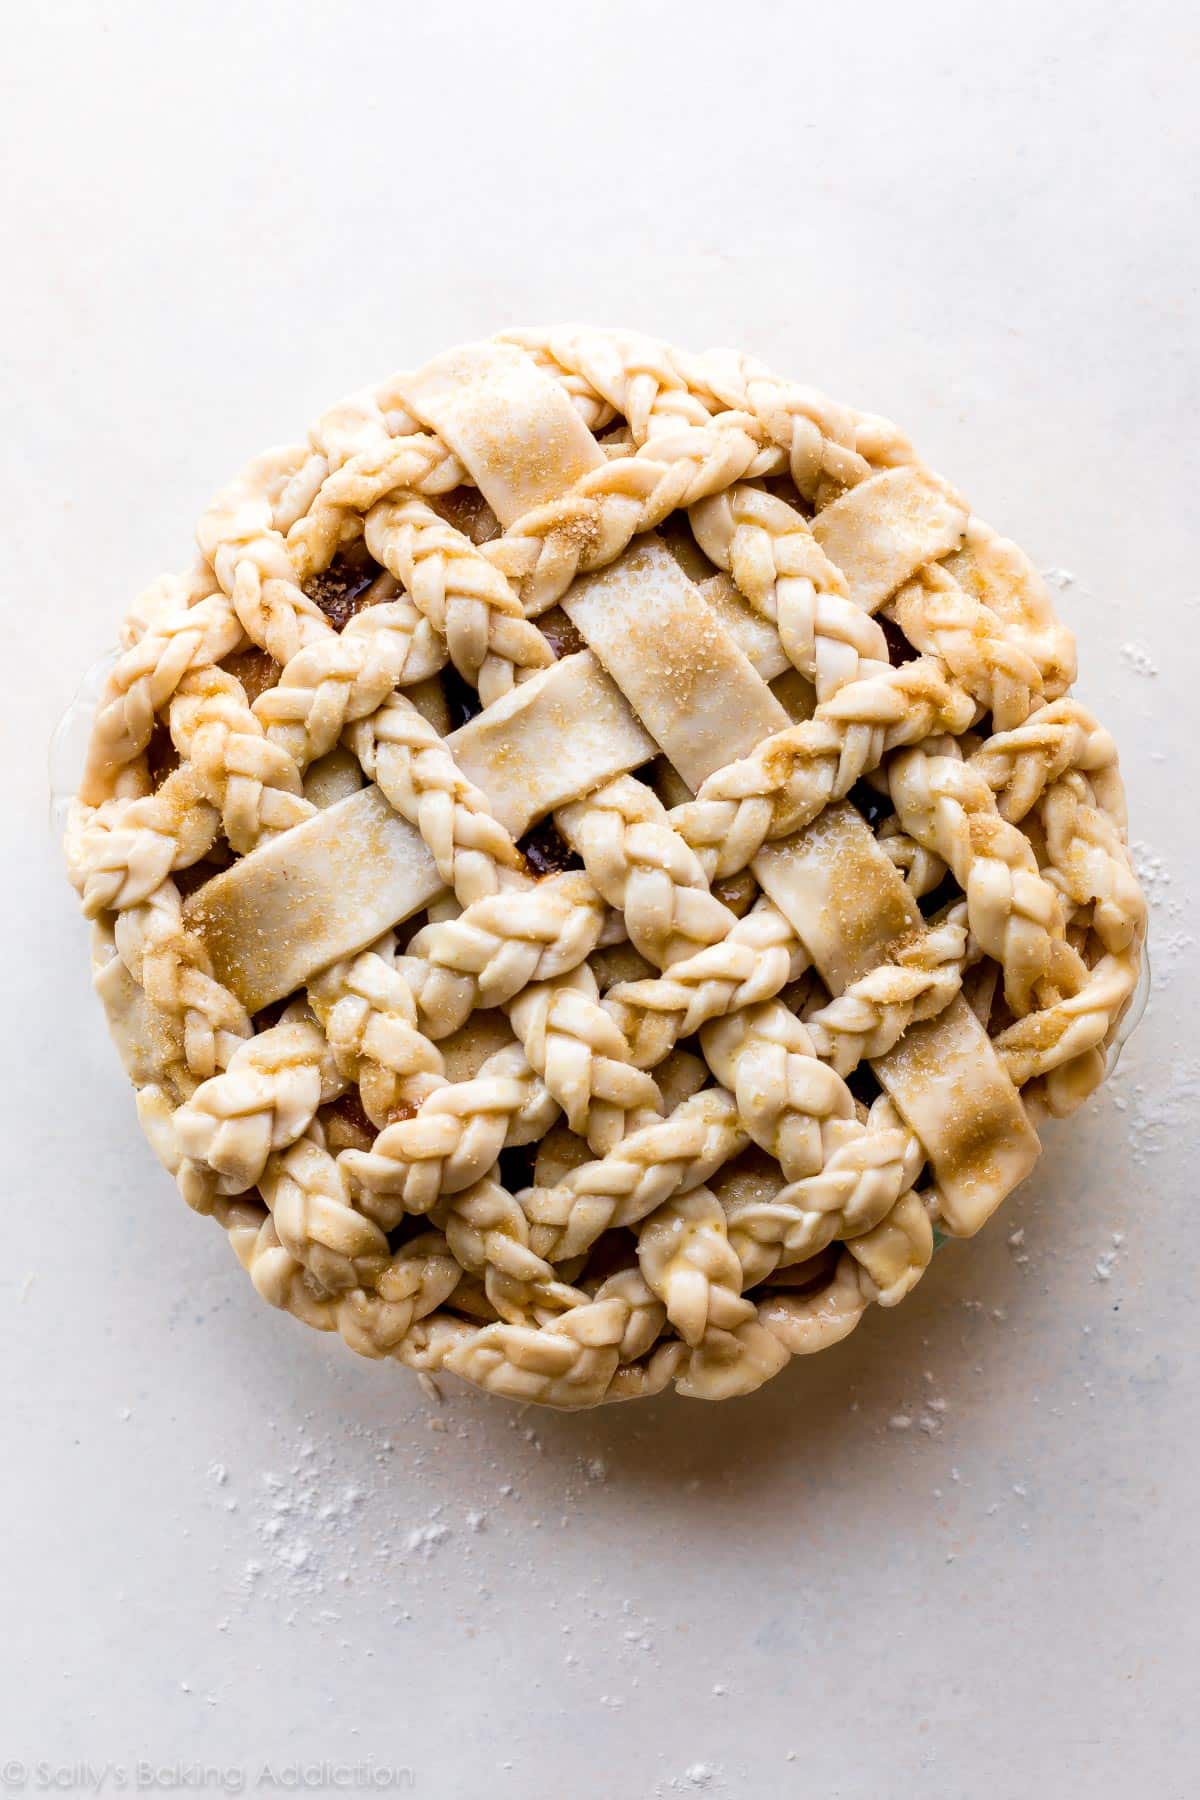
Braiding pie dough is my favorite way to design a pie crust, but I’ll admit that it took some practice to master the craft. Today I’m sharing all my tips and tricks so you can skip my mistakes and begin braiding pie crust like a champion right away. After reading this post and watching my tutorial, I guarantee pretty pies in your future!
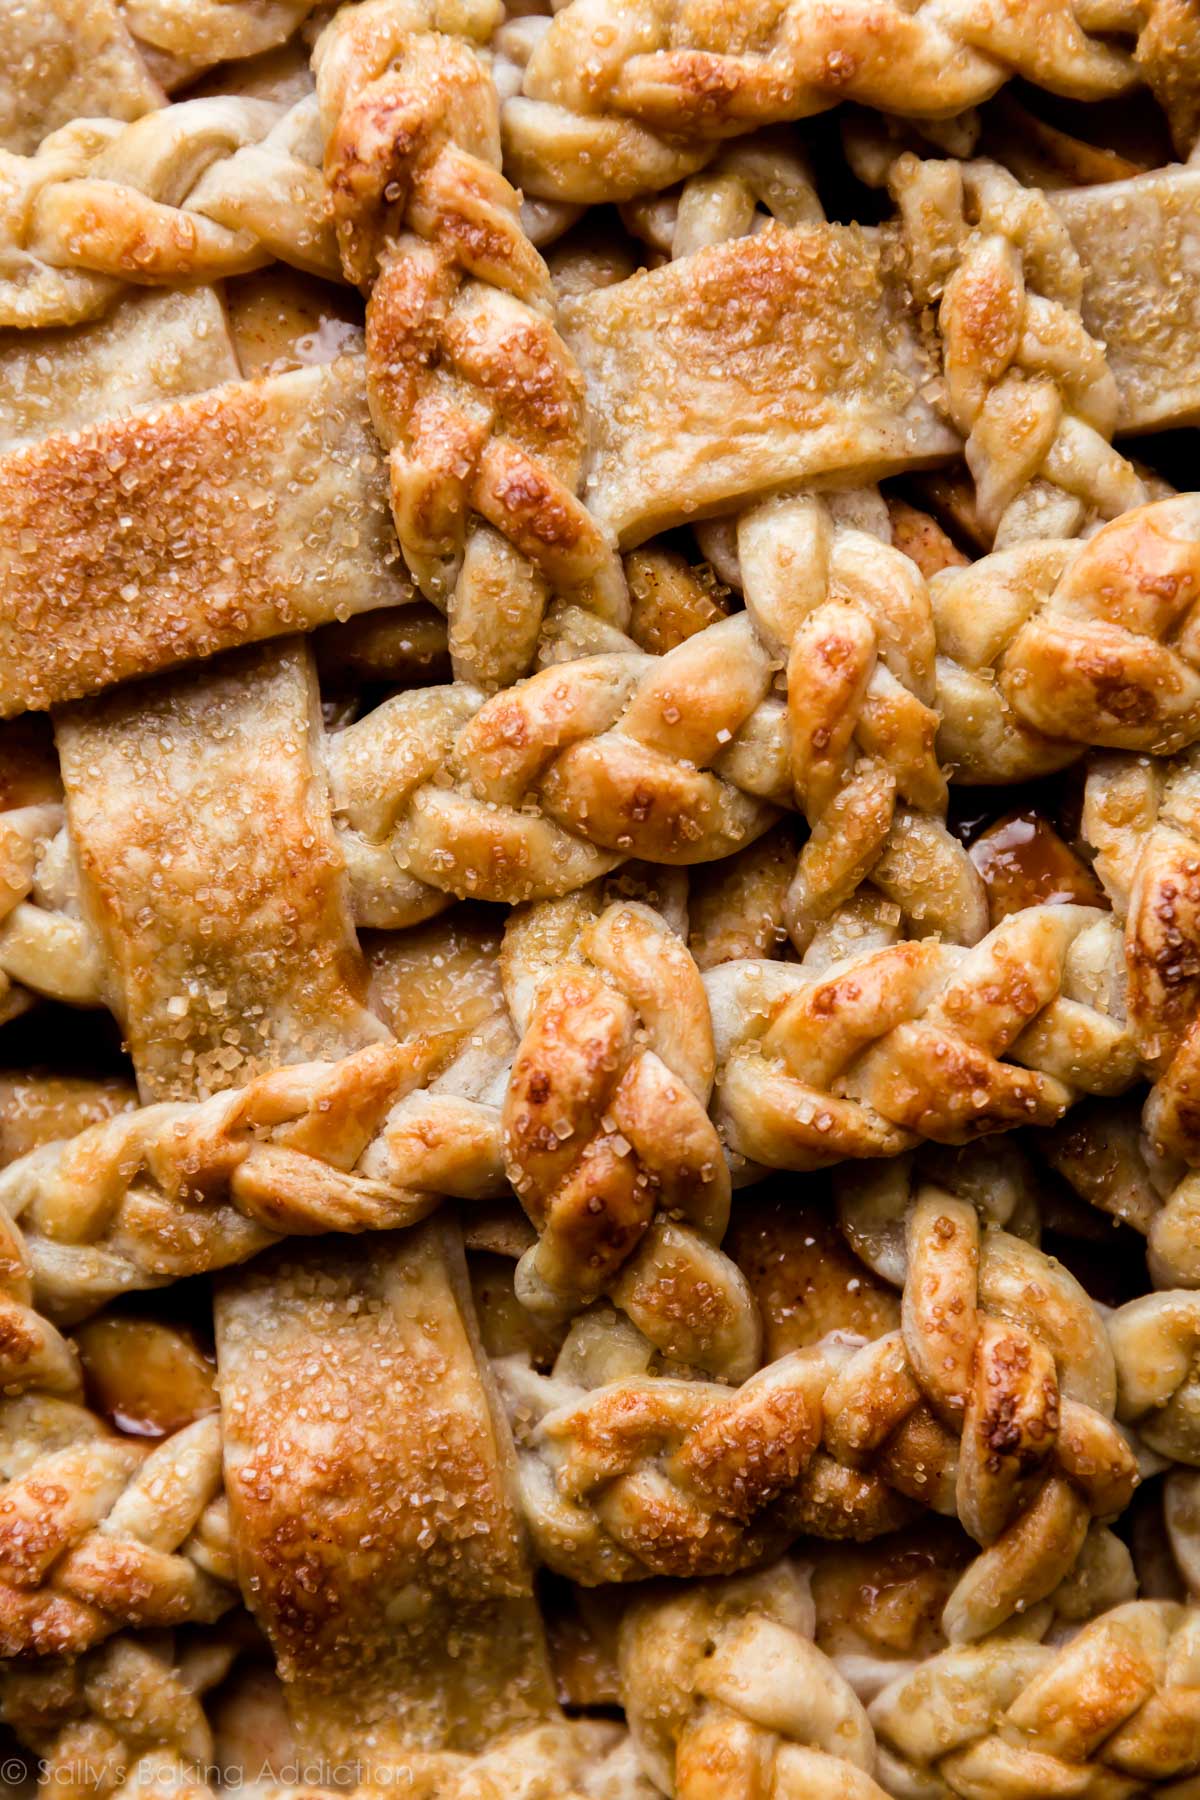
If you know how to braid hair, you know how to braid pie crust. I’m using my favorite pie as the model for showing you how to braid pie crust: salted caramel apple pie. It would look equally as gorgeous on a traditional apple pie, blueberry pie or cherry pie.
How to Braid Pie Crust
- Quality Pie Dough: Start with quality pie dough that’s sturdy, strong, and tastes good! Don’t sabotage your efforts with sub-par dough. I recommend my homemade pie crust. This crust, prepared with a mix of butter and shortening, holds its shape beautifully. Remember to use cold fats. In the summer months, I even suggest beginning with cold flour. Stick the bowl of flour + salt in the freezer for 30 minutes before adding the fats. If you’re looking for an all-butter pie dough, here is an all butter pie crust I love.
- Roll it Out: Roll out the pie dough on parchment paper. When rolling out pie dough, go slow. Always start from the center and work your way out in all directions, turning the dough with your hands as you go. If the edges are cracking, smooth them out with your fingers. I recommend parchment paper because you can easily lift up the parchment, place it on a baking sheet, and stick the rolled out dough in the refrigerator. Warm or room temperature pie dough is impossible to braid; it must be cold.
- Cut into Thin Strips: Use a pizza cutter to cut into narrow strips. The thinner the strips, the more likely they are to tear. The thicker the strips, the more messy the braids appear. I suggest no more narrow than 1/4 inch and no wider than 1/2 inch. Somewhere between the two is your sweet spot.
- Braid the Pie Crust: Take 3 strips aside. Pinch/meld the tops together. Begin braiding. (If you don’t know how to braid, watch my video or find a close-up hair braiding video tutorial!)
- Decorate Your Pie: Use the braided strips as decoration for your pie. Watch me make a lattice design in the video below!
Tips for Braiding Success
- Cold Pie Dough: Keep all of the pie dough you aren’t directly working with in the refrigerator. This is why I recommend rolling out the pie dough on parchment paper so you can easily lift up the parchment, place it on a baking sheet, and stick the whole thing in the refrigerator. Warm or room temperature pie dough is impossible to braid. It must be cold. This was worth repeating!
- Have Extra Pie Dough: Braiding uses a lot of pie dough, so for a lattice design like you see in these pictures and video, have a 3rd pie crust handy. I used about 2 and 1/2 crusts. 1 for the bottom and 1 and 1/2 crusts for the top decoration.
- Two Hands: Always pick up the braids with two hands because they’re delicate and fragile.
- Extra Flour: Keep flour on hand to lightly dust the work surface and your hands.
- Easily Fix Any Tears: If a strip tears as you are braiding, just mold it back together with your fingers.
- Make Room: Give yourself a lot of room to work.
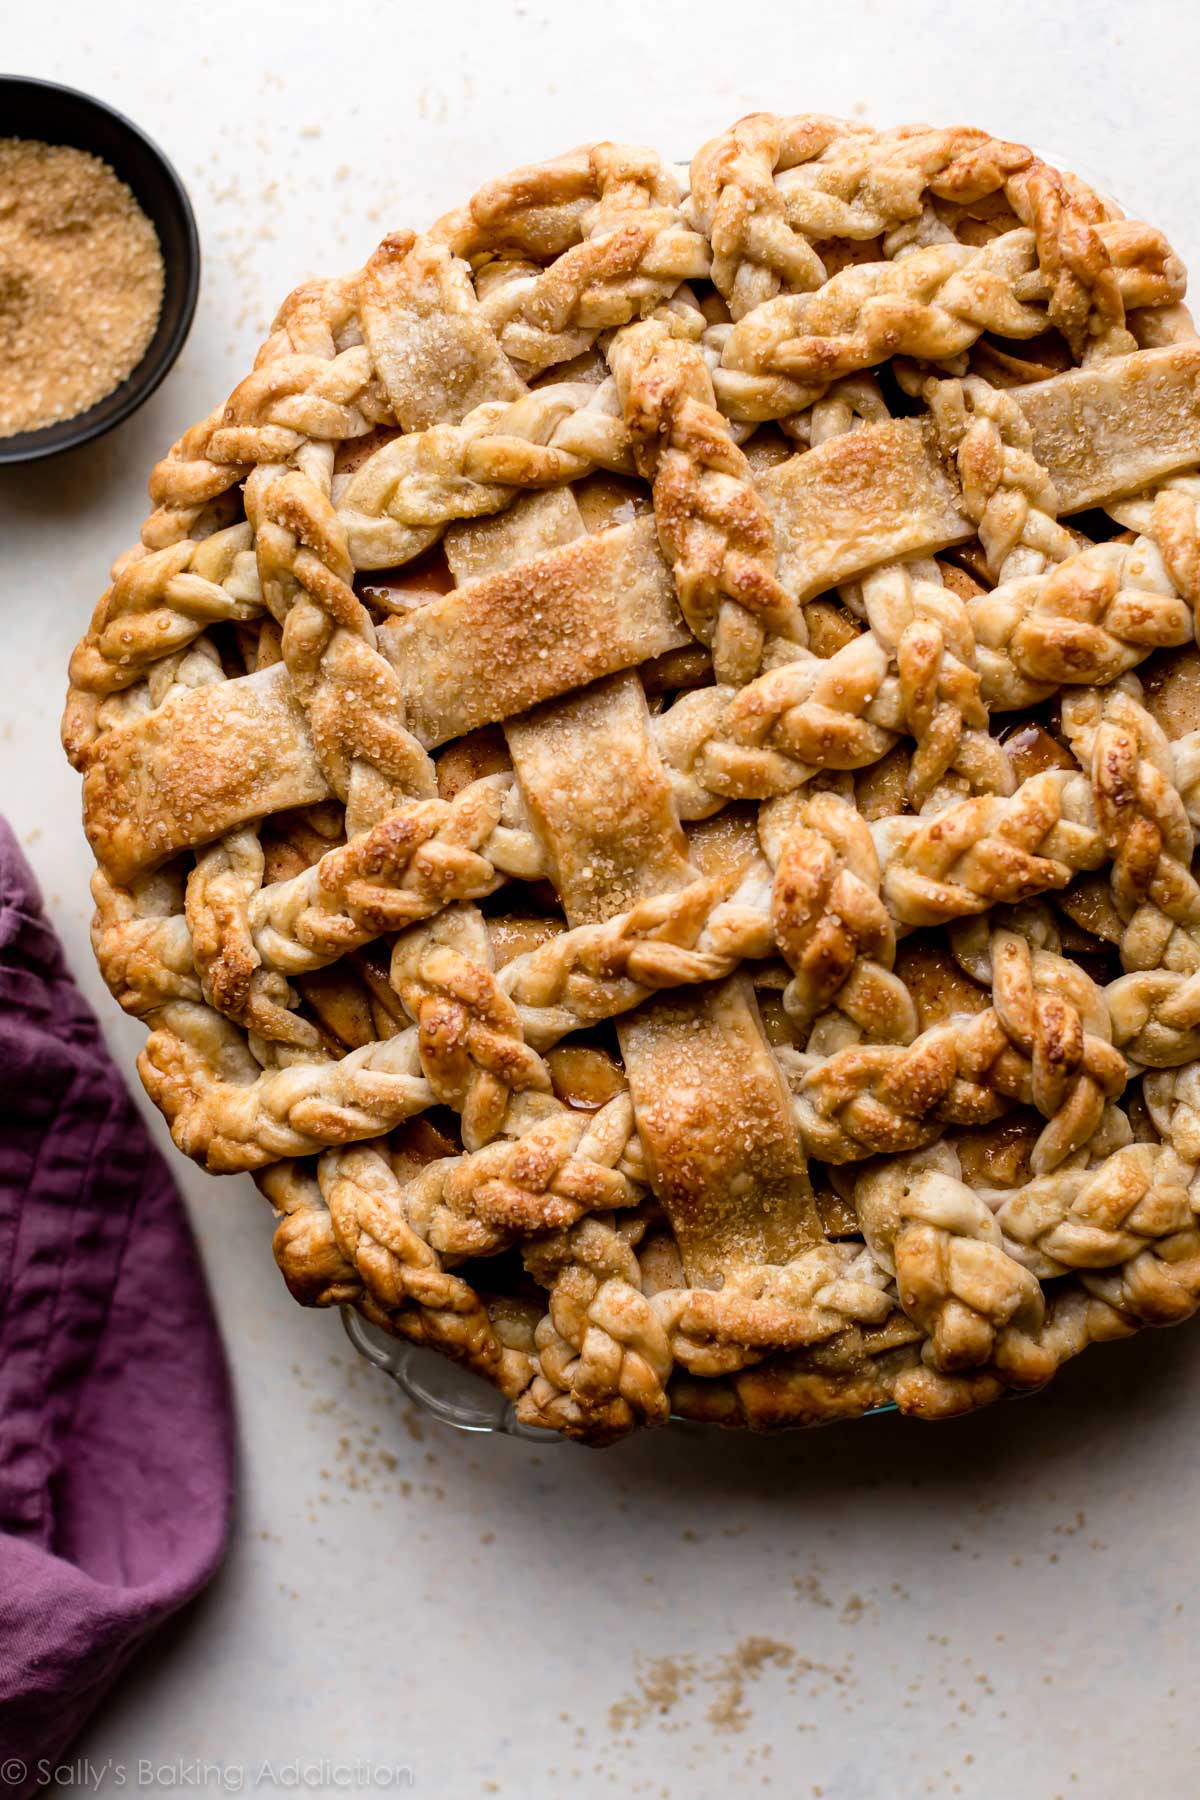
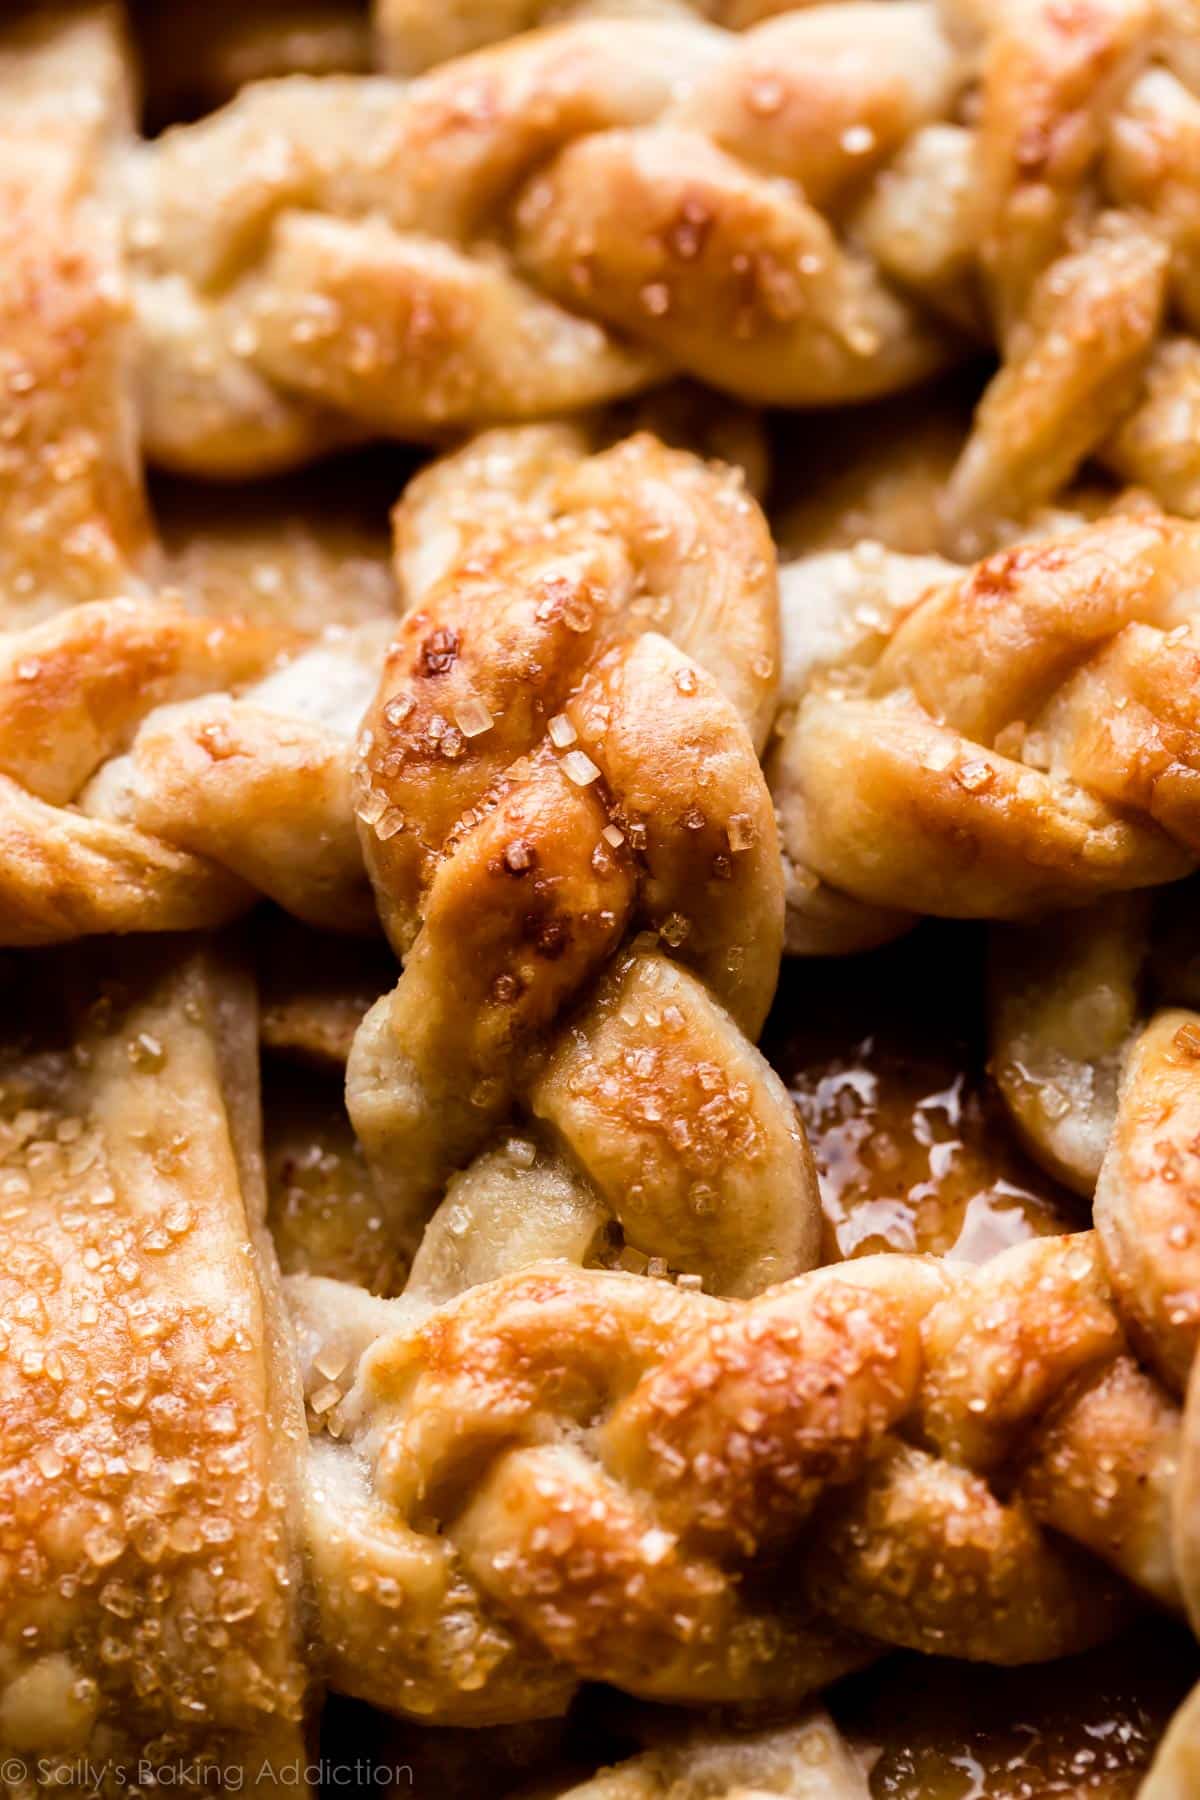
As I always suggest, finish the unbaked pie with a brush of egg wash and a sprinkle of coarse sparkling sugar for added crunch. Need some pie recipe inspiration?
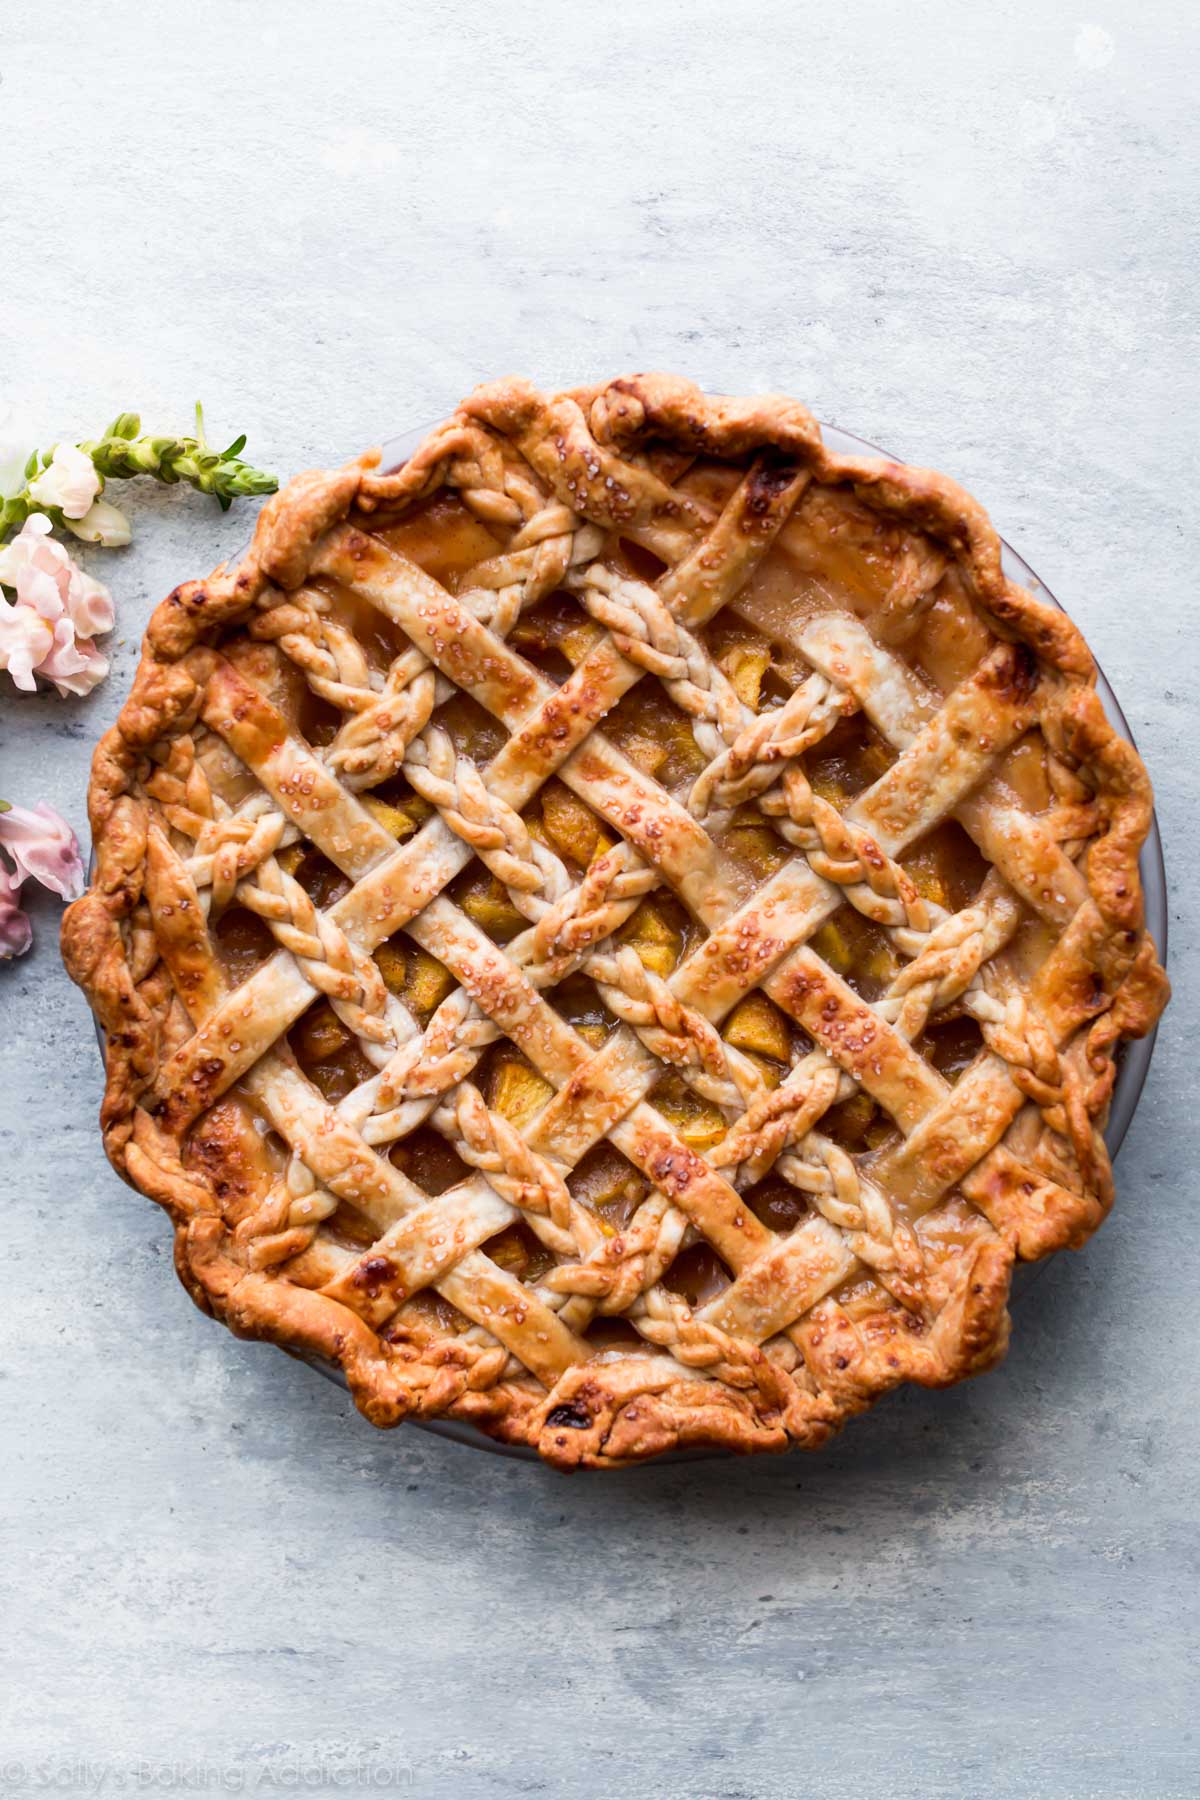
Here’s my peach pie with braided pie dough:
More Favorite Pies
- Classic Apple Pie
- Cherry Pie
- Apple Cheddar Pie (includes a braided lattice)
- Strawberry Rhubarb Pie
- Apple Cranberry Pie (includes a braided edge)
- Salted Caramel Apple Pie (the pie used in today’s post)
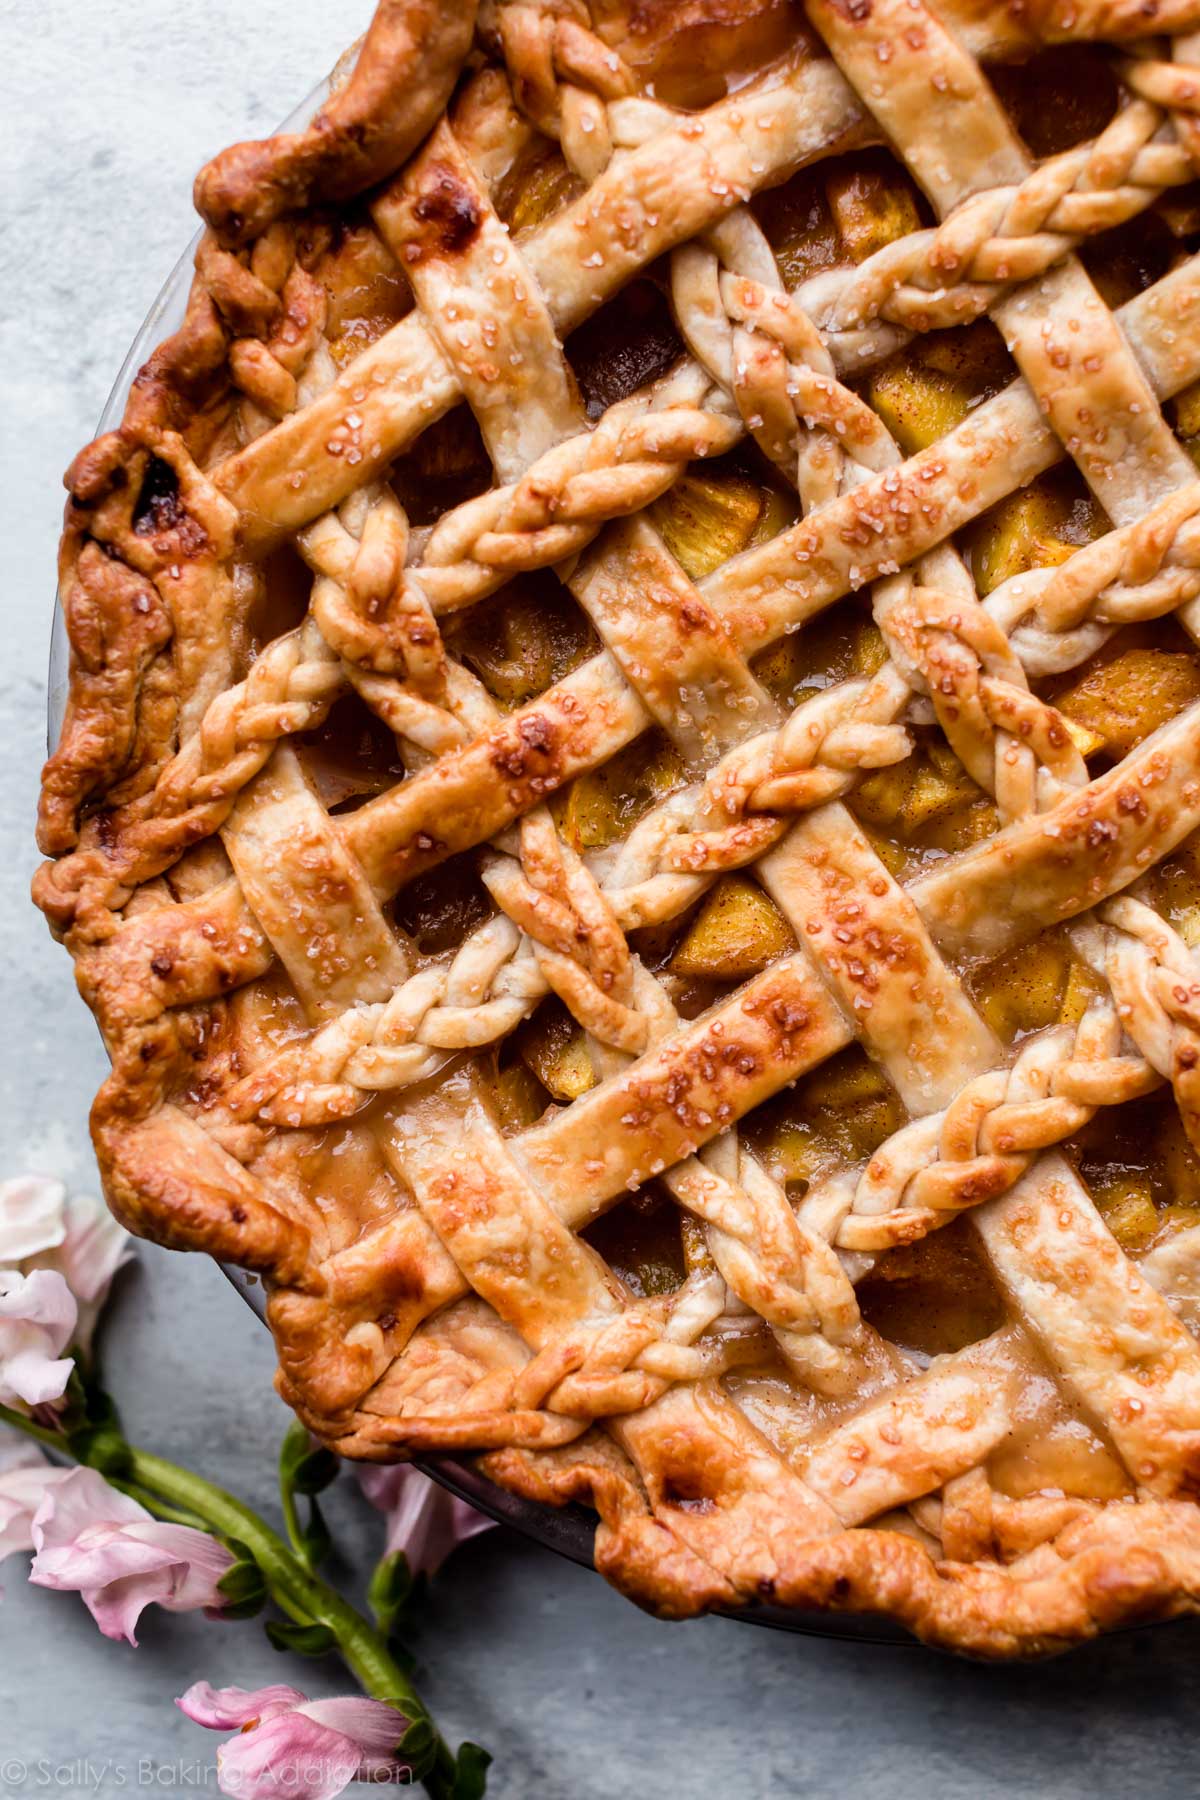
And here’s a post I dedicated to different pie crust designs. I also have in-depth tutorials for how to lattice pie crust and how to crimp and flute pie crust, as well as a list of 10 best pie baking tools. Now go decorate pie like a pro!
Q: What’s your favorite way to decorate a pie?


I think your TIPS are great!
Can I make the braids for a pie ahead of time and keep them in the freezer??
Hi Peggy, Absolutely– we do that often!
How thick do you roll out the crust to make your braids
Hi Diane, We suggest no thinner than 1/4 inch and no thicker than 1/2 inch. Somewhere between the two is your sweet spot. See the steps in the post above under “How to Braid Pie Crust” for details.
This is a beautiful pie. I just can’t get the hang of doing lattice. It sure looks nice.
Hi Sally,
I have used your recipe for your piecrust several times and they are wonderful. Is this recipe adequate for a 10 inch deep dish pie crust?
Thank you so much,
Janet
Hi Janet, for 10 inch pie dish, we’d recommend using 3/4 of the dough recipe (either our homemade buttery flaky pie crust or our all butter pie crust). So instead of using half for 1 9-inch pie (recipe yields enough for 2 9-inch pie crusts), use 3/4 of the dough for your size dish – honestly, you could just eyeball it. If you need a top AND bottom crust, we would 1.5x the recipe.
Hey I use your recipes for all of the pies I bake! My family loves them but every time I roll out my dough it cracks and breaks. I love braiding my crust but it breaks as well. I’m not sure what I am doing wrong.
Hi Tori! If the dough is just too hard right out of the refrigerator, let it sit at room temperature for 10 minutes. It will still be cold, but even a few minutes at room temperature will help soften it up. Roll out very slowly and gently. If the edges are cracking, use your hands to bring the edges back together. (We always use our fingers to “meld” any cracks back together– as if it were play doh.) If it’s cracking, the dough may not have enough liquid. We highly recommend at least 1/2 cup of ice water. Most pie dough problems come from not adding enough water. I hope all of this can help for next time!
Hi Sally, I’m going to make this for Thanksgiving. Question, do you think I could make and freeze the braids/lattice strips ahead of time and then just put them on the pie when it’s time to bake? Thank you!
Absolutely– I do that often! No need to thaw.
Sally, question– your traditional butter/ shortening crust is my go-to, but after reading this braiding tutorial I noticed that you say your all butter crust yields 3 pie crusts… yet when I go to the recipe, it only shows that it yields 2. Can you clarify? Thanks girl!
Hi Angela! I actually published this recipe before I posted my 2 crust all butter crust. So the butter crust I linked to in this tutorial is for my SLAB PIE amount of butter crust, which makes 3! I cleared it up in the links though. No more confusion. 🙂
I recently found myself recently standing in front of the flour section at the grocery store, staring blankly, suddenly questioning whether or not I usually buy bleached or unbleached all-purpose flour. I was having brain-freeze. I decided to buy the unbleached, but when I got home, I saw that my nearly empty bag of flour was bleached.
Since then, I’ve gone on several internet searches for the differences between the two and also to find out which recipes work best with which flour. I’m more informed, but still not completely confident in my knowledge of the two. I’d love to see a “Baking Tip” post from you on the subject of flour! 🙂
Sally I love the look of braided pie crust designs! I cannot wait to try this out this fall on some of my fall pies!
Hey Sally! I’m very excited to try this and the video was very helpful. Also, I was wondering: What is your favorite fruit to use in pies.
Apple pies are my favorite!!