Homemade bakery-style bread has never been easier. This super crusty no knead jalapeño cheddar bread is baked in a dutch oven and requires practically zero hands-on work from you!
I originally published this recipe in 2018 and have since added new photos and a video tutorial, as well as simplified instructions.
One reader, Tina, commented: “One of my favorite bread recipes from you. I’ve made it multiple times over the the past couple of years. Every time it comes out crusty and delicious! The honey butter recipe pairs perfectly with this bread. In fact, I have the dough resting on my counter right now. Can’t wait to eat it! ★★★★★“
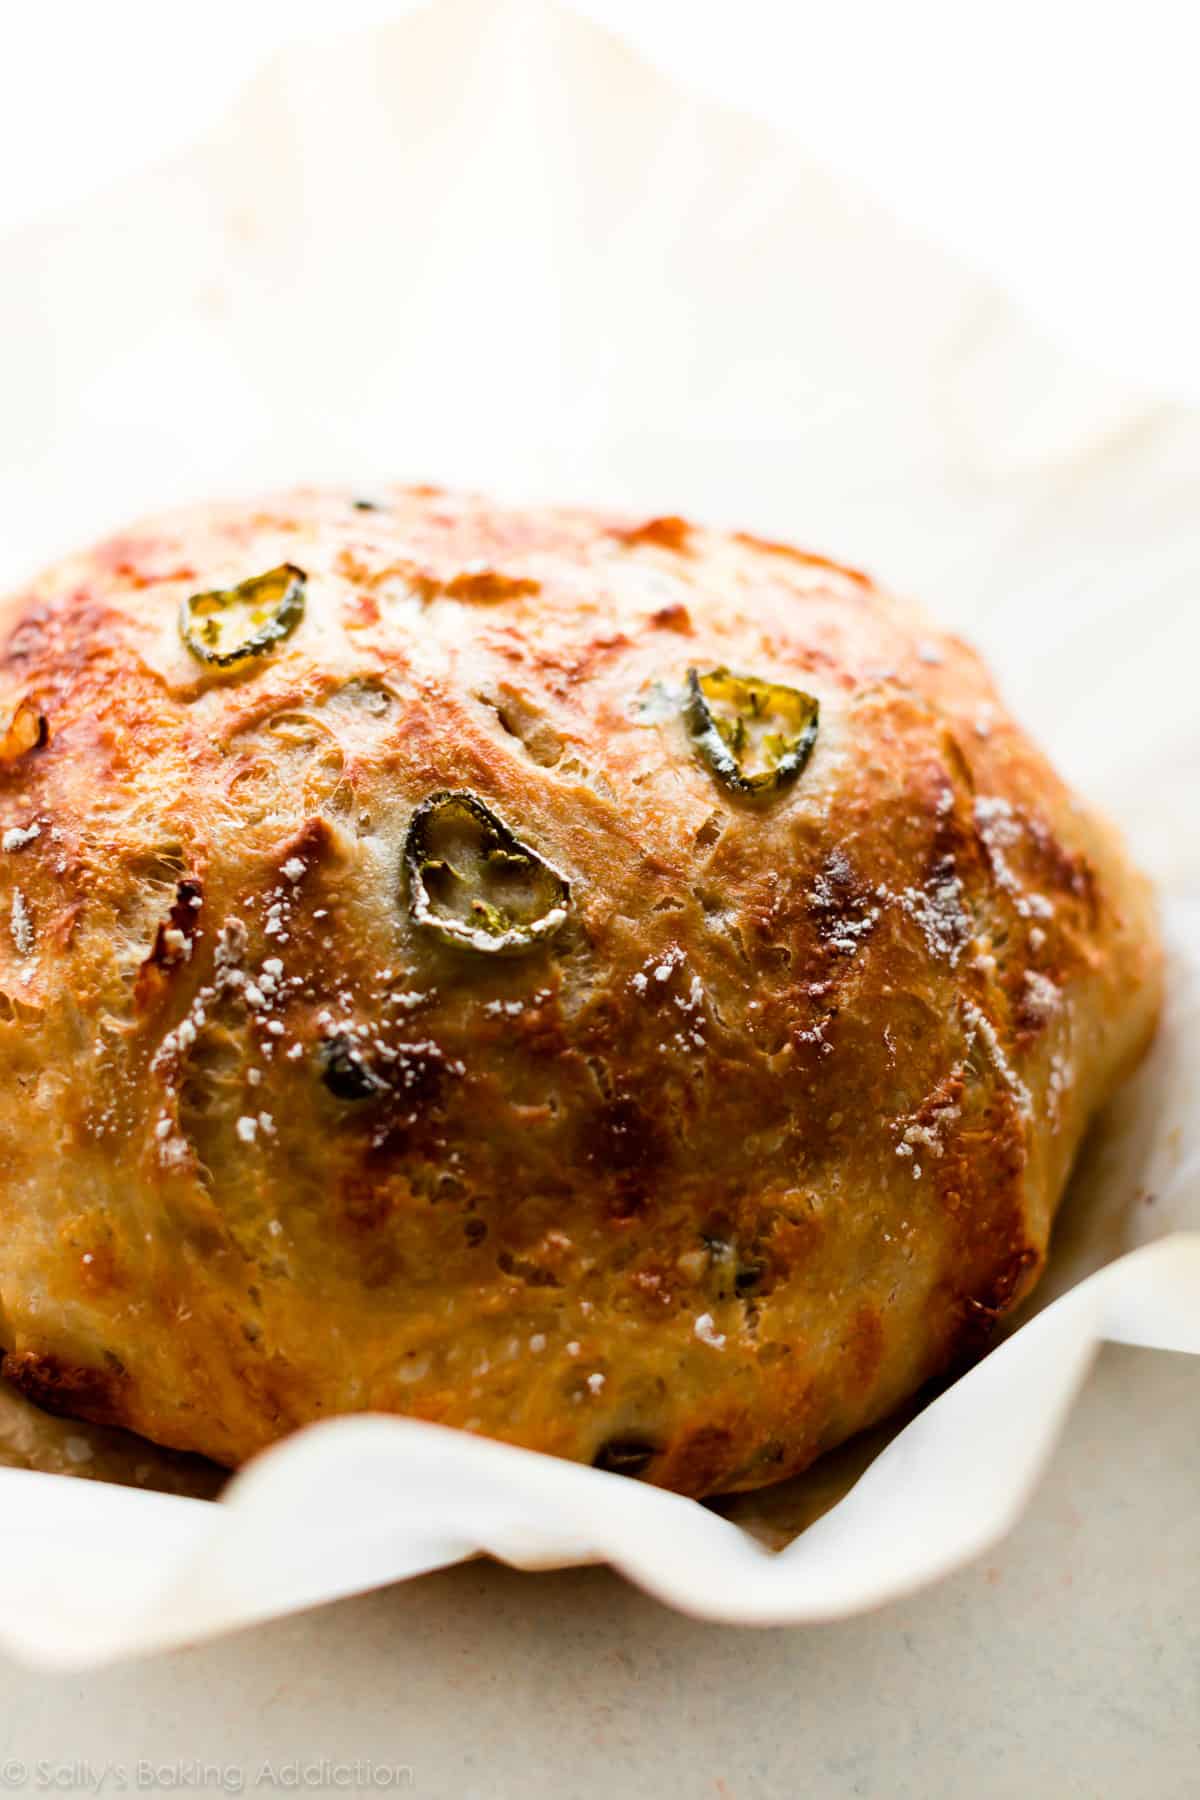
After sharing this cranberry nut no-knead bread, many readers asked for another flavor variation. Since then, I’ve also published no-knead olive bread, super seeded oat bread, this “plain” homemade artisan bread (anything but plain, so flavorful!), no-knead asiago-crusted skillet bread, and today’s jalapeño cheddar bread. I’ve actually had today’s recipe published for a few years, and just added some new photos and simpler instructions.
Grab some spicy jalapeños, a block of sharp cheddar, and lots of self control.
What comes to mind when you think of homemade bread? Unless you’re a seasoned baker, it sounds a little scary, right? This recipe will completely change that thought. You can make bakery-style bread at home and besides stirring the ingredients together, the process requires zero work from you.
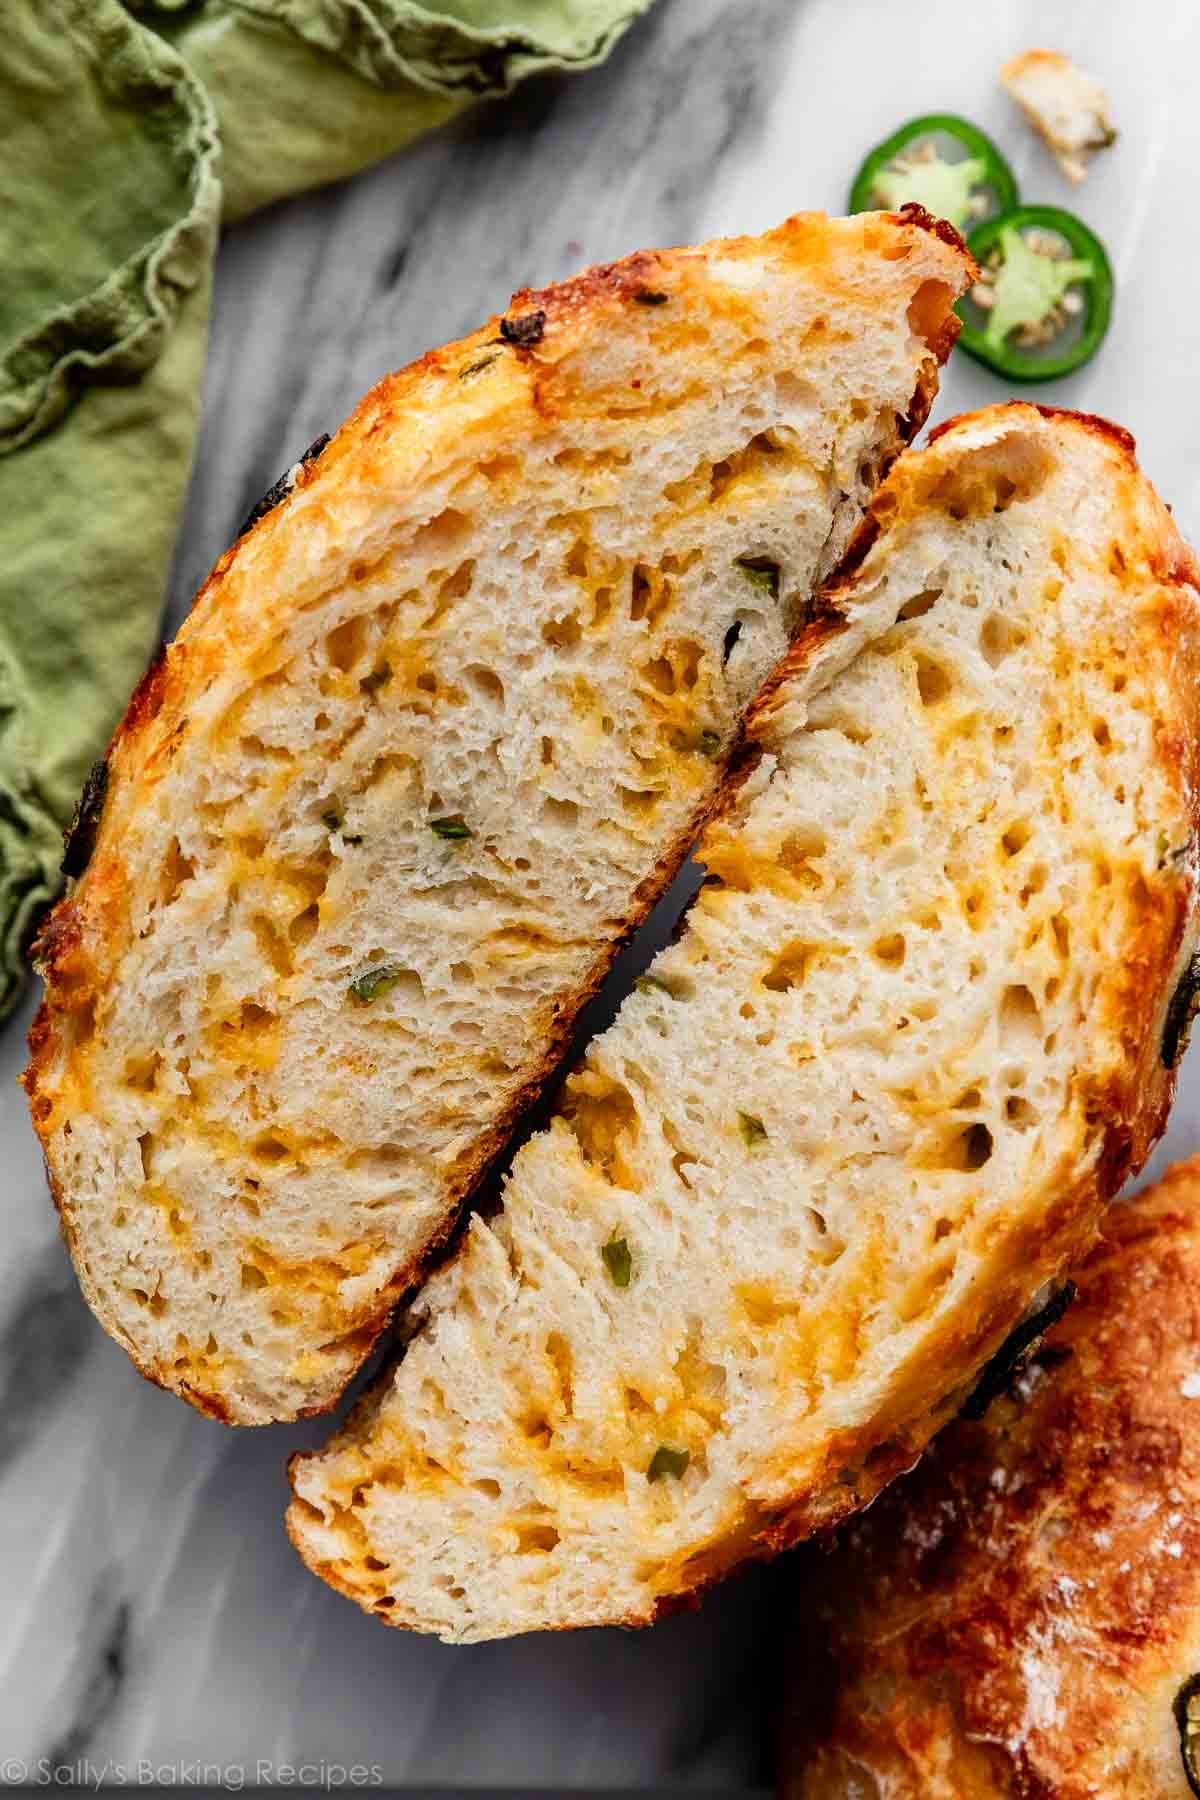
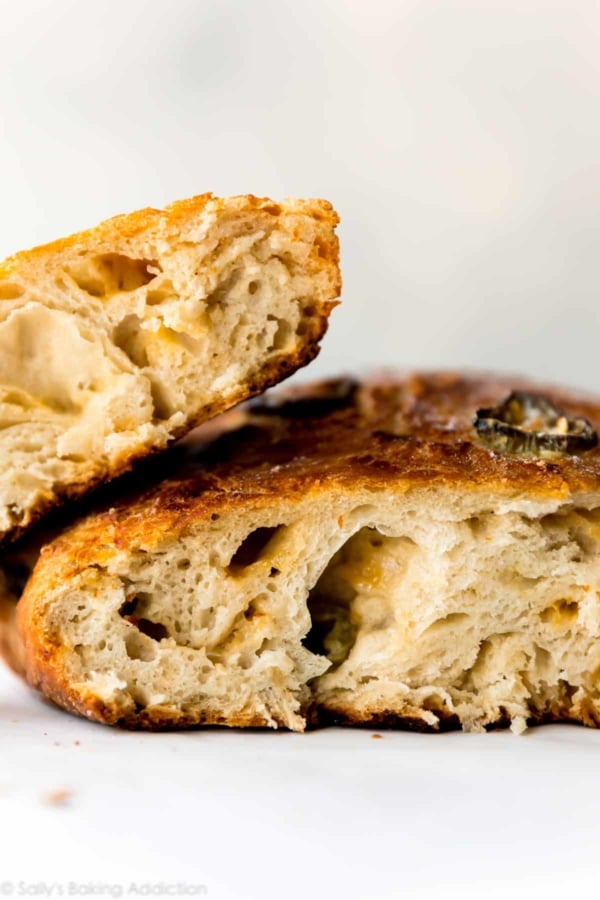
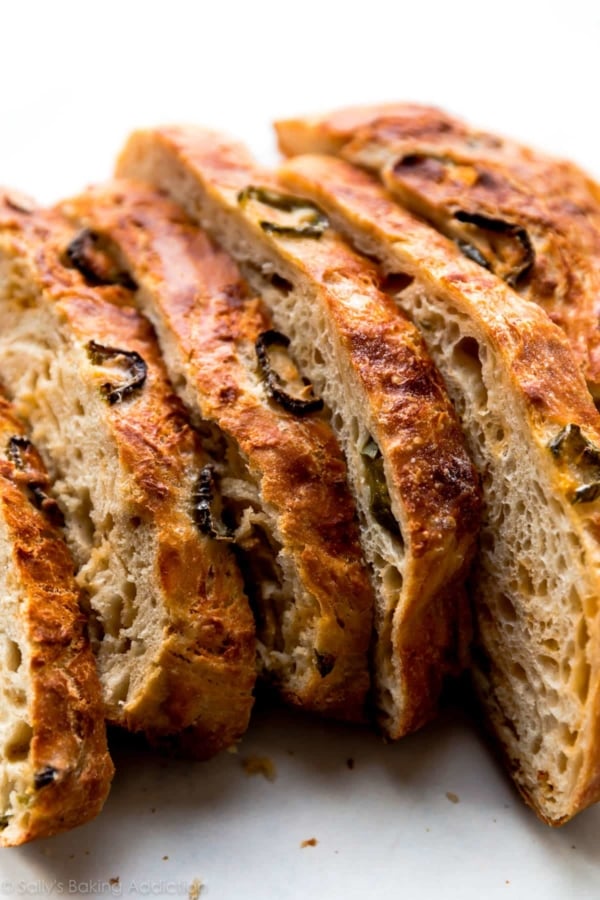
How to Make Jalapeño Cheddar No-Knead Bread
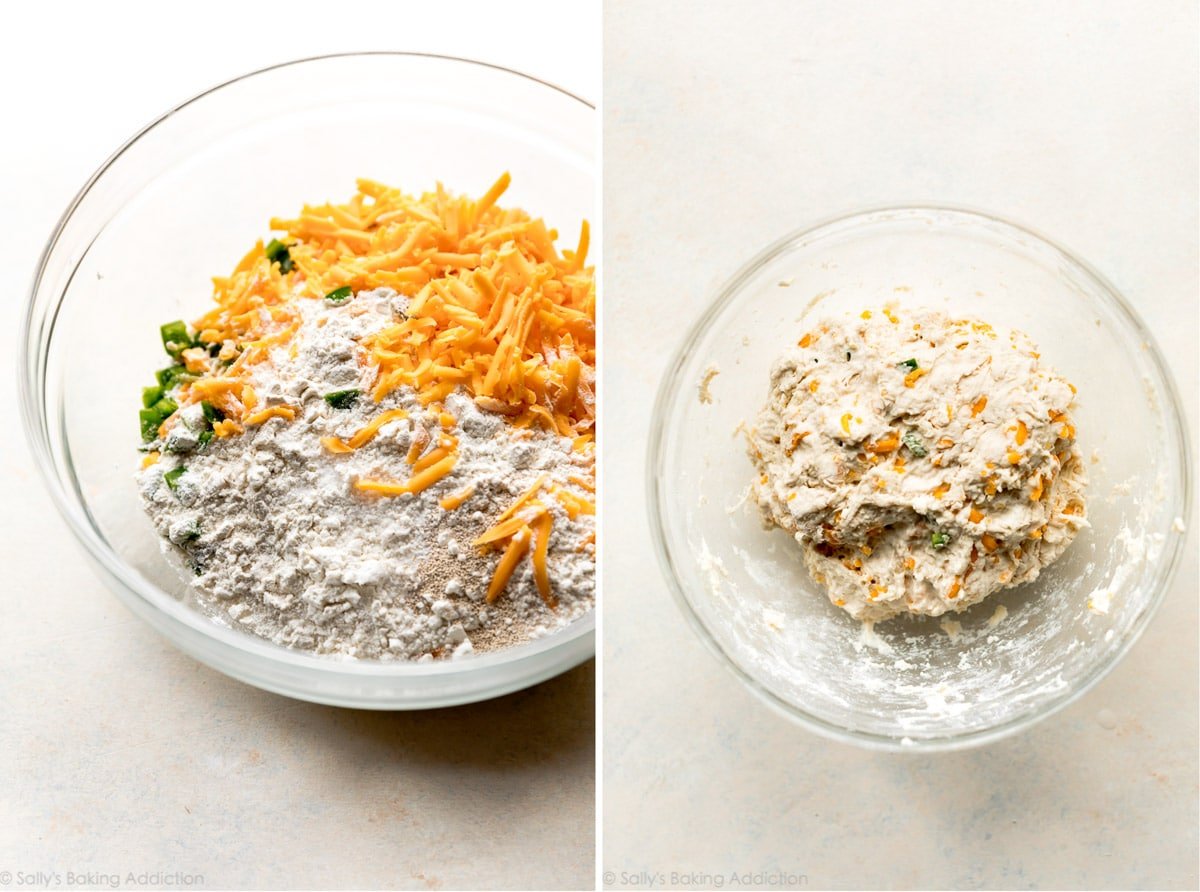
- Stir 6 ingredients together including flour, yeast, salt, cheddar cheese, chopped jalapeño, and water. Don’t even break out your mixer.
- Shape into a ball and leave it alone for a day.
- Score an X on top of the dough, let it rest, and then bake it in a dutch oven to obtain a super crisp crust.
- Eat it.
That’s all. This no knead, professional-bread-at-home method has swarmed the internet and kitchens all over the world. It originally came from Jim Lahey of Sullivan Street Bakery in NYC. It’s all very basic ingredients, but the method was groundbreaking and includes an 18 hour rise time. This overnight rest gives the dough a chance to ferment. Just set the dough on your counter and forget about it. The magic happens when you’re not looking! Forget how to knead dough; you don’t need to worry about that!
Let’s Talk Jalapeño & Cheddar
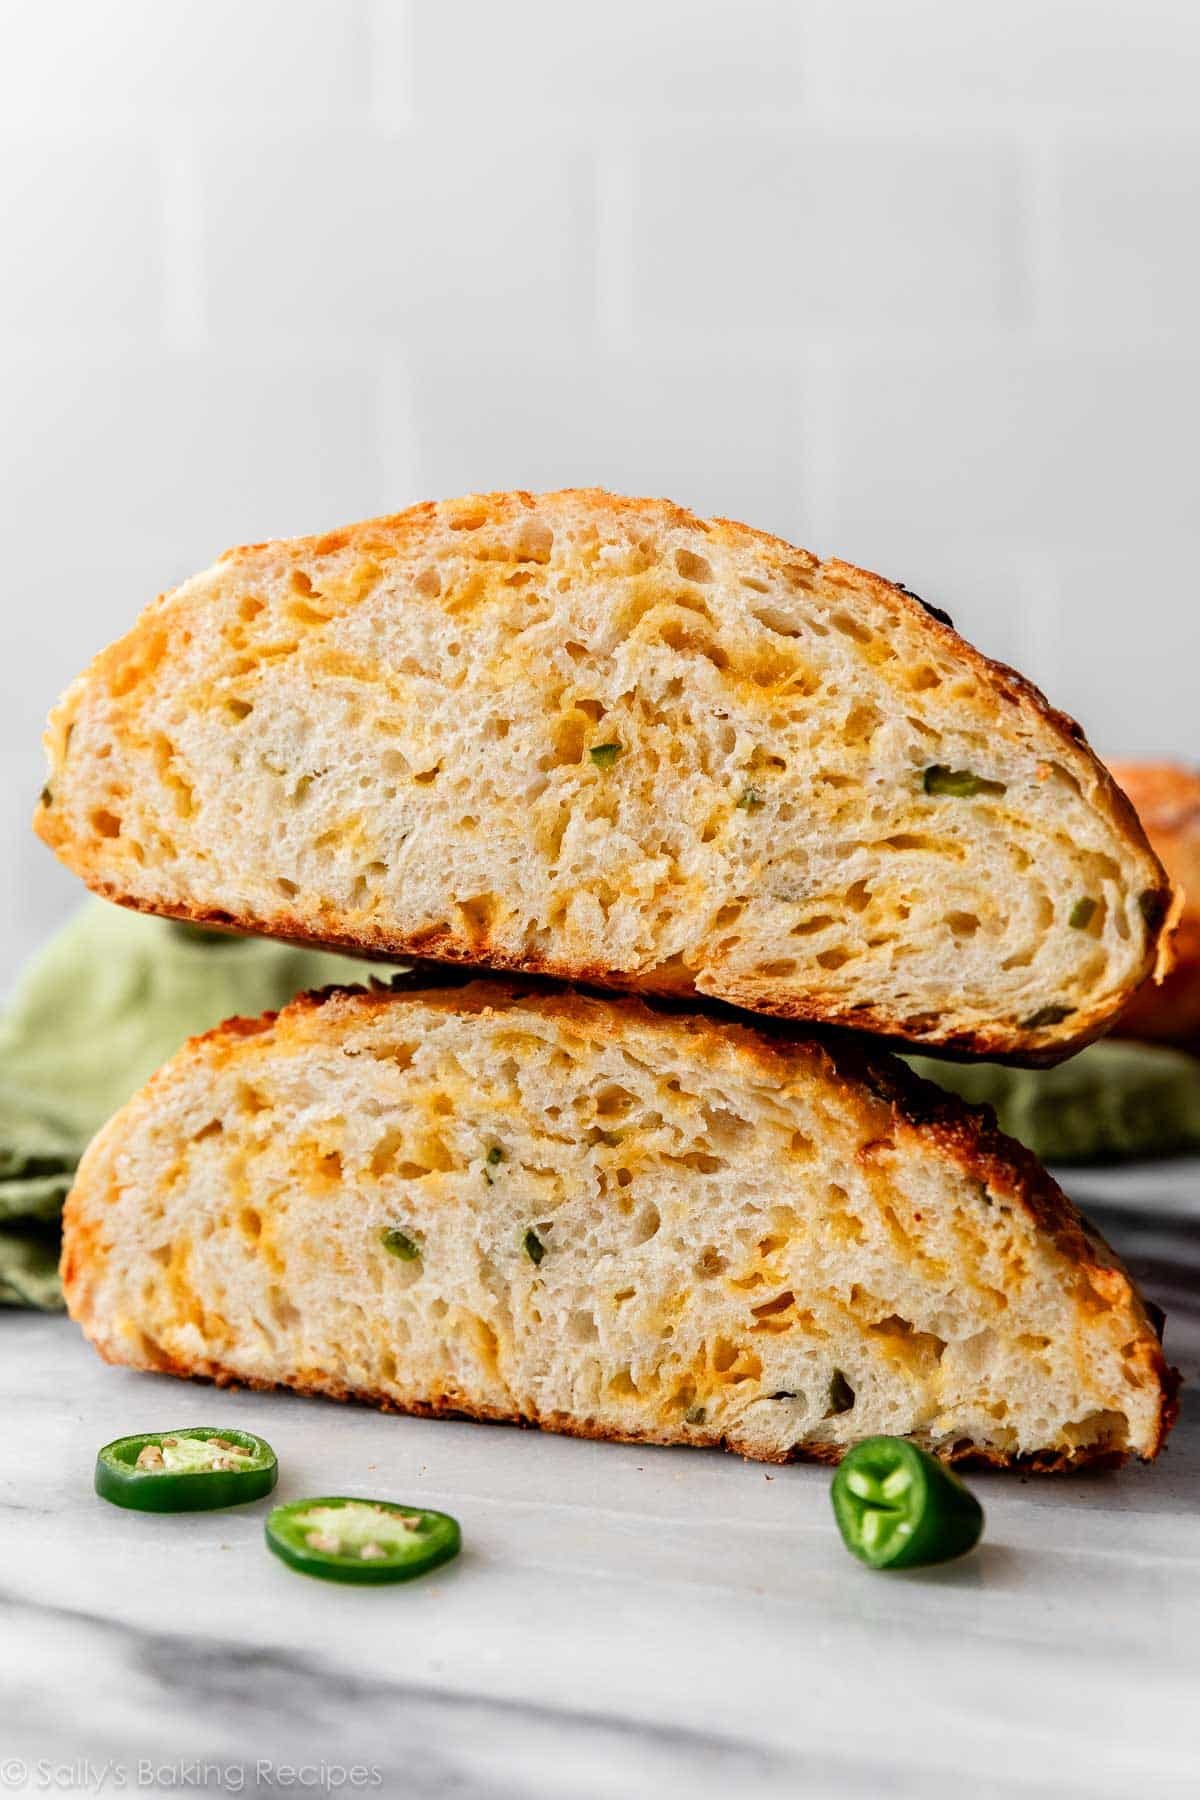
The bread’s base flavor comes from the fermentation over the 18 hour period. But to shake things up and make this a fancy-tasting specialty bread, add 1 diced jalapeño and some sharp cheddar cheese.
- Is this jalapeño cheddar bread spicy? Sort of. I can tolerate a little spice and I LOVE this bread. The pieces of dough without jalapeño helps to cool off your mouth. Feel free to adjust the amount of jalapeño based on your heat tolerance. And if you love this combination, make my jalapeño cheddar soft pretzels next.
- What is the best cheese to use? For the best flavor and texture, I recommend using a block of cheddar cheese and grating it at home with a box grater (affiliate link to the one I use and love), instead of purchasing a bag of the pre-shredded stuff. I recommend this if you’re making my homemade cheese bread, too.
What to Expect with This No Knead Dough
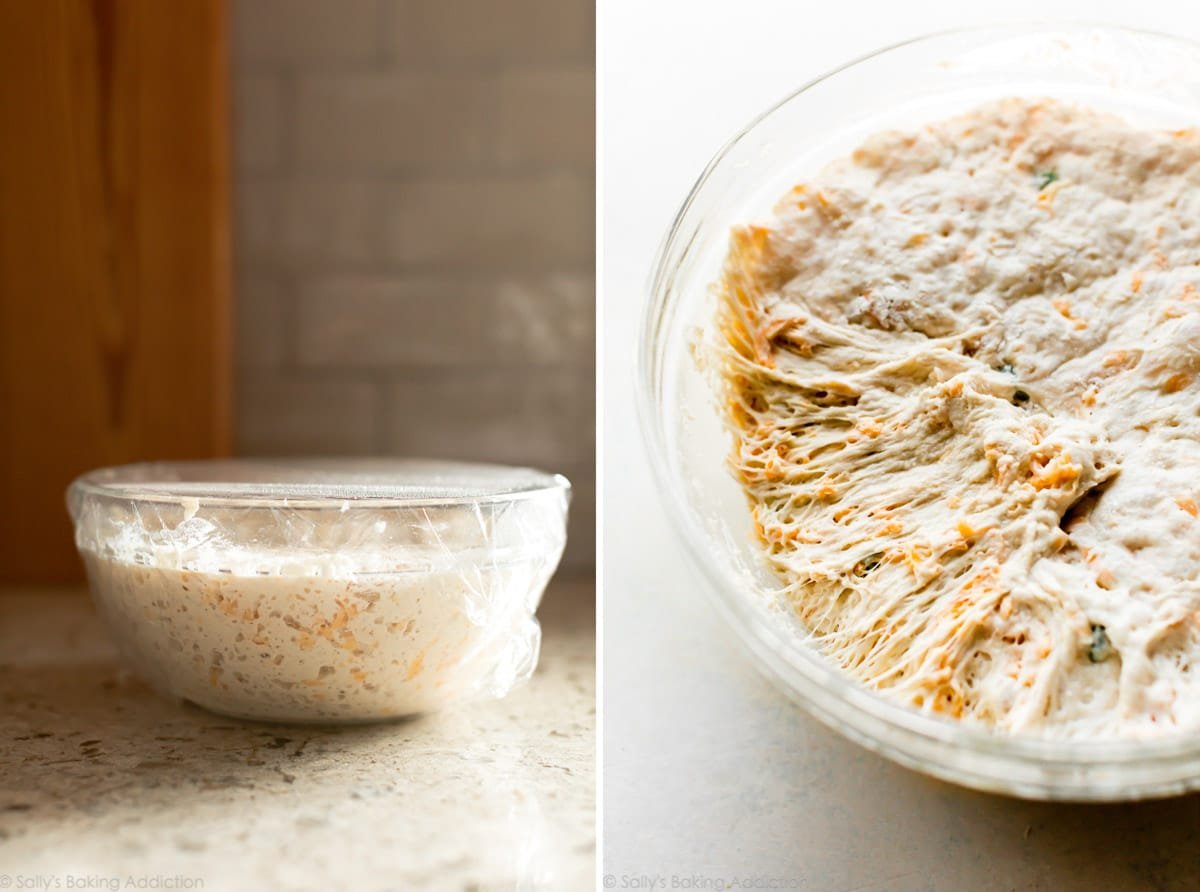
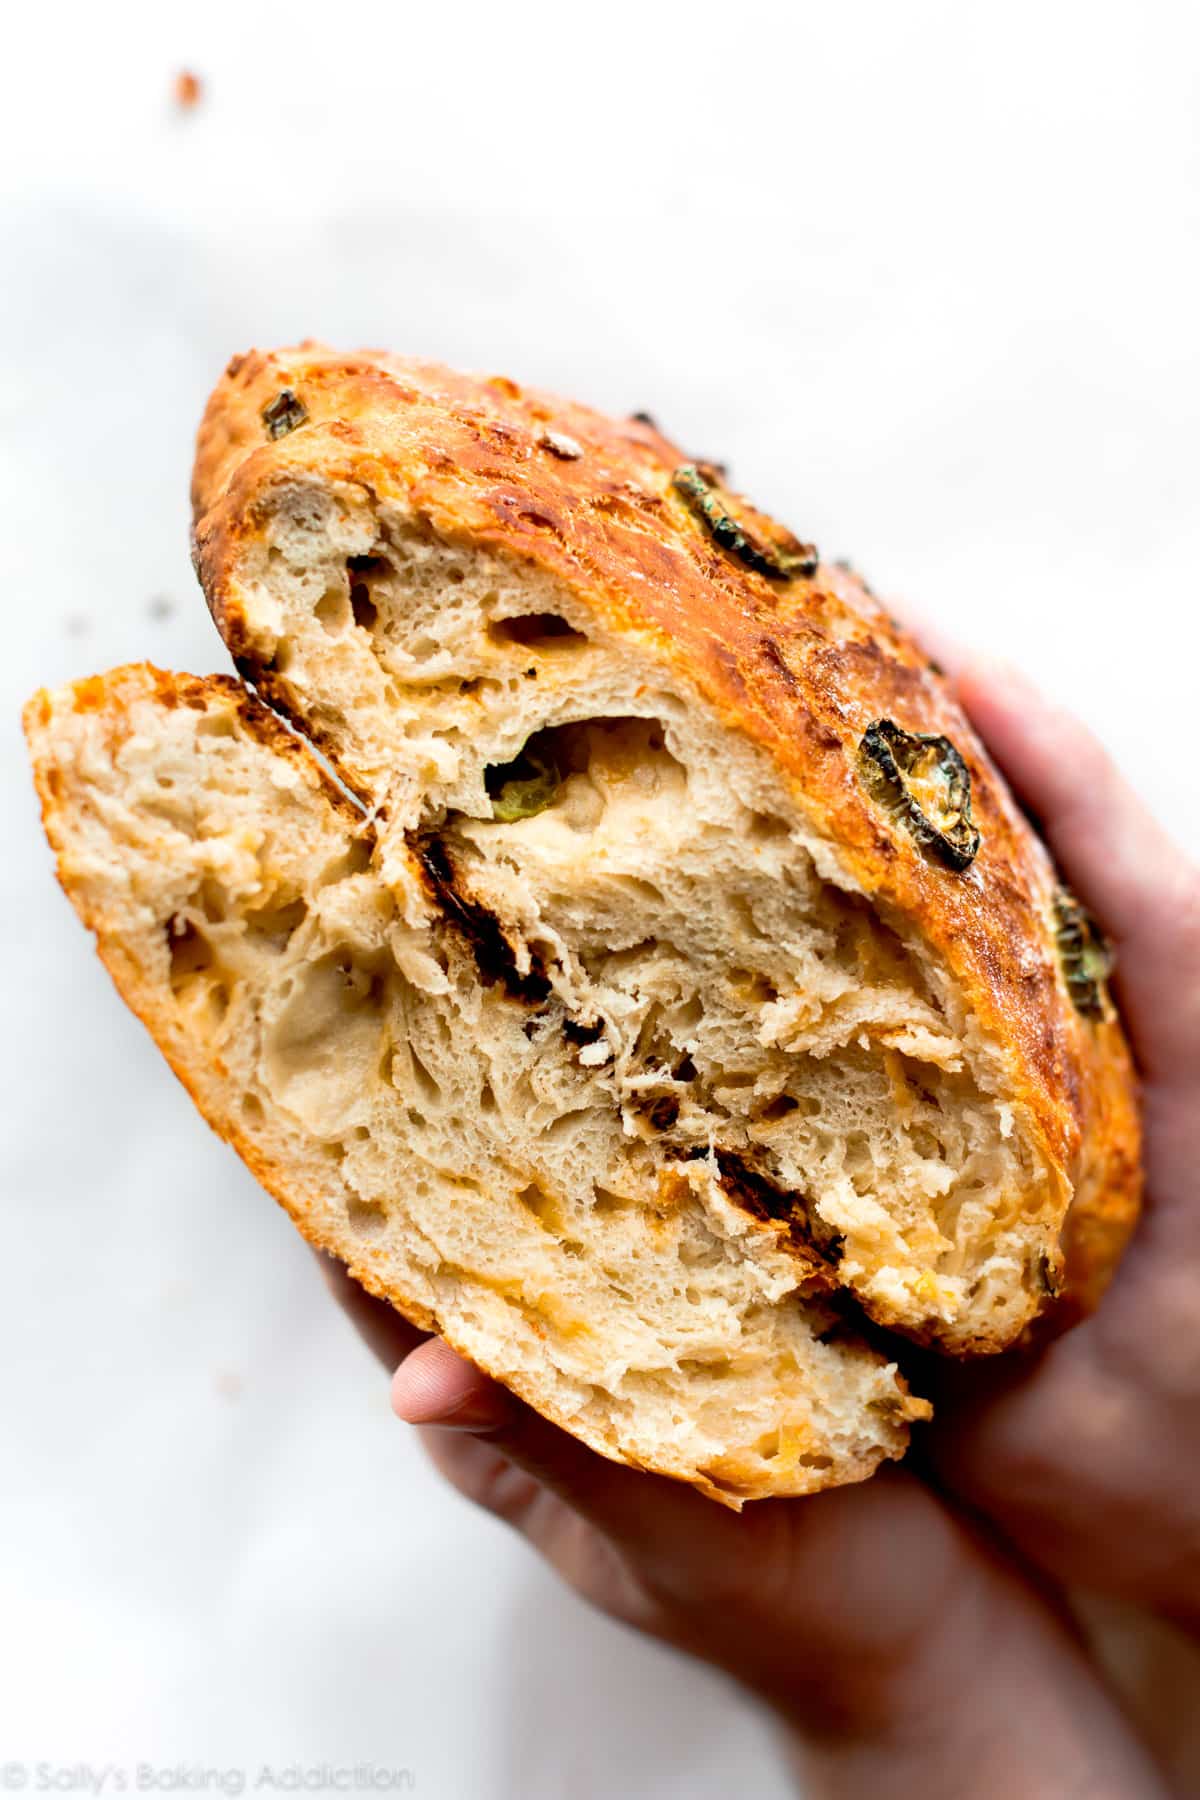
- Bubbles: The dough will rise for 12-18 hours and be very bubbly when it’s done.
- Strands: As you pull the risen dough off the sides of the bowl, you’ll notice a network of strands forming. See photo above. These strands are a good thing and will produce the chewiest bread ever.
- Stickiness: This will be a super sticky dough. It will stick to your hands, but that’s nothing a quick wash can’t fix!
You can expect the same in my artisan homemade bread dough, too.
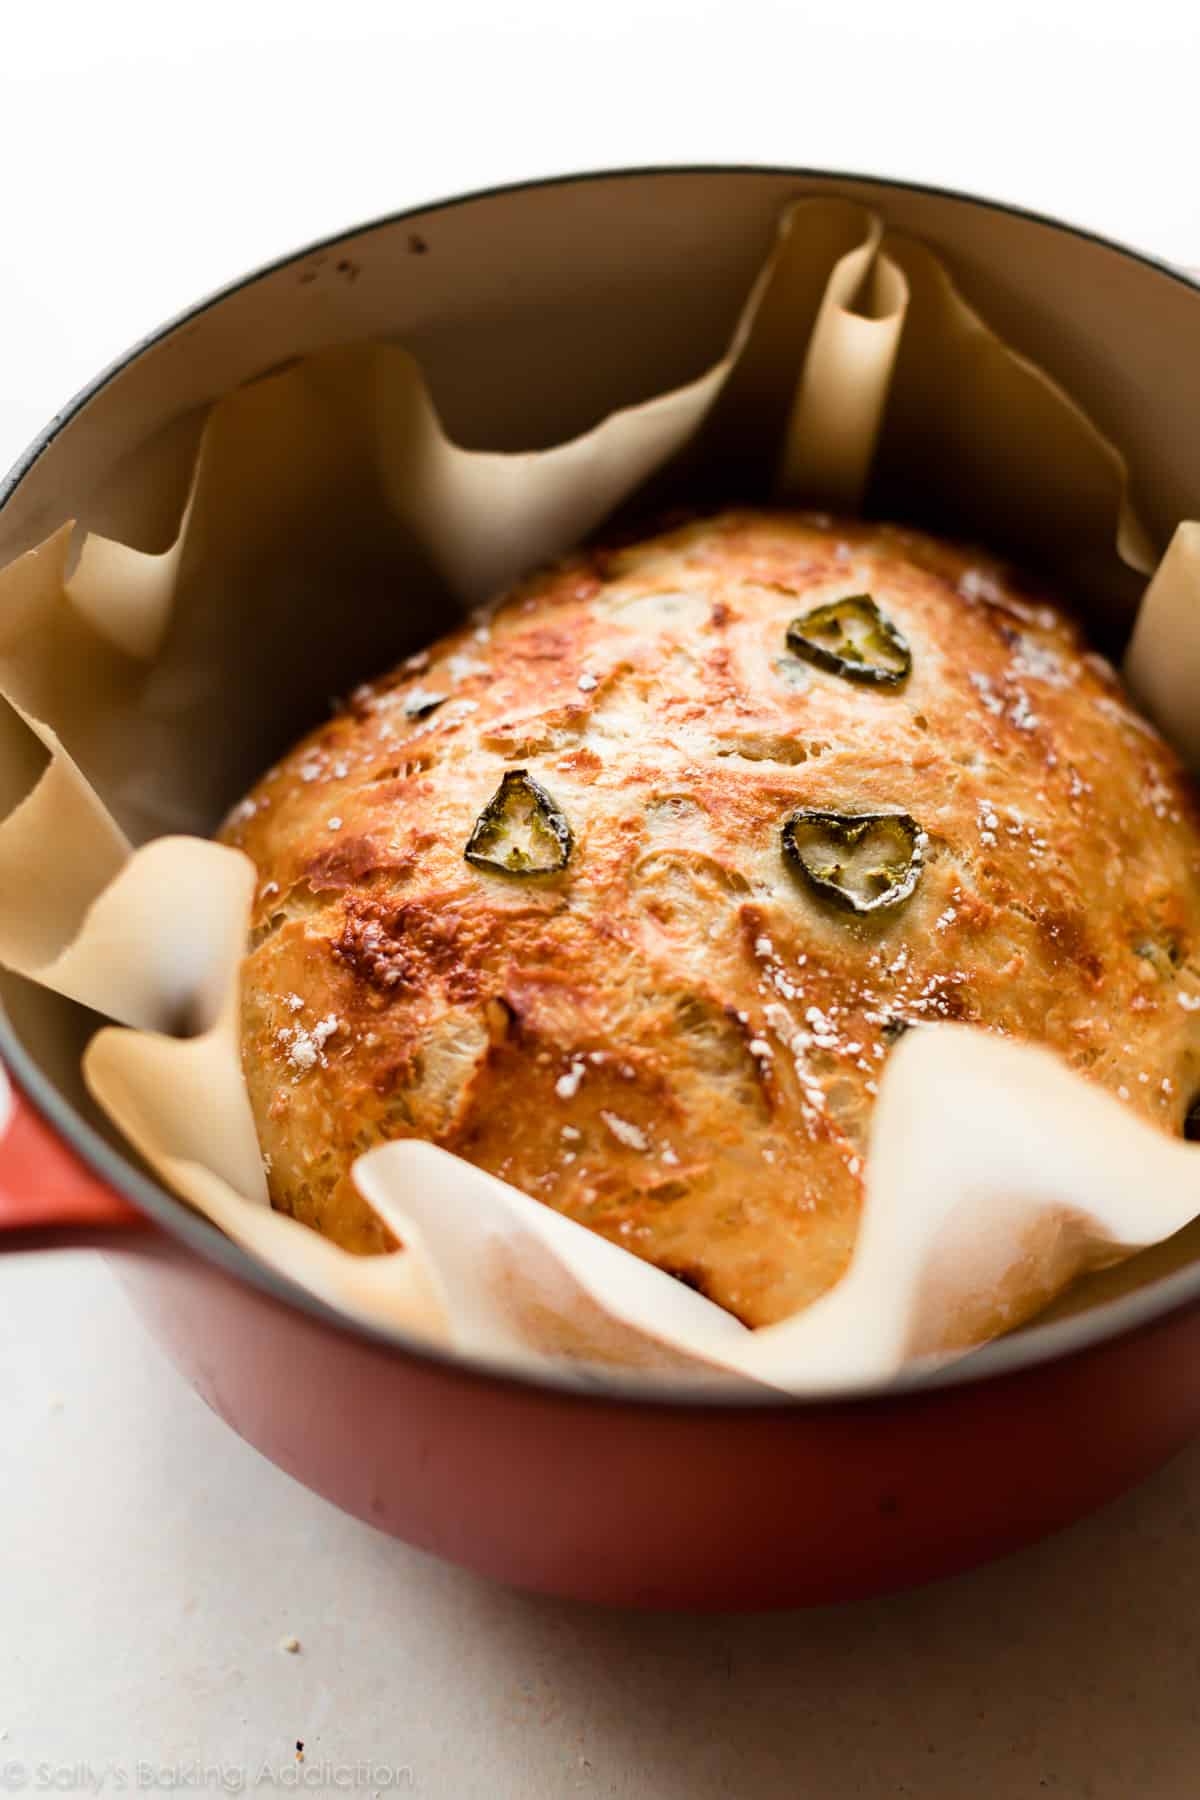
Bake the no knead bread at a very high oven temperature, which will produce a golden brown and crisp crust. The crisp on this crust is unparalleled to any bread I’ve ever baked.
No Dutch Oven? No Problem.
While baking the bread in a dutch oven is key to this bread’s texture, you can get around it. Instead, place the rounded dough on a parchment paper lined or generously floured nonstick baking pan. (No need to preheat the pan in the oven like you do the dutch oven.) Score the bread as noted in step 3 below. Preheat the oven (same oven temperature). After the oven is preheated, place scored dough/baking pan on the center rack. Then place a shallow metal or cast iron baking pan or skillet (I usually use a metal 9×13-inch baking pan; do not use glass) on the bottom oven rack. Carefully and quickly pour 3-4 cups of boiling water into it, and then quickly shut the oven door to trap the steam inside. The steam helps create a crispier crust. Bake for about 30 minutes. For a more accurate test, the bread is done when an instant read thermometer reads the center of the loaf as 195°F (90°C).
What to Serve with Jalapeño Cheddar Bread
Between dips, spreads, and main dishes, here are some serving suggestions for jalapeño cheese bread.
- Slather slices with homemade honey butter
- Tear apart pieces and dip in garlic & bacon spinach dip
- Serve alongside slow cooker chicken chili, creamy chicken noodle soup, or crab soup
- I believe parmesan garlic hummus exists for this very bread
- Serve with super saucy slow cooker BBQ meatballs
- With a big bowl of mac & cheese
- Dunk those slices in spicy nacho cheese sauce! This is what I usually use for soft pretzel bites.
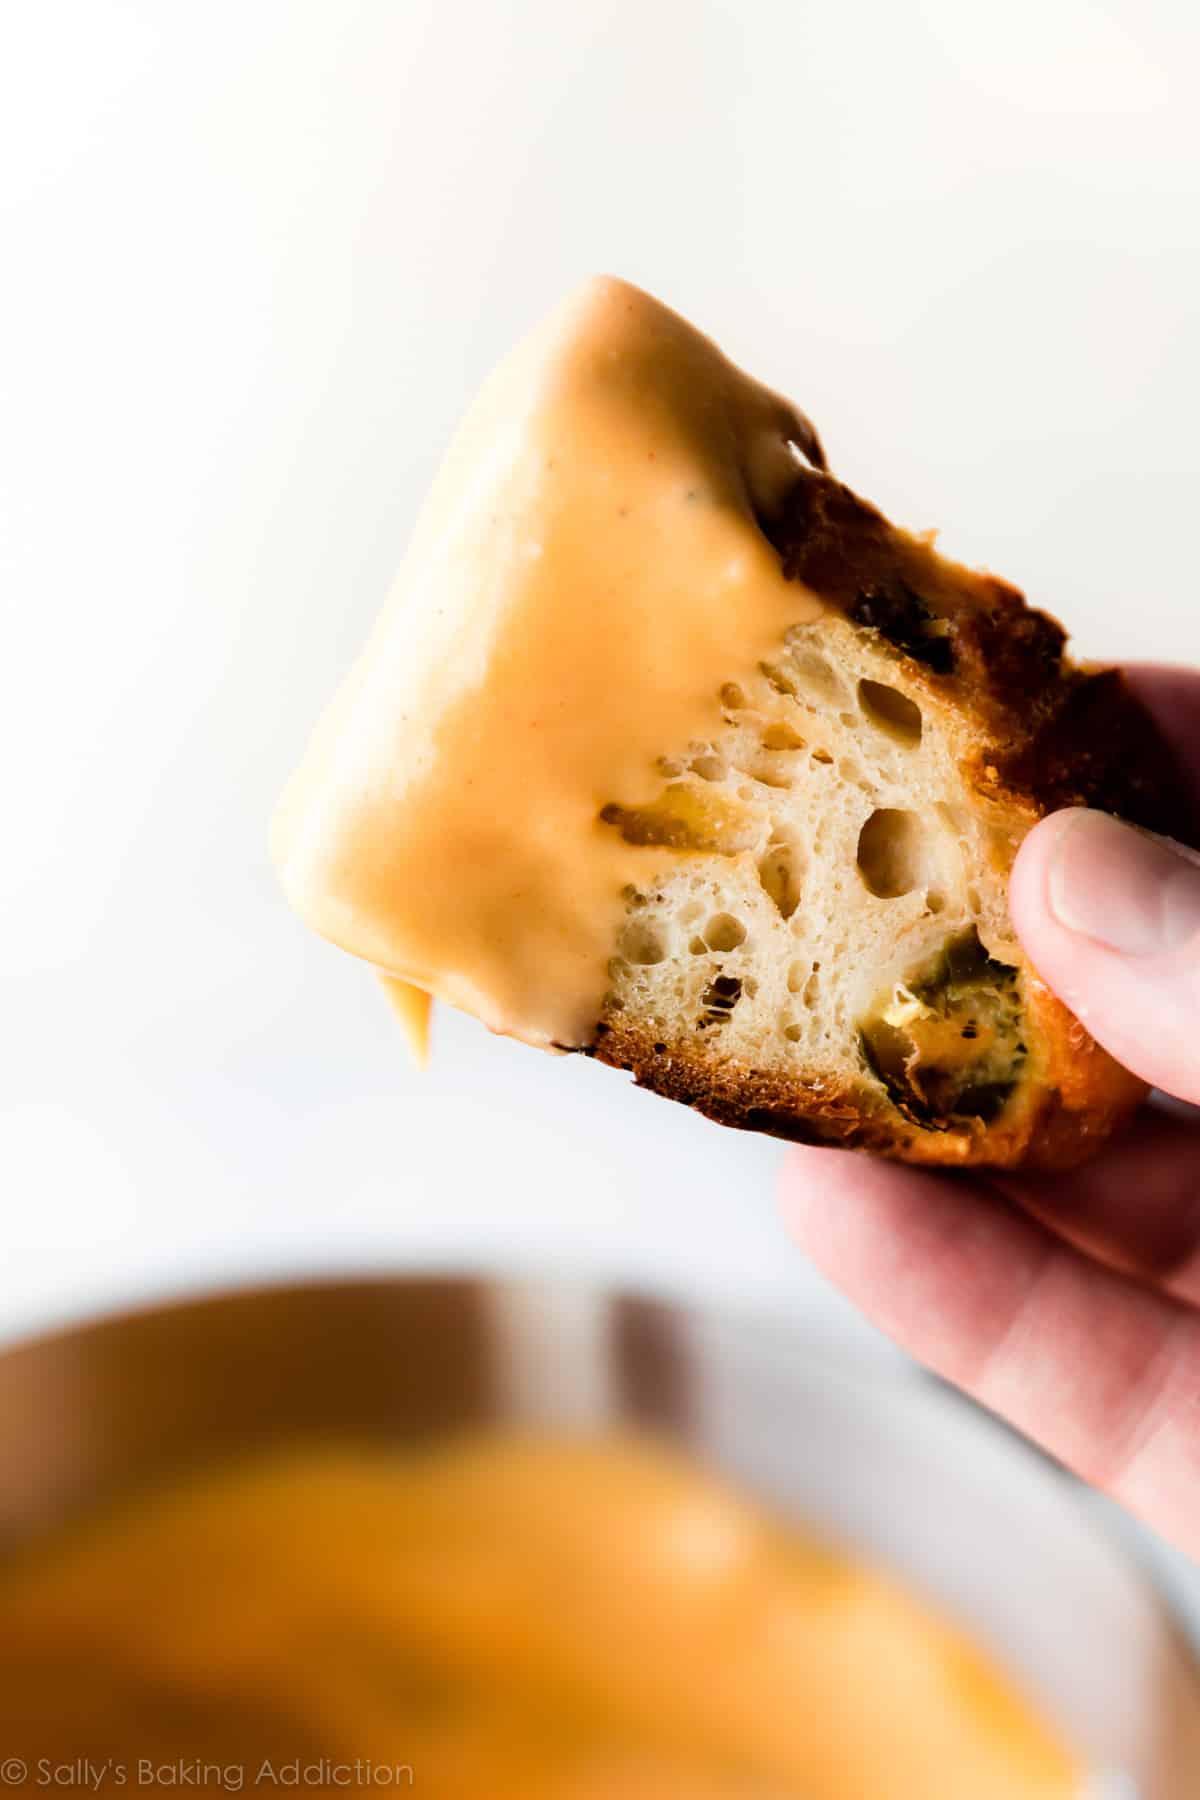
Honestly, just break out the warm loaf, a good hunk of cheese, and a bottle of wine. You’re all set for a satisfying snack!
Print
No Knead Jalapeño Cheddar Bread
- Prep Time: 20 minutes
- Cook Time: 35 minutes
- Total Time: 20 hours
- Yield: 1 loaf; 10-12 servings
- Category: Bread
- Method: Baking
- Cuisine: American
Description
Homemade bakery-style bread has never been easier. This super crusty no knead jalapeño cheddar bread is baked in a dutch oven and requires practically zero hands-on work from you! If you’re new to working with yeast, reference my Baking with Yeast Guide for answers to common yeast FAQs.
Ingredients
- 3 cups + 2 Tablespoons (390g) all-purpose flour (spooned & leveled), plus more for hands
- 2 teaspoons coarse sea salt (I find the flavor lacking using regular table salt)
- 1/2 teaspoon instant or active-dry yeast
- 1 jalapeño, diced
- 1 cup (125g) shredded cheddar cheese
- 1 and 1/2 cups (360ml) warm water (about 95°F (35°C))
Instructions
- *No need to grease the bowl, and do not use a mixer in this step because the dough is too sticky for a mixer.* Stir the first 5 ingredients together in a large bowl, and then stir in the warm water. The dough will be pretty sticky but if it’s extremely wet, add another 2 Tablespoons of flour. Gently shape the dough into a ball as best you can. Cover tightly. Set on the counter at room temperature (honestly any normal room temperature is fine!) and allow to rise for 12-18 hours. The dough will double in size, stick to the sides of the bowl, and have a lot of air bubbles.
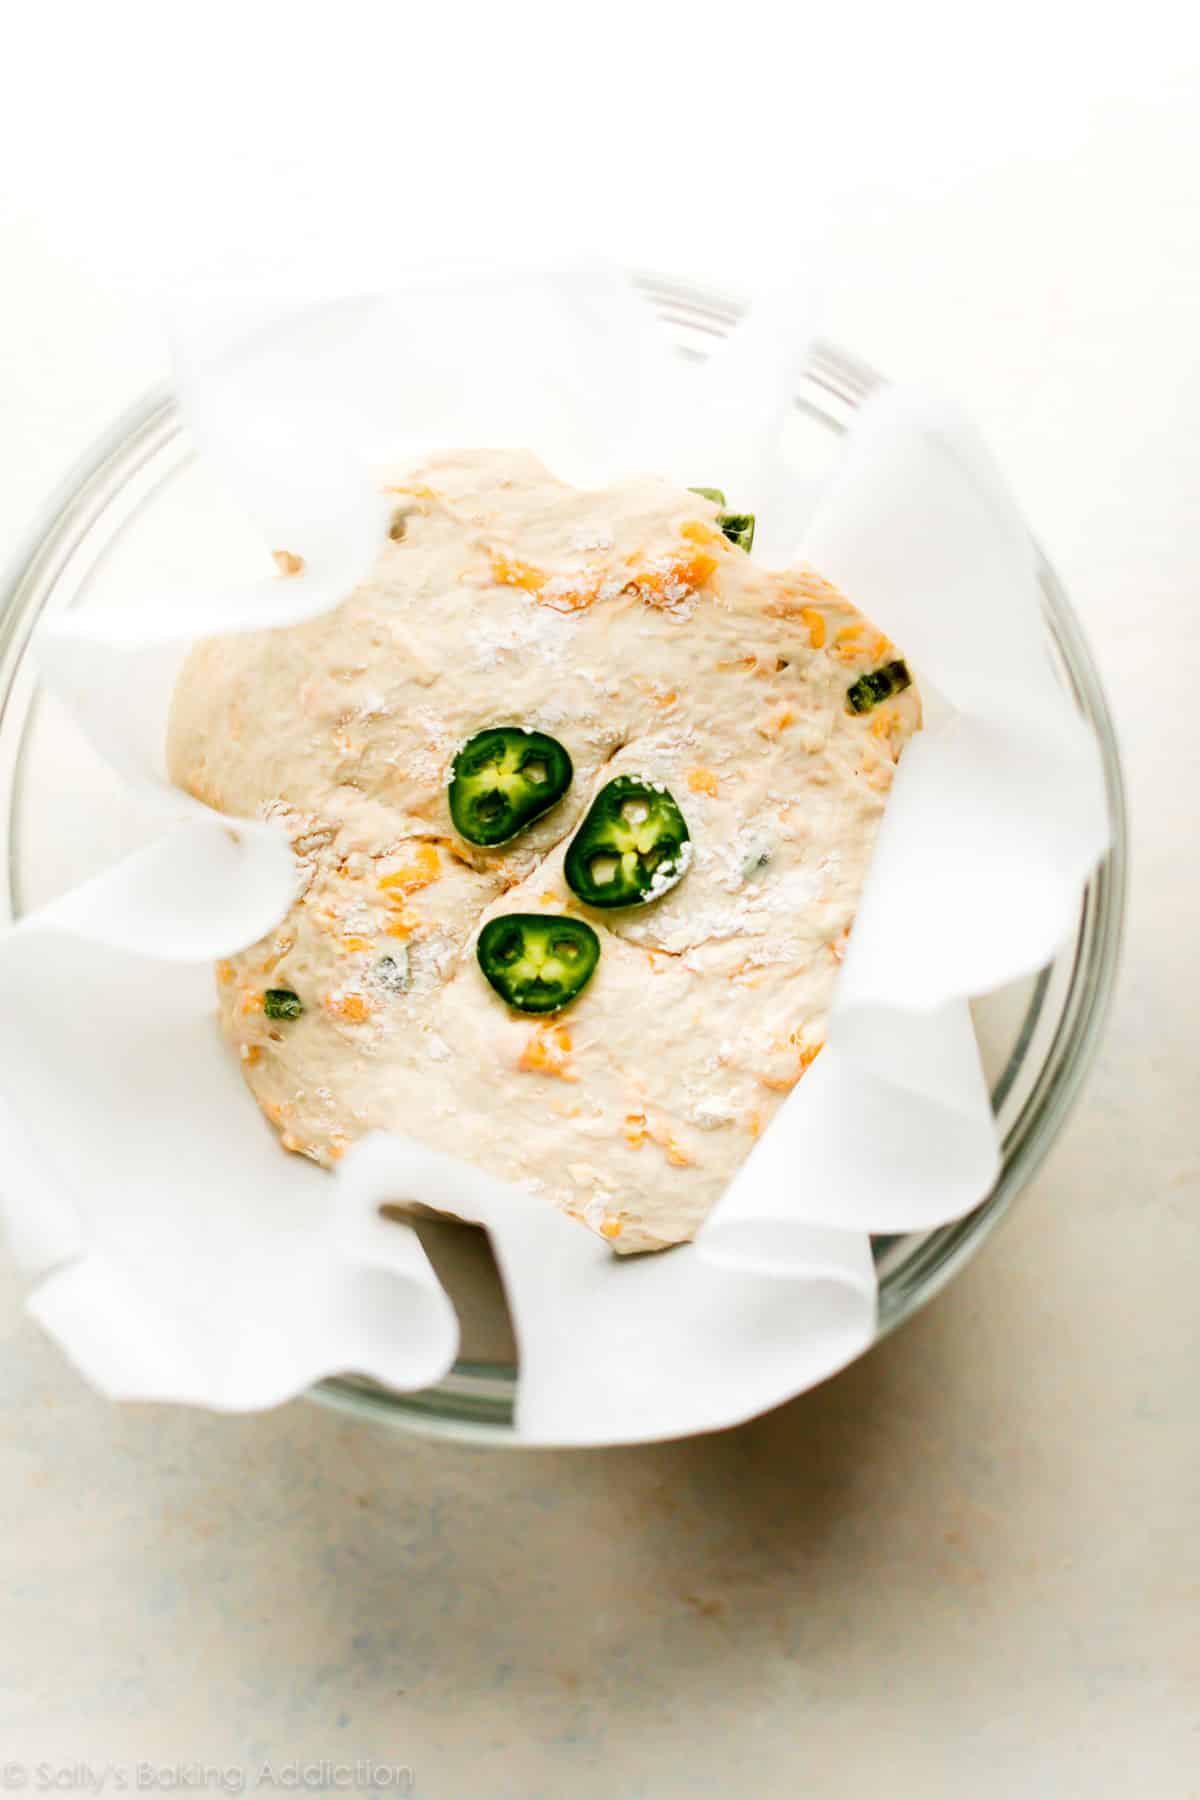
- Turn the dough out onto a lightly floured work surface and, using lightly floured hands, shape into a ball as best you can. Doesn’t have to be perfect. Transfer dough to a large piece of parchment paper, a piece large enough to fit inside your dutch oven and one that is safe under high oven heat. (I use this parchment and it’s never been an issue.) Place the ball of dough + parchment inside a bowl so the dough doesn’t spread out as it rests. See photo above.
- Using a very sharp knife or bread lame (you could even use kitchen shears), gently score an X into the top. Cover dough lightly with plastic wrap or a clean kitchen towel and let it rest for 30 minutes.
- During this 30 minutes, preheat the oven to 475°F (246°C). (Yes, very hot!) Place your dutch oven with the lid OR heavy duty pot inside for 30 minutes so that it’s extremely hot before the dough is placed inside. After 30 minutes, remove the dutch oven from the oven and carefully place the dough inside by lifting it up with the parchment paper and sticking it all—parchment paper included—inside the pot. Cover with the lid.
- Bake for 25 minutes with the lid on. Carefully remove the lid and continue baking for 8-10 more minutes until the bread is golden brown. How to test for doneness: Give the warm bread a light tap. If it sounds hollow, it’s done. For a more accurate test, the bread is done when an instant read thermometer reads the center of the loaf as 195°F (90°C).
- Remove pot from the oven, carefully remove the bread from the pot, and allow to cool on a wire cooling rack for 20 minutes before slicing.
- Cover and store leftover bread at room temperature for up to 2-3 days or in the refrigerator for up to 1 week.
Notes
- Make Ahead & Freezing Instructions: The dough takes up to 18 hours to rise, so this is a wonderful recipe to begin 1 day ahead of time. You can also bake the bread, allow it to cool, and freeze for up to 3 months. Thaw in the refrigerator and allow to come to room temperature before serving. You can also freeze the dough. Complete the recipe through step 2. Wrap in plastic wrap and place in a freezer-friendly container. To bake, allow dough to thaw completely at room temperature and then continue with step 3 and the rest of the recipe instructions.
- Special Tools (affiliate links): Box Grater | Glass Mixing Bowls | Wooden Spoon | Dutch Oven | Parchment Paper | Bread Lame | Instant Read Thermometer | Cooling Rack
- Dutch Oven: Use a 6 quart or larger dutch oven or any large oven-safe pot with an oven-safe lid. If your dutch oven is smaller than 6 quarts, you can halve the recipe (instructions remain the same, just halve each ingredient) or make the recipe as directed in step 1, shape the dough into 2 balls in step 2, and bake them one at a time in your smaller dutch oven. While the 2nd dough waits, lightly cover and keep at room temperature. The bake times in the recipe above (25 mins and then 8-10 mins) will both be a little shorter for smaller loaves.
- No dutch oven? See post above for alternative.
- Yeast: If you don’t have instant yeast, you can use active-dry. I’ve never had a problem using active dry yeast in this recipe—and with no other changes needed. Works wonderfully!
- Bread Flour or Whole Wheat Flour: I use all-purpose flour here since it’s more readily available to most bakers. However, I love baking bread with bread flour and it can definitely be substituted with no other changes needed to the recipe. You can also substitute 1 cup of the flour for whole wheat flour. Do not use all whole wheat flour, as the bread will taste quite dense and heavy.
- Parchment Paper: If your parchment paper can only be heated to a certain temperature, bake the bread at that temperature. Bake the bread a little longer to compensate for the lower temperature.
- Reference my Baking with Yeast Guide for answers to common yeast FAQs.
- Recipe adapted from Red Star Yeast, method originally from Jim Lahey.


This was so quick and easy and Super good! I didn’t have any jalapenos, but used garlic instead! 10/10! Will be making this again
I just made this bread and it’s the best bread I’ve ever made! It took what felt like forever BUT it was overly well worth the wait!
Hi! I am in the process of making this bread and realized my parchment paper is only good to 425. Will it light on fire or what would happen if I used this? Thanks!
Hi Jenna, you can bake the bread at a lower temperature, knowing that you’ll need to extend the bake time just a bit. Hope you enjoy it!
We love this recipe so much! We’ve already made the bread two times and probably will be making many more loaves in future! Thank you for the wonderful recipe!
Be cautious of undercooking! I made the mistake of doing the tap test and it sounded hollow but as it cooled it got too soft and I found it was a bit too wet inside/ not the texture you expect from bread. Will be cooking it longer next time, but the taste was still great.
Can the dough stay on the counter longer than 18 hours?
Hi Sandy, 18 hours max is ideal, but a few extra hours won’t do much harm. You can always refrigerate the rising dough if it needs to rise for longer than 1 whole day. Refrigeration will slow down the rise, extending the time.
Hi! I’m very excited to try out this recipe. My dough has already doubled and is very airy 4 hours after making it. Is it okay to bake already or should I wait until the 12 hour mark? I doubled the recipe if that helps. Thank you!
Hi Kit, the doubled recipe could be the culprit here. If it has doubled in size, you can proceed with the recipe. You don’t want it to over-proof. For the future, we recommend making 2 separate batches rather than doubling, as doubling yeast recipes can be a bit tricky. Hope you enjoy the bread!
i am having trouble with this bread to dense. I made it twice love the taste but ….
what am i doing wrong?
Hi Susan, I’m sorry you’re having trouble with this bread! The bread should be soft and chewy, but it shouldn’t be overly dense. Perhaps the bread was over-kneaded a bit? An easy fix for next time! Also, make sure you aren’t adding too much flour. Weigh it with a kitchen scale or use the spoon & level method. Hope it turns out better next time!
Hi Sally! I really want to try this recipe (it sounds amazing!) but I’m nervous about leaving cheddar out of the fridge for 24 hours. Does the bread dough somehow protect it from spoilage? I’m new to bread baking and since this has so many rave reviews I’m sure it’s fine, but I’m really freaked out by the idea of getting food poisoning.
Hi Emily, this is a great question and I’m certainly not a food safety scientist, but I’ve made this plenty of times and it’s never been an issue. You’re really just leaving it out for 12 hours, plus another 30 minutes. If you’re more comfortable, you can let it rise for a few hours at room temperature, and then refrigerate it overnight. I would add another 1/2 teaspoon of yeast to help ensure it still rises nicely when in the refrigerator. Then continue with step 2.
Can I use 2 tsp of yeast?
Hi Deb, this recipe only calls for 1/2 teaspoon instant or active-dry yeast. We don’t recommend increasing it.
Hi, if I’m in a rush and can’t wait this long for the dough to rise, can I use double the amount of yeast and let the dough rise 4 hours instead?
Thank you
Hi Deb, we don’t recommend rushing the rising process or adding more yeast. Best to wait!
I’ve mad this exactly per the recipe several times, but yesterday I was in a hurry. So I used twice the stated amount of yeast, and let it rise on the “proof” setting in my oven, which averages about 91 degrees. It rose beautifully in about 4 hours, and then I shaped, let rest and baked as usual. Perfection! I could tell no difference between that and the overnight version.