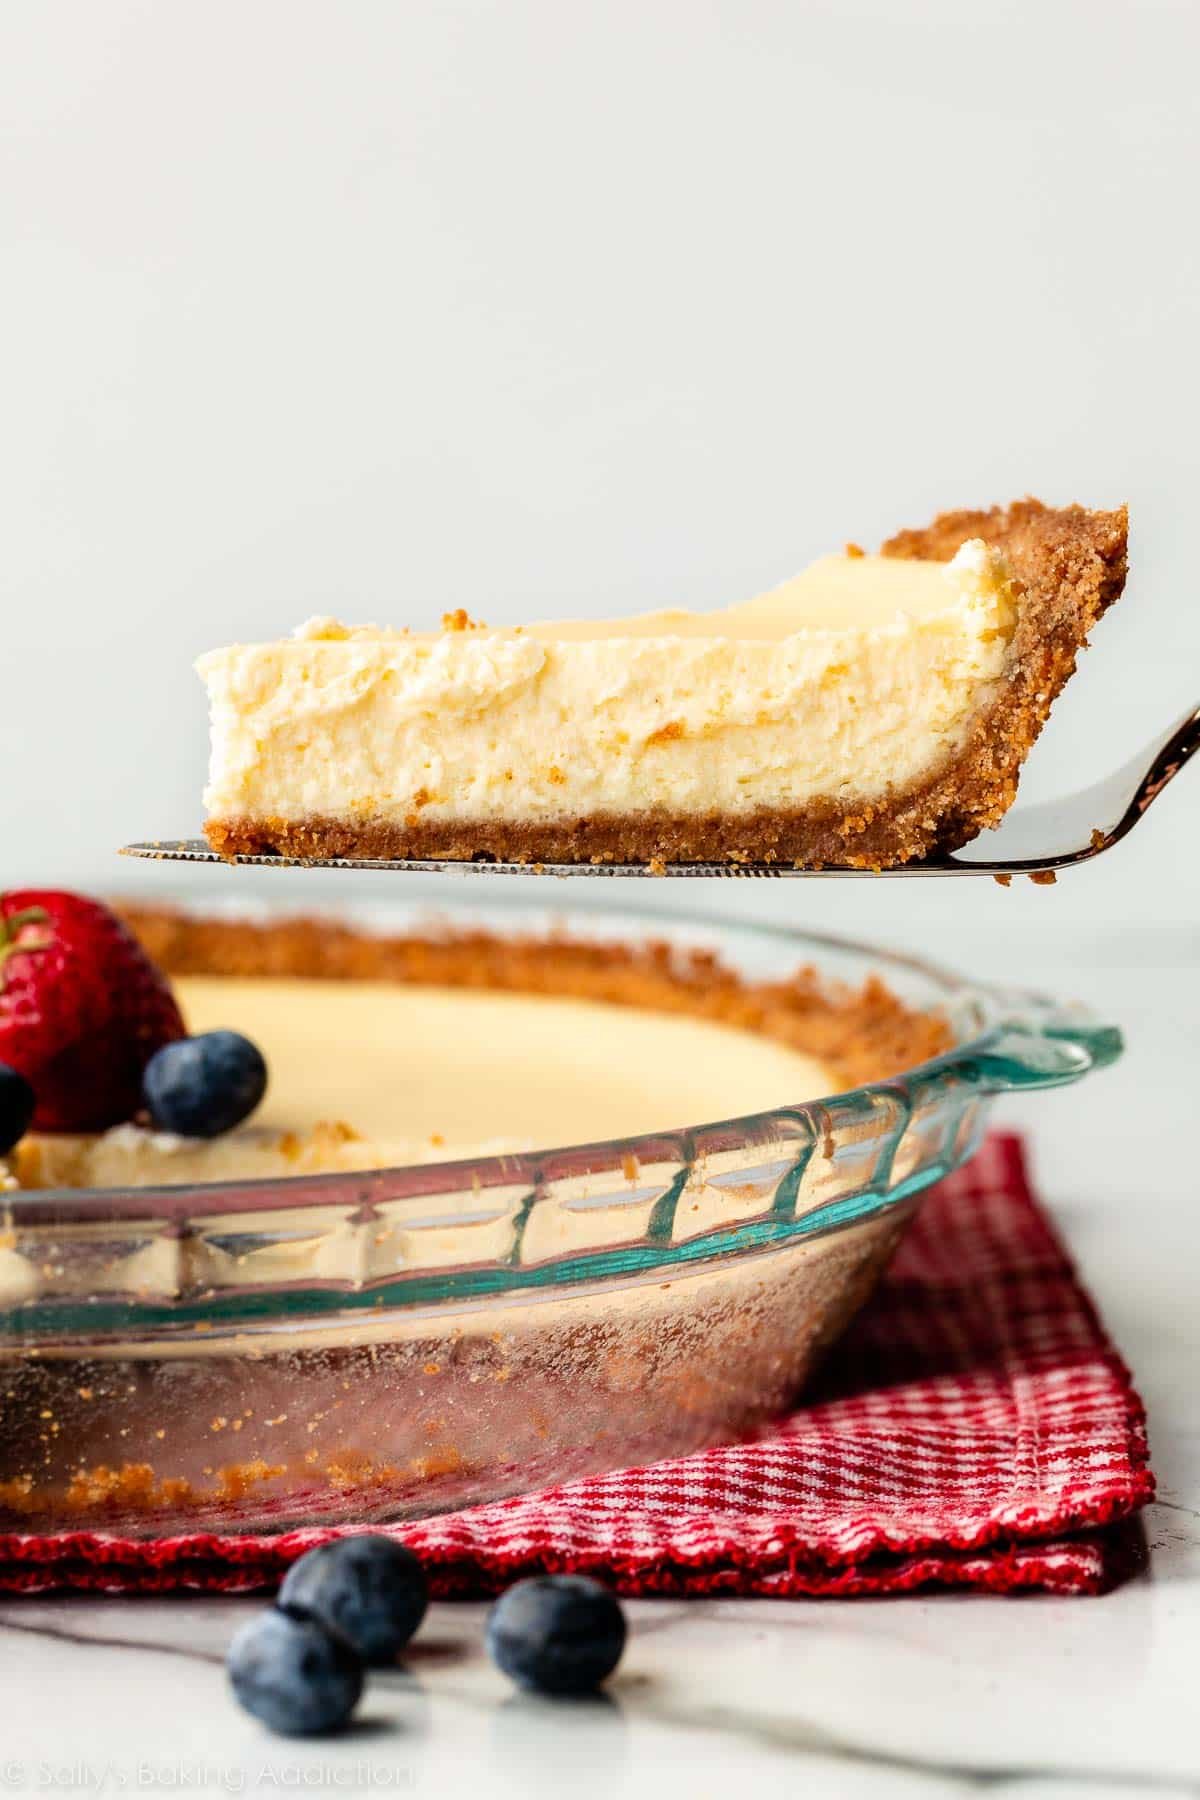
Learn how to make a thick, buttery homemade graham cracker crust with this easy recipe and my perfected shaping methods. You need just 3 ingredients, and it tastes so good, I guarantee you’ll never go back to store-bought graham cracker crust. And if graham crackers aren’t available where you live, we’ve got a tested-and-approved biscuit crumb crust alternative for you!
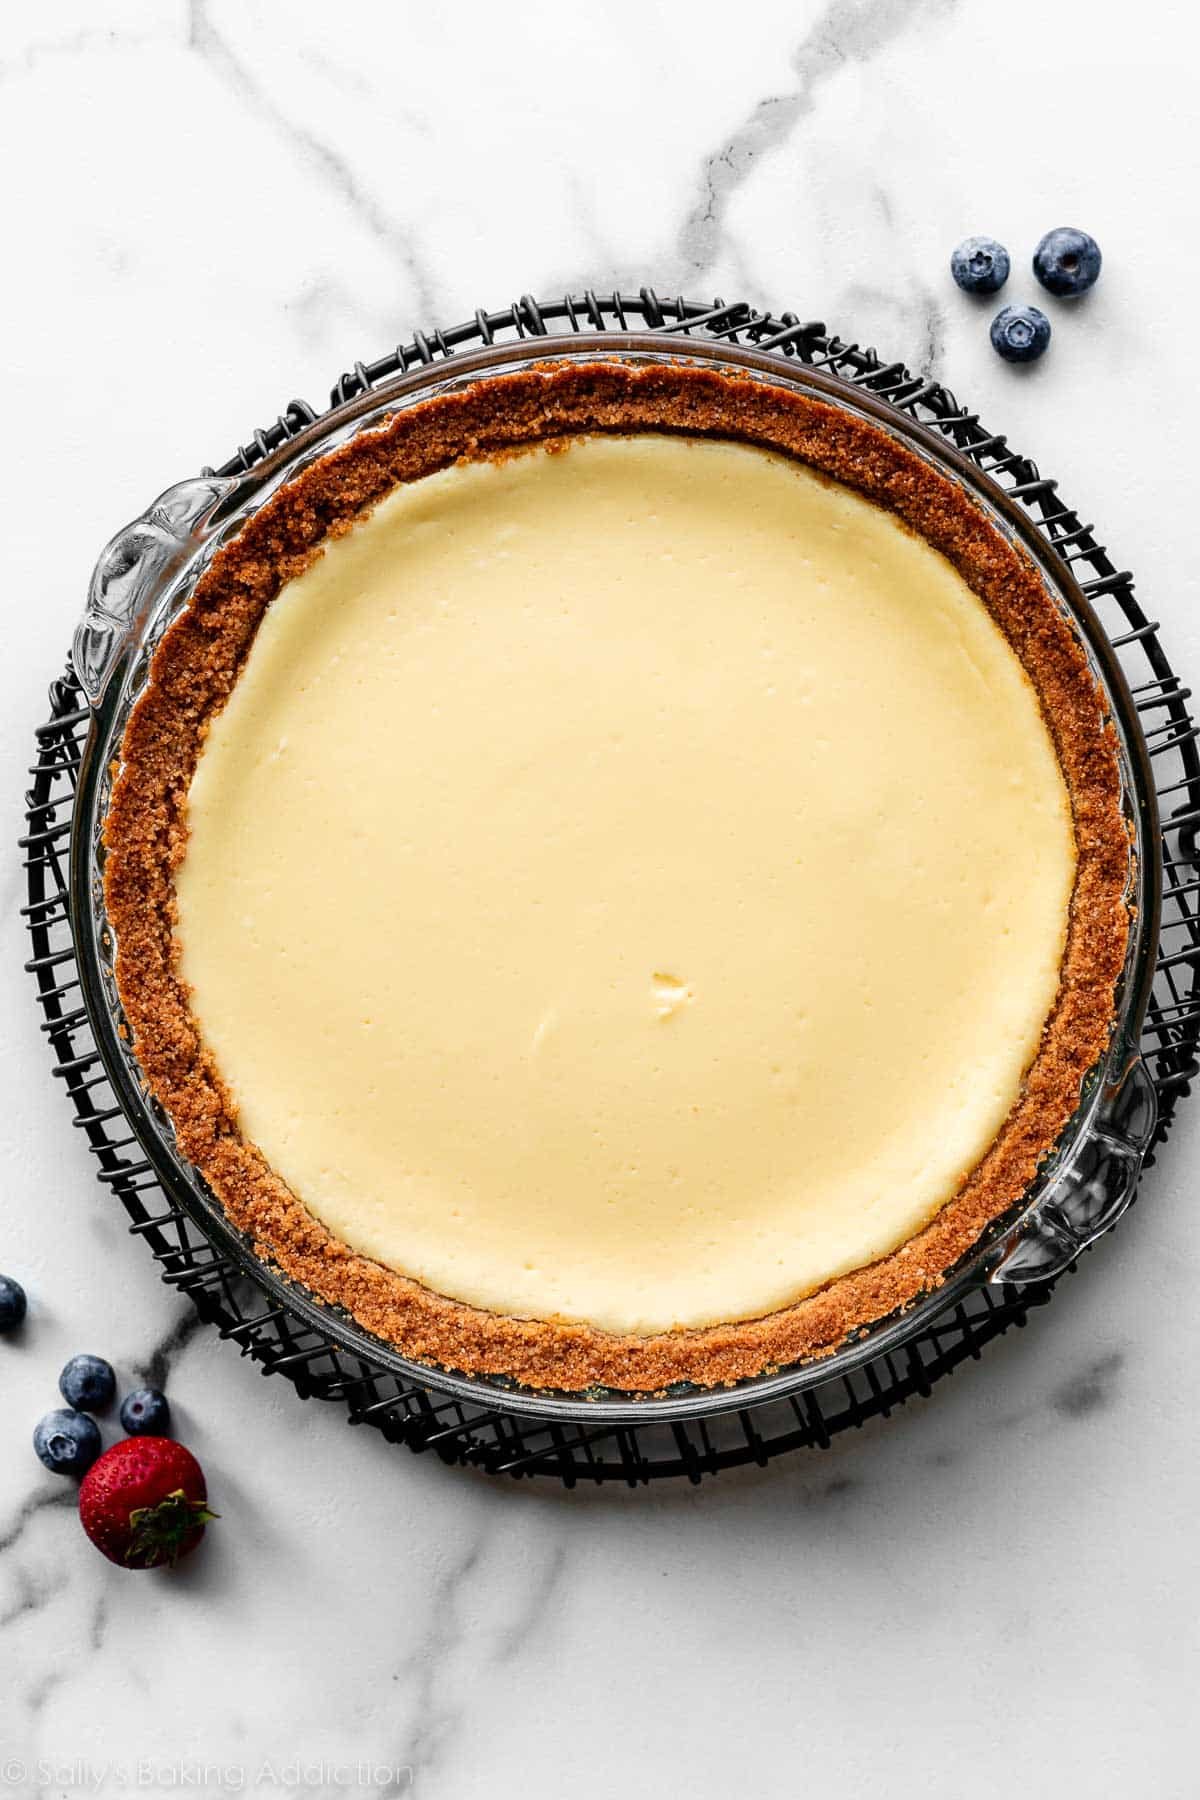
Today I’m teaching you my practiced-and-perfected method for making a deliciously buttery, sweet graham cracker crust that’s wonderfully crisp and crumbly, but still holds shape. You can use it for a variety of desserts—think pies, bars, cheesecakes, and more—like cheesecake pie, banoffee pie, and lemon blueberry cheesecake bars.
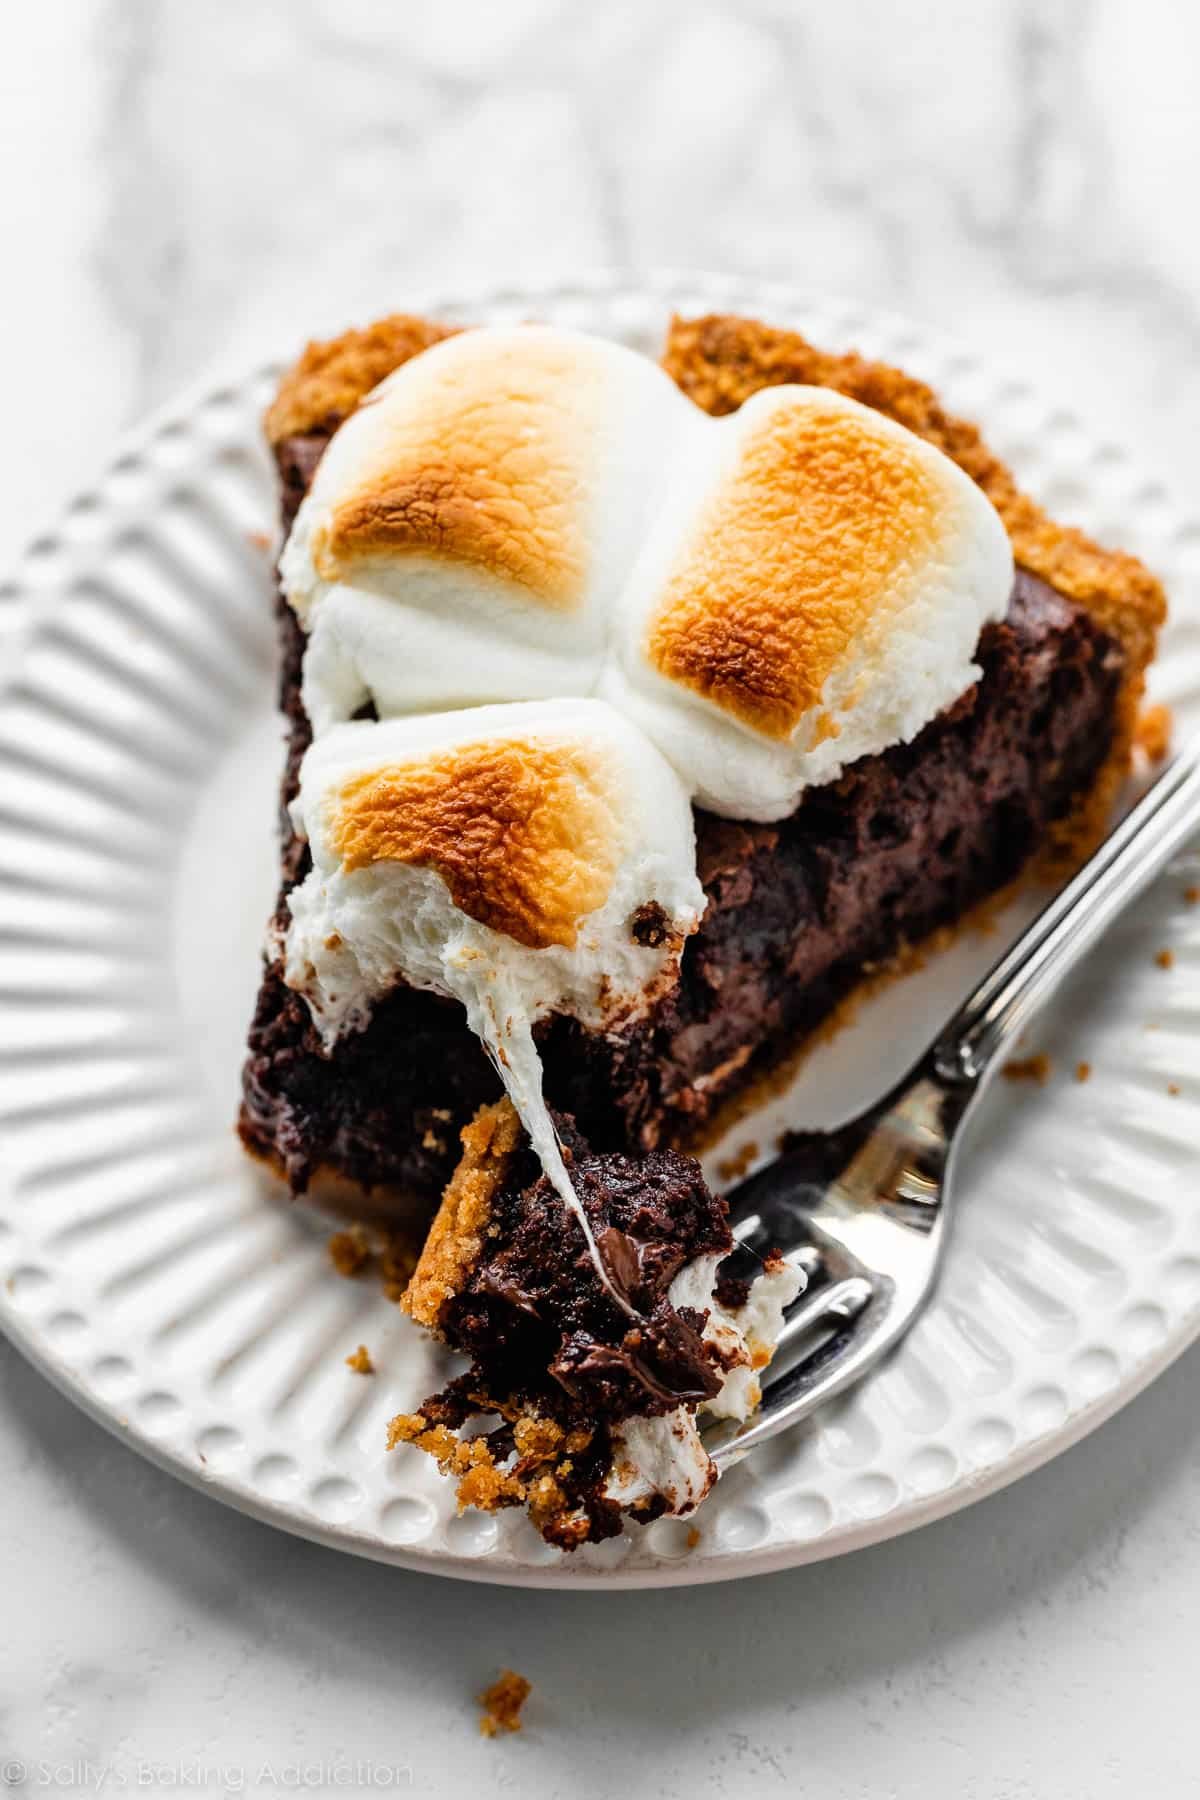
Master a graham cracker crust, and the rest is as easy as s’mores brownie pie. 🙂
Can’t I Just Buy a Pre-Made Graham Cracker Crust?
Yes, you can! But a homemade graham cracker crust is much easier and quicker than you think. Pre-made crusts always seem to lack flavor… and definitely taste a little stale.
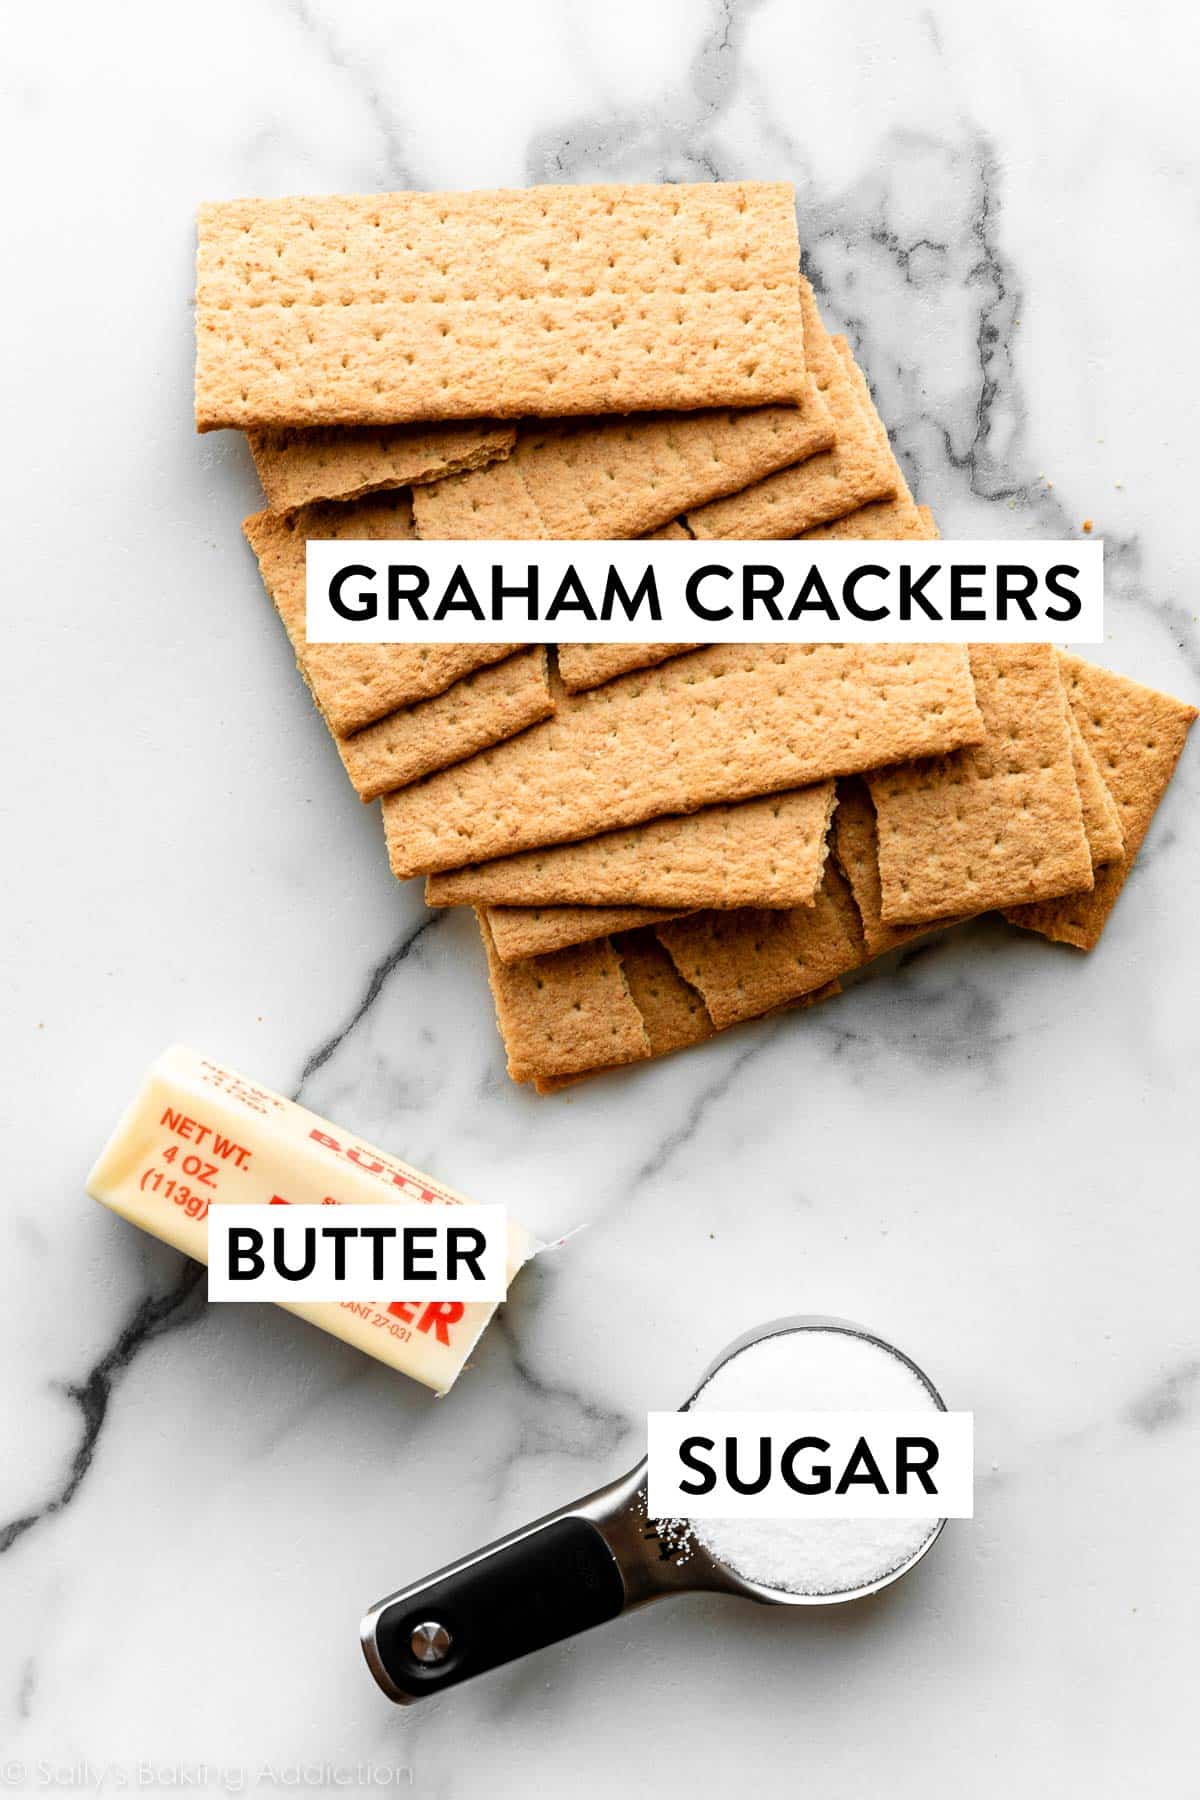
When it comes down to it, the taste and texture of a homemade graham cracker crust is on a completely different level. Maybe even a different planet. Buttery, sweet, crispy, crumbly… and made from only 3 ingredients. Just THREE! And here they are:
Grab These 3 Ingredients
- Graham Crackers: (Well, obviously.) You need about 12 full sheet graham crackers, to yield about 1 and 1/2 cups (180g) crumbs. You can also purchase graham cracker crumbs in most grocery stores in the baking aisle. Graham crackers are an American pantry staple and come in classic honey flavor, but you can also find chocolate, cinnamon, and low-fat versions. Any flavor would be fine in this graham cracker crust recipe. I prefer to use the Nabisco Honey Maid brand original graham crackers—more info on that below.
- Butter: Melted butter binds the tiny crumbs together, and makes this crust taste unbelievably buttery and delicious. You need 6 Tablespoons (85g) of butter for a pie crust, but only 5 Tablespoons (71g) for a cheesecake crust. (Full cheesecakes can be really heavy and wet, so that is why I slightly reduce the butter.)
- Granulated sugar: As the crust bakes, the sugar crystals assist the butter in binding the crumbs together. Graham crackers are already sweet, so we don’t need to add much sugar, just 1/4 cup.
Nabisco Honey Maid Brand vs. Store Brand
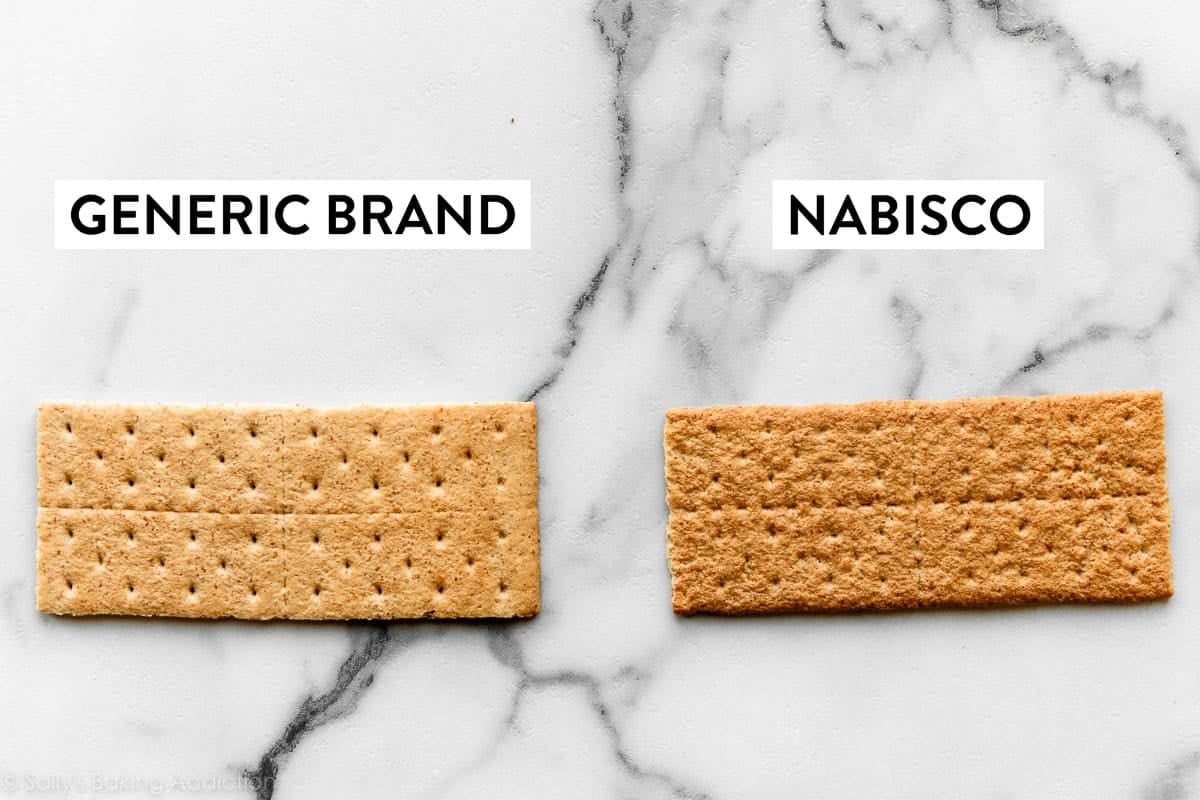
After testing multiple brands, my very scientific conclusion (LOL) is that the best graham crackers to use for this crumb crust are the Nabisco Honey Maid brand. The store-brand graham crackers we tried were lighter in color and the texture wasn’t quite as crispy.
When pressing the crust made from store-brand crackers into the pie dish, it felt more moist, and a bit mushier. Which makes sense, because the Honey Maid ones feel harder/crispier as if they’ve been baked longer, so the store-brand graham cracker crumbs feel a bit mushier when you add the melted butter.
All that said, you can certainly still make this crust with any brand of graham crackers you have! (And I’m not getting paid by Nabisco to tell you to buy their products, just genuinely a fan!)
Graham Cracker Math
Graham crackers can also vary slightly in size and weight, and occasionally manufacturers change the size or amount you get in a package—which means my team and I have to go through all our recipes that use graham crackers and update them! (In case you’re wondering why your printed recipe may no longer match the recipe on the website.) Some math info you may find helpful:
- 12 graham crackers should yield about 1.5 cups of crumbs when they’re finely ground, or about 180g. (12x15g)
- 1 full sheet graham cracker = 14–16g, or about ½ an ounce
- 12 full sheets = 168–192g
- 1 and 1/2 cups graham cracker crumbs = roughly 180g
How to Make Your Homemade Graham Cracker Crust (It’s Easy)
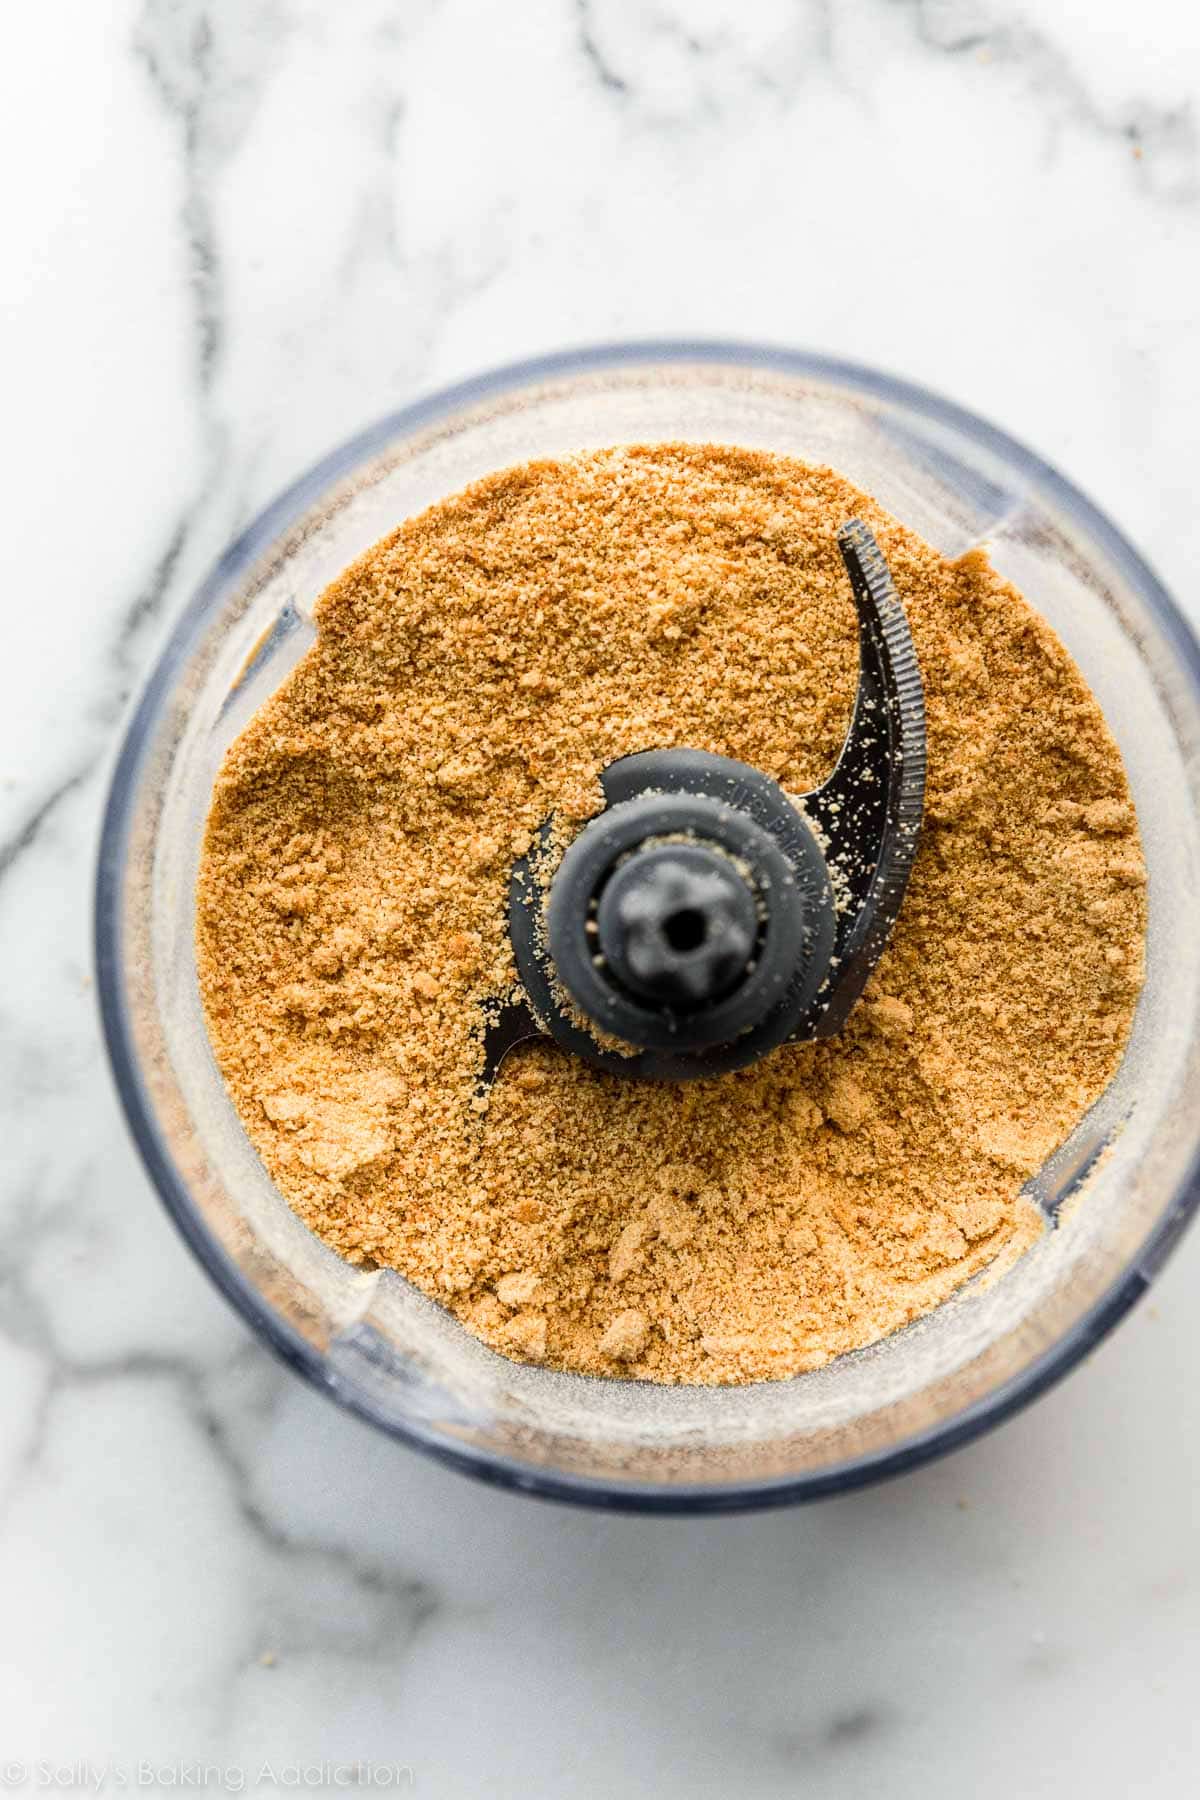
Start by grinding up your graham crackers. You can use a food processor or blender for this, but if you don’t have one, just put them in a zip-top bag and crush them with a rolling pin. You want really fine crumbs, so feel free to take out all your frustrations on these crackers!
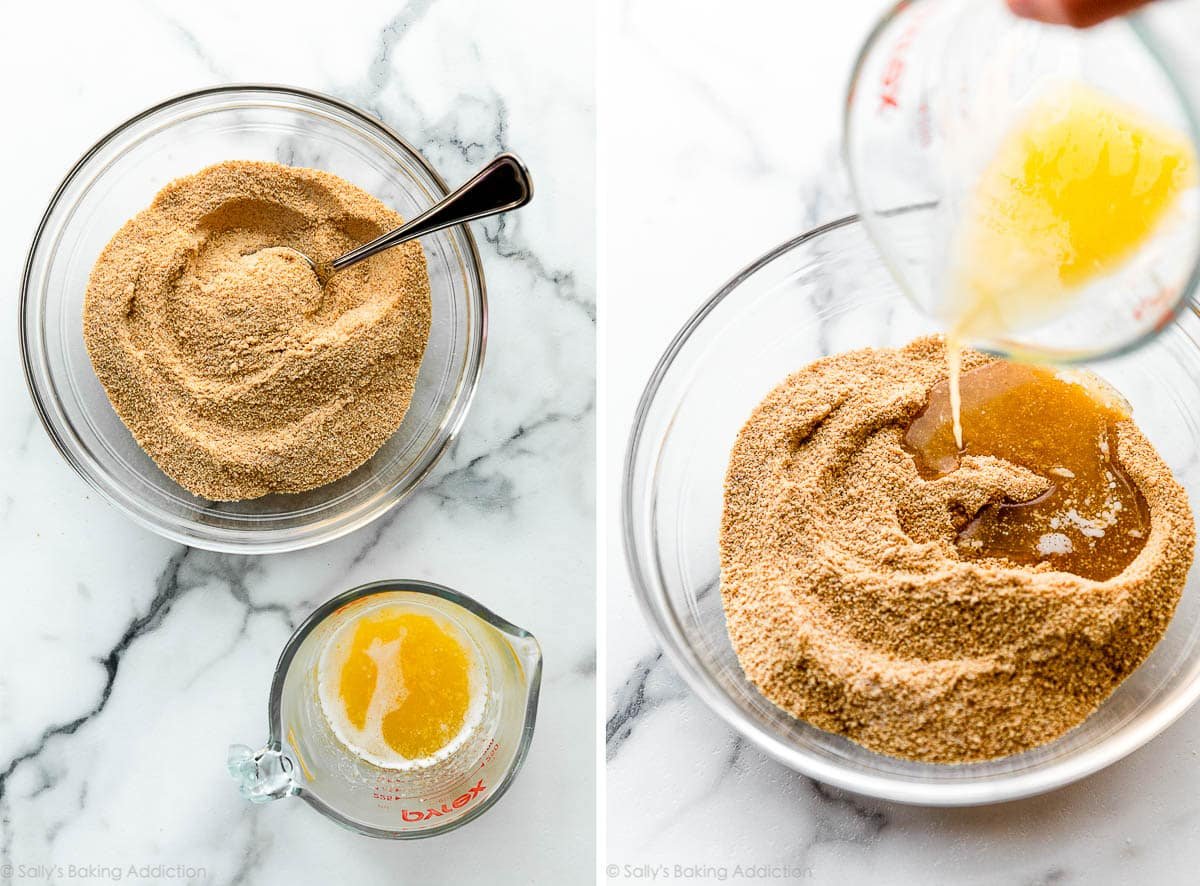
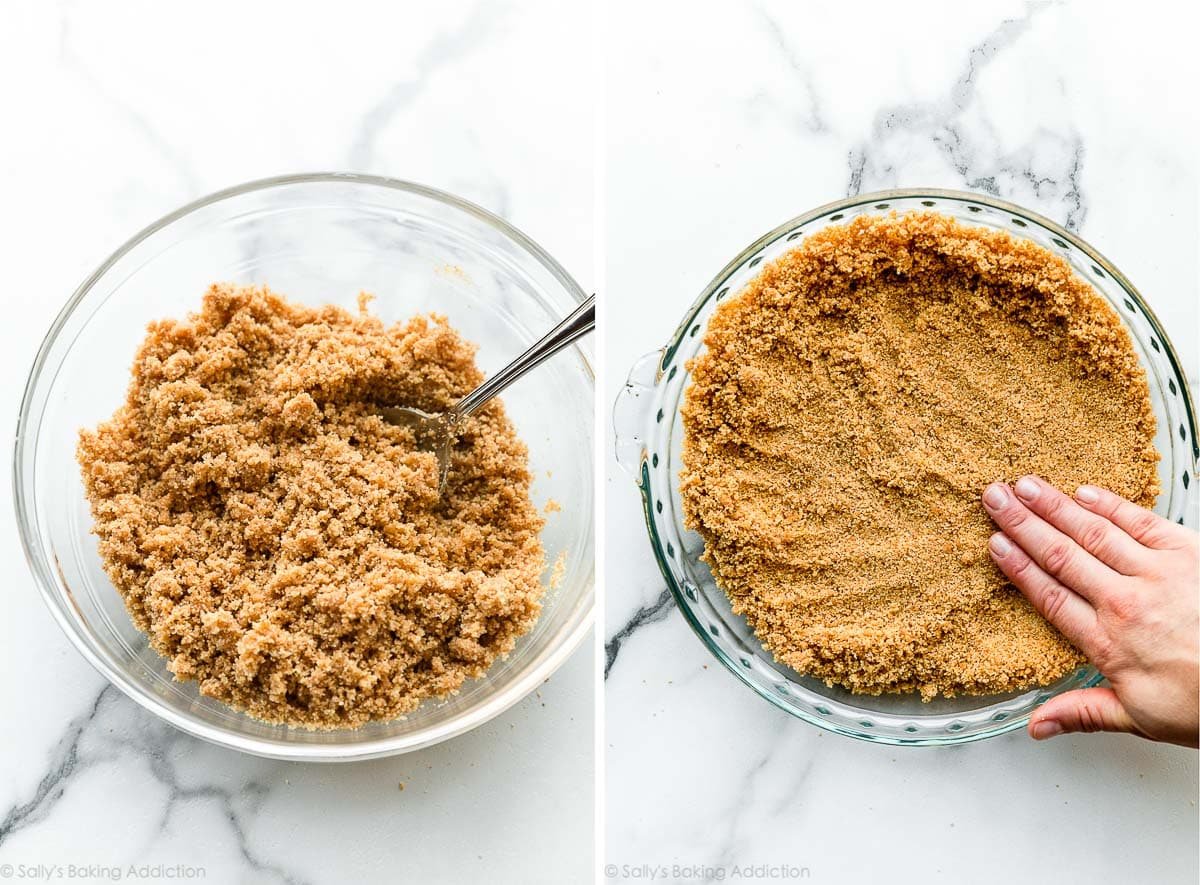
Mix the crushed graham crackers with the granulated sugar, and then stir in the melted butter. The mixture will be thick, sandy, and coarse. Try to smash/break up any large chunks.
Prevent Your Graham Cracker Crust From Falling Apart
The ratio of ingredients is important, but what matters most is how you press the mixture into your pan. The technique you use can make or (literally) break a great graham cracker crust:
- Don’t be nervous that it’s crumbly: The mixture inevitably feels too crumbly as you start pressing it into the pan, but when you start applying pressure, it will stick together.
- Use your hands first: Press the bottom and around the sides with medium-firm pressure until the crumbs aren’t moving around anymore—you don’t want any loose crumbs. You can use a small flat-bottomed measuring cup to help smooth out the surface, just don’t pack it down too hard.
- Don’t pack too tightly: The crust needs to be compact, so it doesn’t crumble apart, but not so tight that it bakes into a hard, dense crust. You really just want to pack it until the shape has set and it’s no longer crumbly.
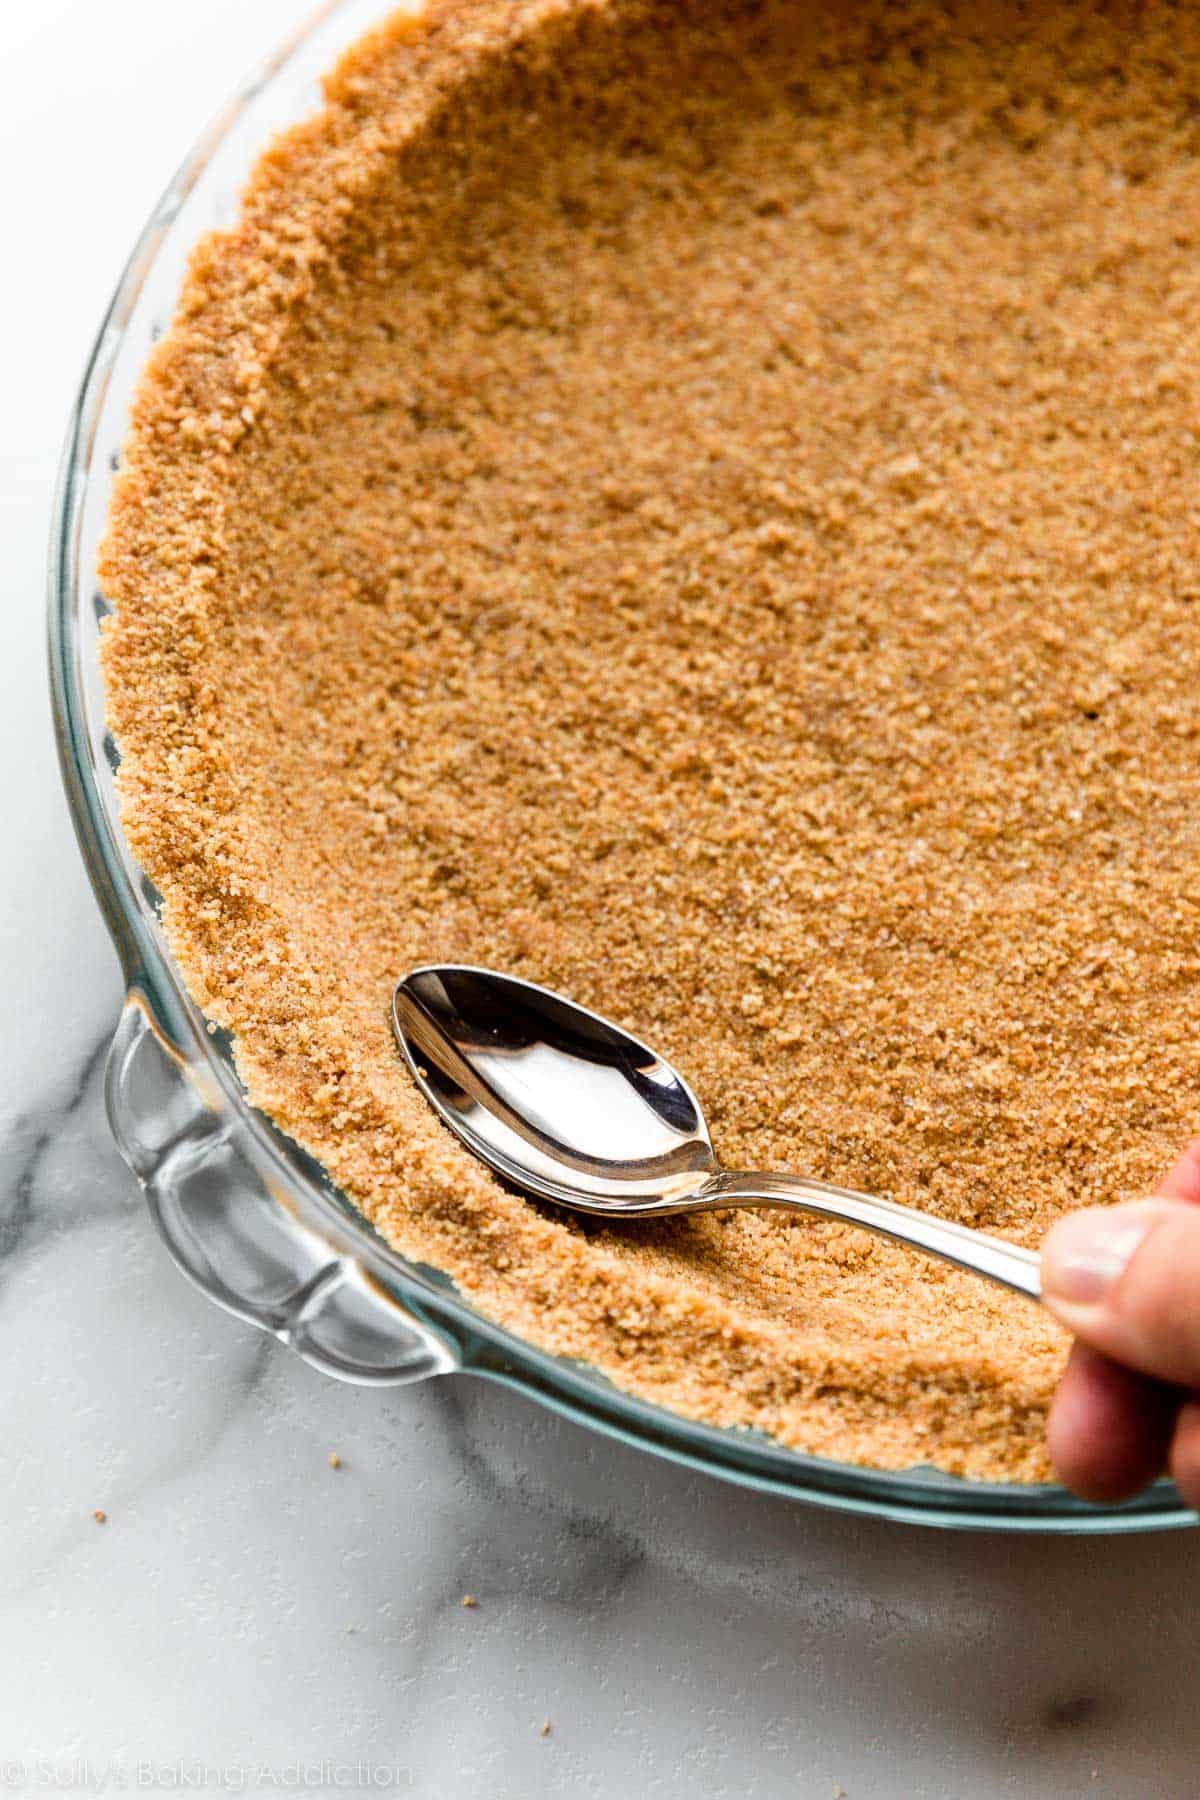
- Keep it rounded if making a pie: This sounds a bit odd, but you don’t want a right angle at the bottom edges where the sides and the bottom meet. Instead, you want it a little bit rounded so it stays connected when you slice into it—so the side crust doesn’t immediately separate from the bottom crust. Slide a spoon around the inside of the crust where the sides and bottom meet, to get that rounded shape.
I like to use my thumb on one hand and 4 fingers on my other hand to go around the top and sides. You can see me do this in the video tutorial below, too.
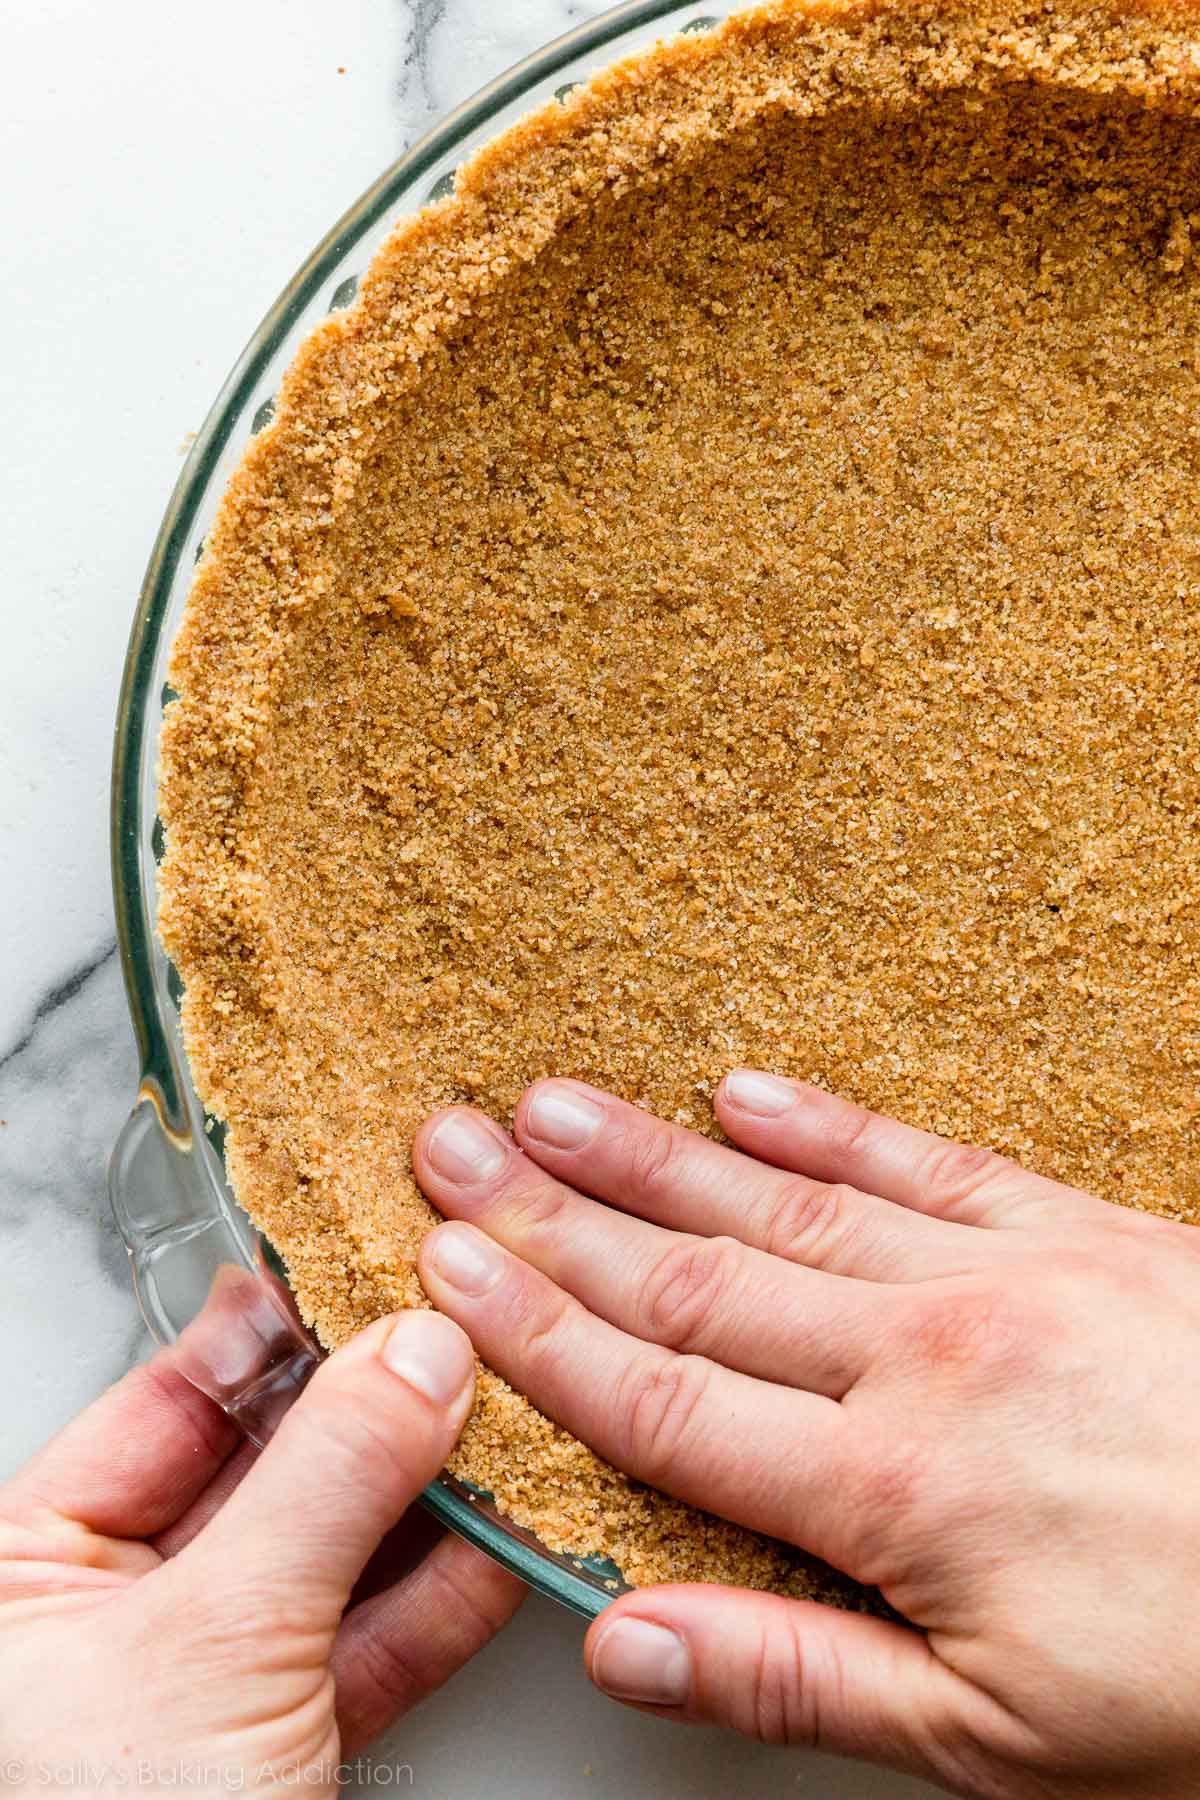
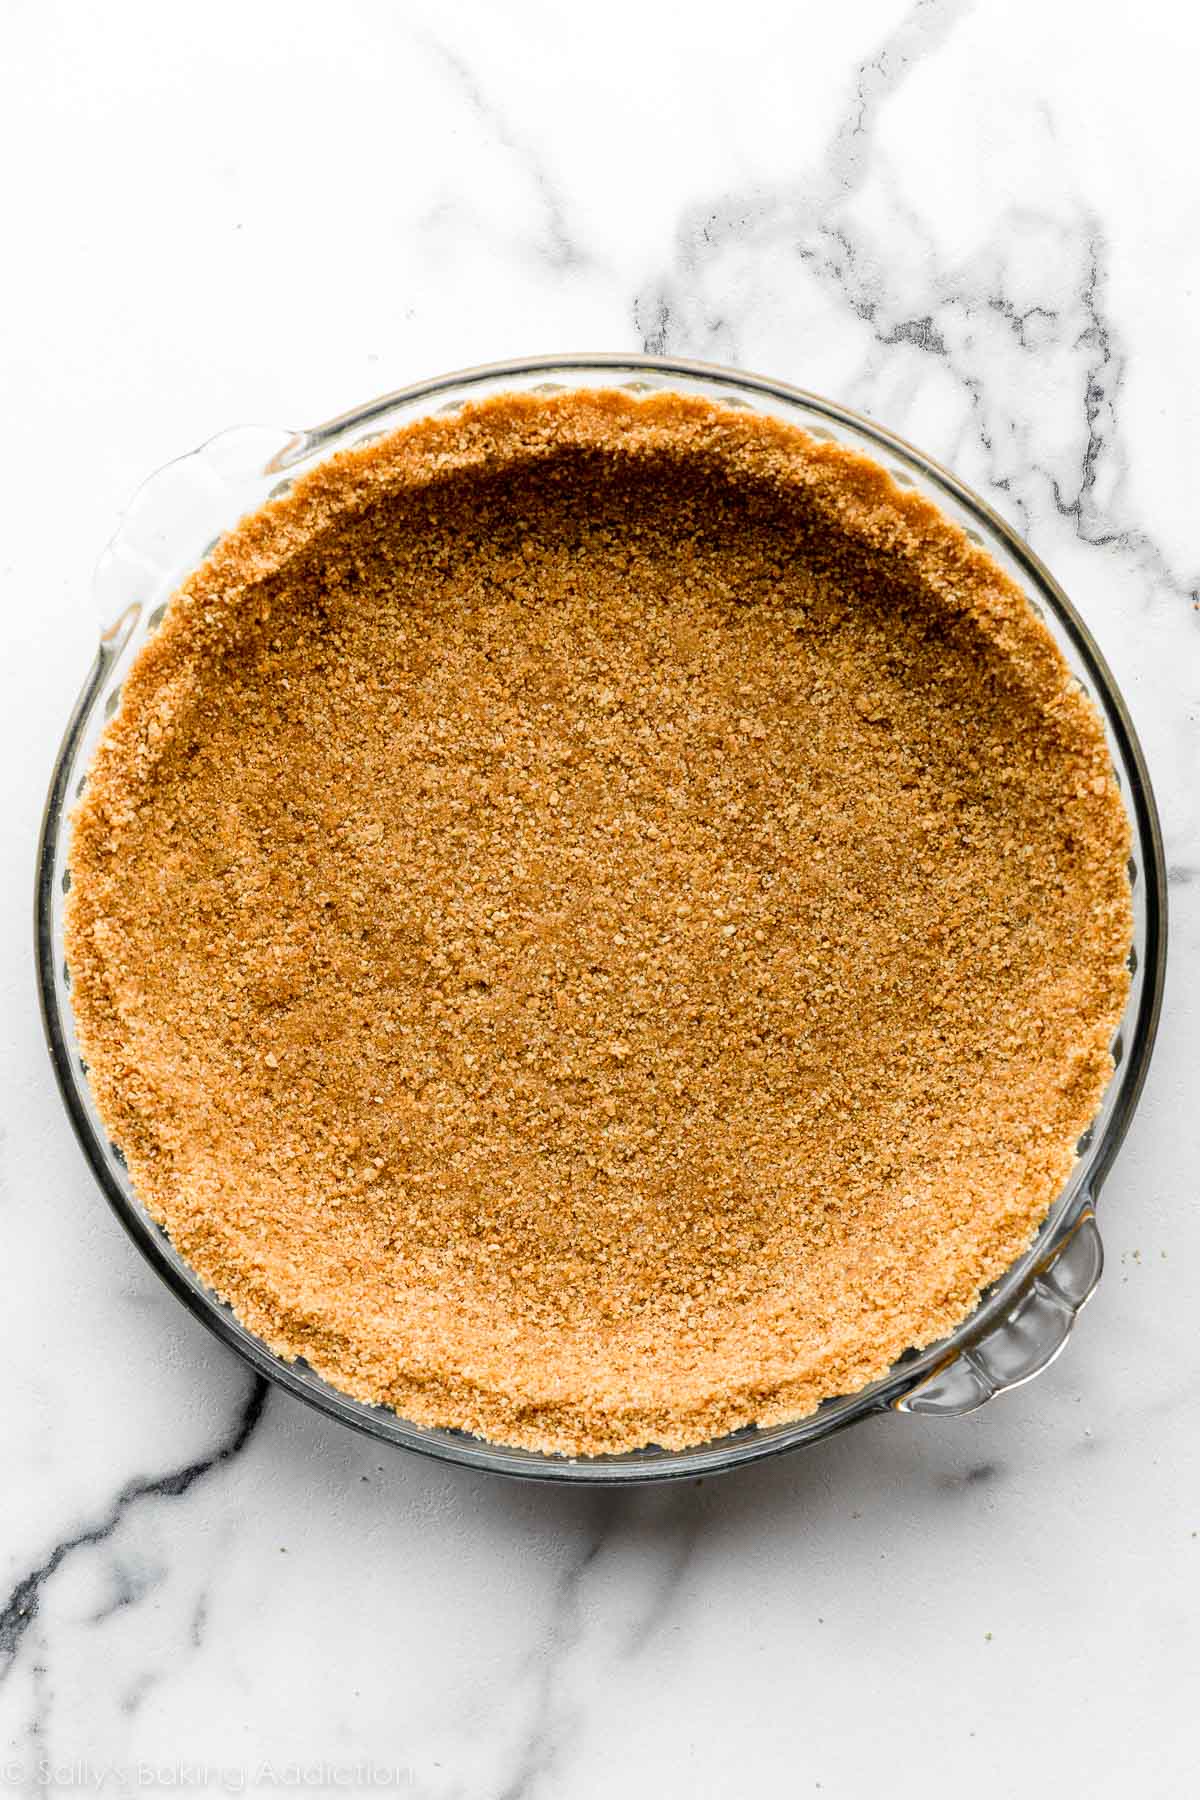
And, as explained in the 4th success tip above, running a spoon around the inner sides helps the crust keep a rounded shape, so the slices of your pie stay intact:
FAQ: What Size Pan Does This Fit?
You will want to use an ungreased 8-inch, 9-inch, or 10-inch pie dish, cake pan, springform pan, or square pan for this recipe. It’s not enough for a 9×13-inch pan. If you’re making a 9×13-inch dessert, I recommend 1.5x the recipe.
FAQ: Does Graham Cracker Crust Need to Be Baked?
Typically, yes. After shaping into your pan, this crust should be baked, and the amount of time really depends on the recipe you’re using, and whether it’s a baked or a no-bake filling. Check the pie or cheesecake recipe you’re using for crust baking and cooling instructions.
I usually pre-bake this graham cracker crust for at least 10 minutes at 350°F (177°C) before adding a filling. If you’re making a no-bake pie/dessert: cool the crust before filling it, unless the no-bake pie recipe you are using states otherwise.
Or try my no bake cheesecake, which uses a brown sugar graham cracker crust that isn’t baked at all.
Digestive Biscuit Crumb Crust Alternative
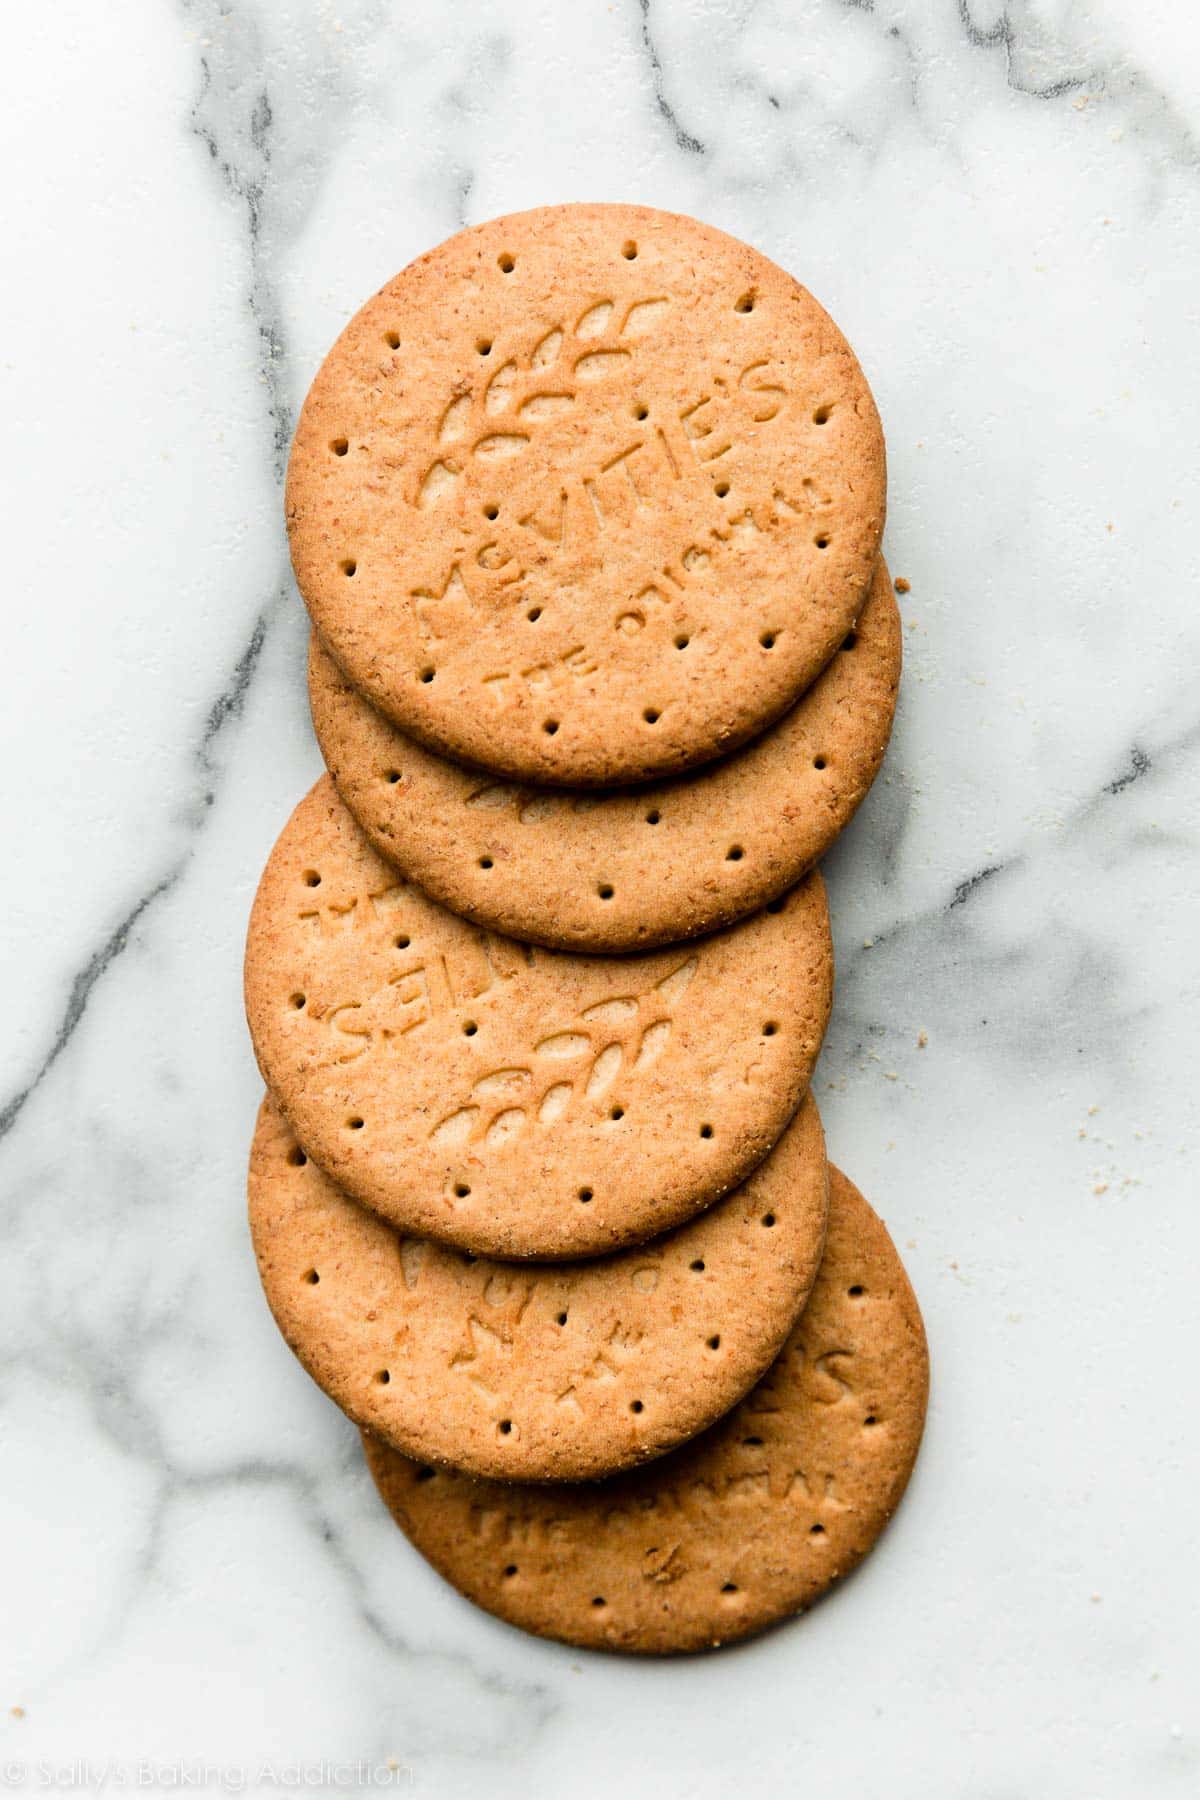
For non-US readers, my team and I tested out making this crust with digestive biscuits (we used McVitie’s brand), and here are our findings:
Though different in size and shape, 1 standard digestive biscuit weighs just about the same as 1 full sheet graham cracker, about 15g. Digestives are similar in flavor to graham crackers, but the texture is slightly different. Digestives aren’t quite as crispy-crunchy as graham crackers, and disintegrate faster when wet, as those who like to dip them into their tea will know. We found that we needed some extra crumbs in the crust to help absorb the melted butter.
We’re also adding a bit more sugar, because digestive biscuits contain about half the amount of sugar as graham crackers. So the final recipe for a digestive biscuit crumb crust that works as a great alternative to this graham cracker crust is:
- 200g digestive crumbs (about 2 cups; 13–14 standard digestive biscuits)
- 1/3 cup (67g) granulated sugar
- 6 Tablespoons (85g) unsalted butter, melted
Prebake for a bit longer than the graham crust, 12–15 minutes at 350°F (177°C).
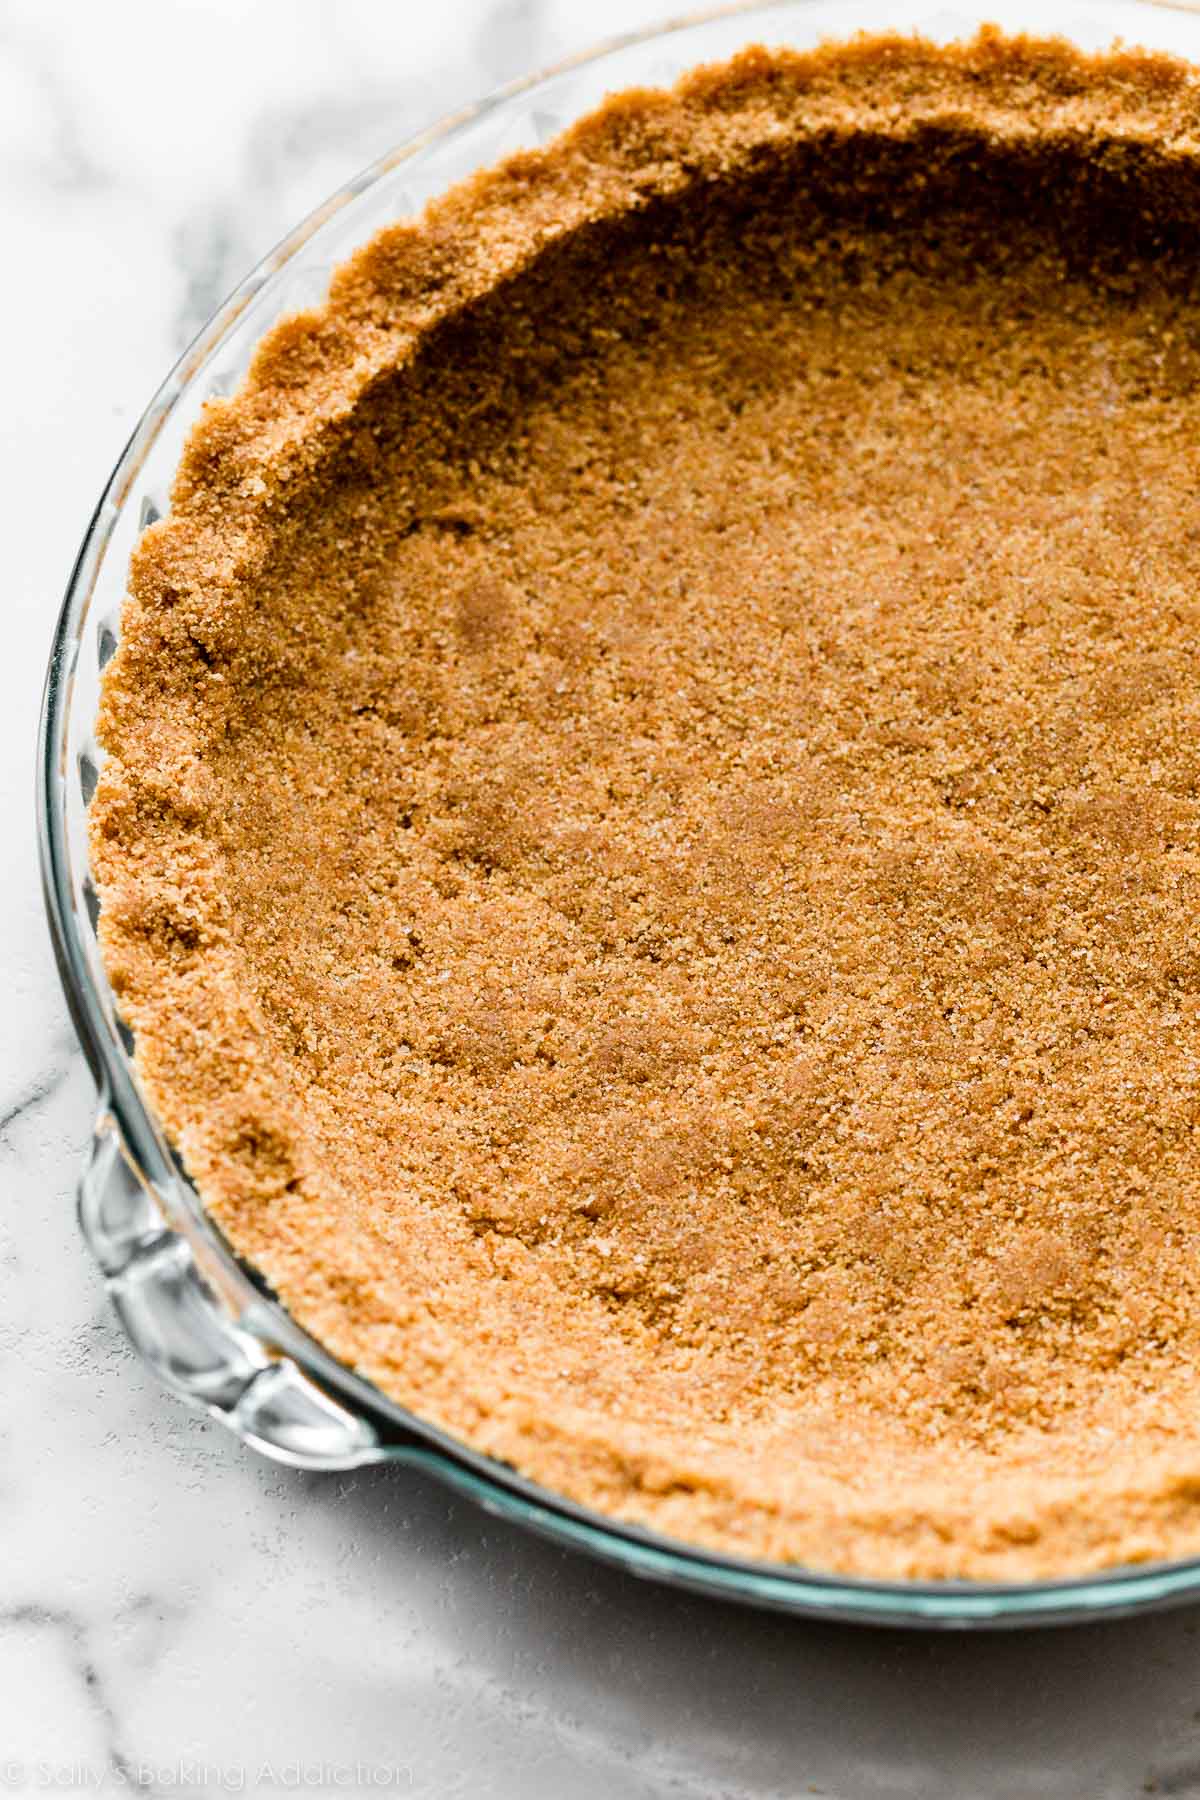
Graham cracker crust is the base of so many incredible desserts, so it’s important to have a really solid recipe for this baking staple under your belt (or apron ties). And it’s worlds easier than regular pastry pie crust. Repeat: It’s easy! Buttery! Thick! Crunchy! Graham crackery! Just the best!
Other Crumb Crust Alternatives
You could also make this crumb crust with vanilla wafers or Ritz crackers instead of graham crackers. For an easy Oreo crust, see my Oreo Crust guide. And for an easy Biscoff cookie crust, see my Biscoff Pie Crust guide.
Q: Have you tried any other alternatives for a graham cracker crumb crust?
Print
Graham Cracker Crust
- Prep Time: 5 minutes
- Cook Time: 10 minutes
- Total Time: 15 minutes
- Yield: 1 9-inch pie crust
- Category: Pie
- Method: Baking
- Cuisine: American
Description
Learn how to make a thick, buttery homemade graham cracker crust with only 3 ingredients.
Ingredients
- 1 and 1/2 cups (180g) graham cracker crumbs (about 12 full sheet graham crackers)
- 1/4 cup (50g) granulated sugar
- 6 Tablespoons (85g) unsalted butter, melted
Instructions
- If you’re starting out with full graham crackers, use a food processor or blender to grind them into fine crumbs. You can also place them in a zip-top bag and crush them into fine crumbs with a little arm muscle and a rolling pin.
- Stir the graham cracker crumbs and granulated sugar together in a medium bowl, and then stir in the melted butter. The mixture will be thick, coarse, and sandy. Try to smash/break up any large chunks.
- Pour the mixture into an ungreased 8-inch, 9-inch, or 10-inch pie dish, cake pan, springform pan, or square pan. With medium pressure using your hand, pat the crumbs down into the bottom and up the sides to make a compact crust. Do not pack down with heavy force because that makes the crust too hard. Simply pat down until the mixture is no longer crumby/crumbly. Tip: You can use a small flat-bottomed measuring cup to help press down the bottom crust and smooth out the surface, but do not pack down too hard. If making a pie, run a spoon around the bottom “corner” where the edge and bottom meet to help make a rounded crust—this helps prevent the crust from falling apart when you cut slices.
- For a baked dessert, pre-bake this crust per your filling recipe’s directions. I usually pre-bake for 10 minutes at 350°F (177°C). For a no-bake dessert, cool the crust completely before using, unless your filling’s recipe instructs otherwise.
Notes
- Make Ahead & Freezing Instructions: It’s freezer friendly! Freeze the prepared crust in your pan for up to 3 months. Thaw before using in your recipe. For shorter storage, keep the prepared crust in the refrigerator for up to 3 days before using in your recipe.
- Special Tools (affiliate links): Food Processor | Glass Mixing Bowl
- What Size Pan Does This Crust Fit? Use an 8-inch, 9-inch, or 10-inch pie dish, cake pan, springform pan, or square pan for this recipe. It’s not enough for a 9×13-inch pan. If you’re making a 9×13-inch dessert, I recommend 1.5x the recipe.
- Graham Crackers: Use cinnamon, honey, or chocolate flavor graham crackers depending on your dessert recipe. I usually use honey flavor because it is the standard graham cracker flavor. If I’m baking a chocolate treat, I like to use the chocolate graham crackers. The best graham crackers to use for this crumb crust are the Nabisco Honey Maid brand (not sponsored, just our conclusions!).
- Other Cookies/Crackers: You can substitute the graham cracker crumbs for vanilla wafer or Ritz cracker crumbs. For an easy Oreo crust, see my Oreo Crust recipe.
- Non-US Readers: Don’t have graham crackers where you live? Use 200g ground digestive biscuit crumbs (about 2 cups; 13–14 biscuits), 1/3 cup (67g) granulated sugar, and 6 Tablespoons (85g) melted butter. You may need to add a few extra minutes to the pre-baking time, as digestive biscuits are not quite as crispy-crunchy as graham crackers.


Love the recipe & all the helpful tips! I’d like to convert the Graham Crackers to Shortbread cookies; should I make any adjustments due to switch?
I can’t say enough how much I love this site! Thank you so much for sharing knowledge instead of “filler”- Happy Baking!
Hi Ms. B, we haven’t tested this recipe with crunchy shortbread cookies. It may take a bit of tinkering! Or, you can use the shortbread crust from this blueberry lemon tart for another pie recipe. Hope this helps!