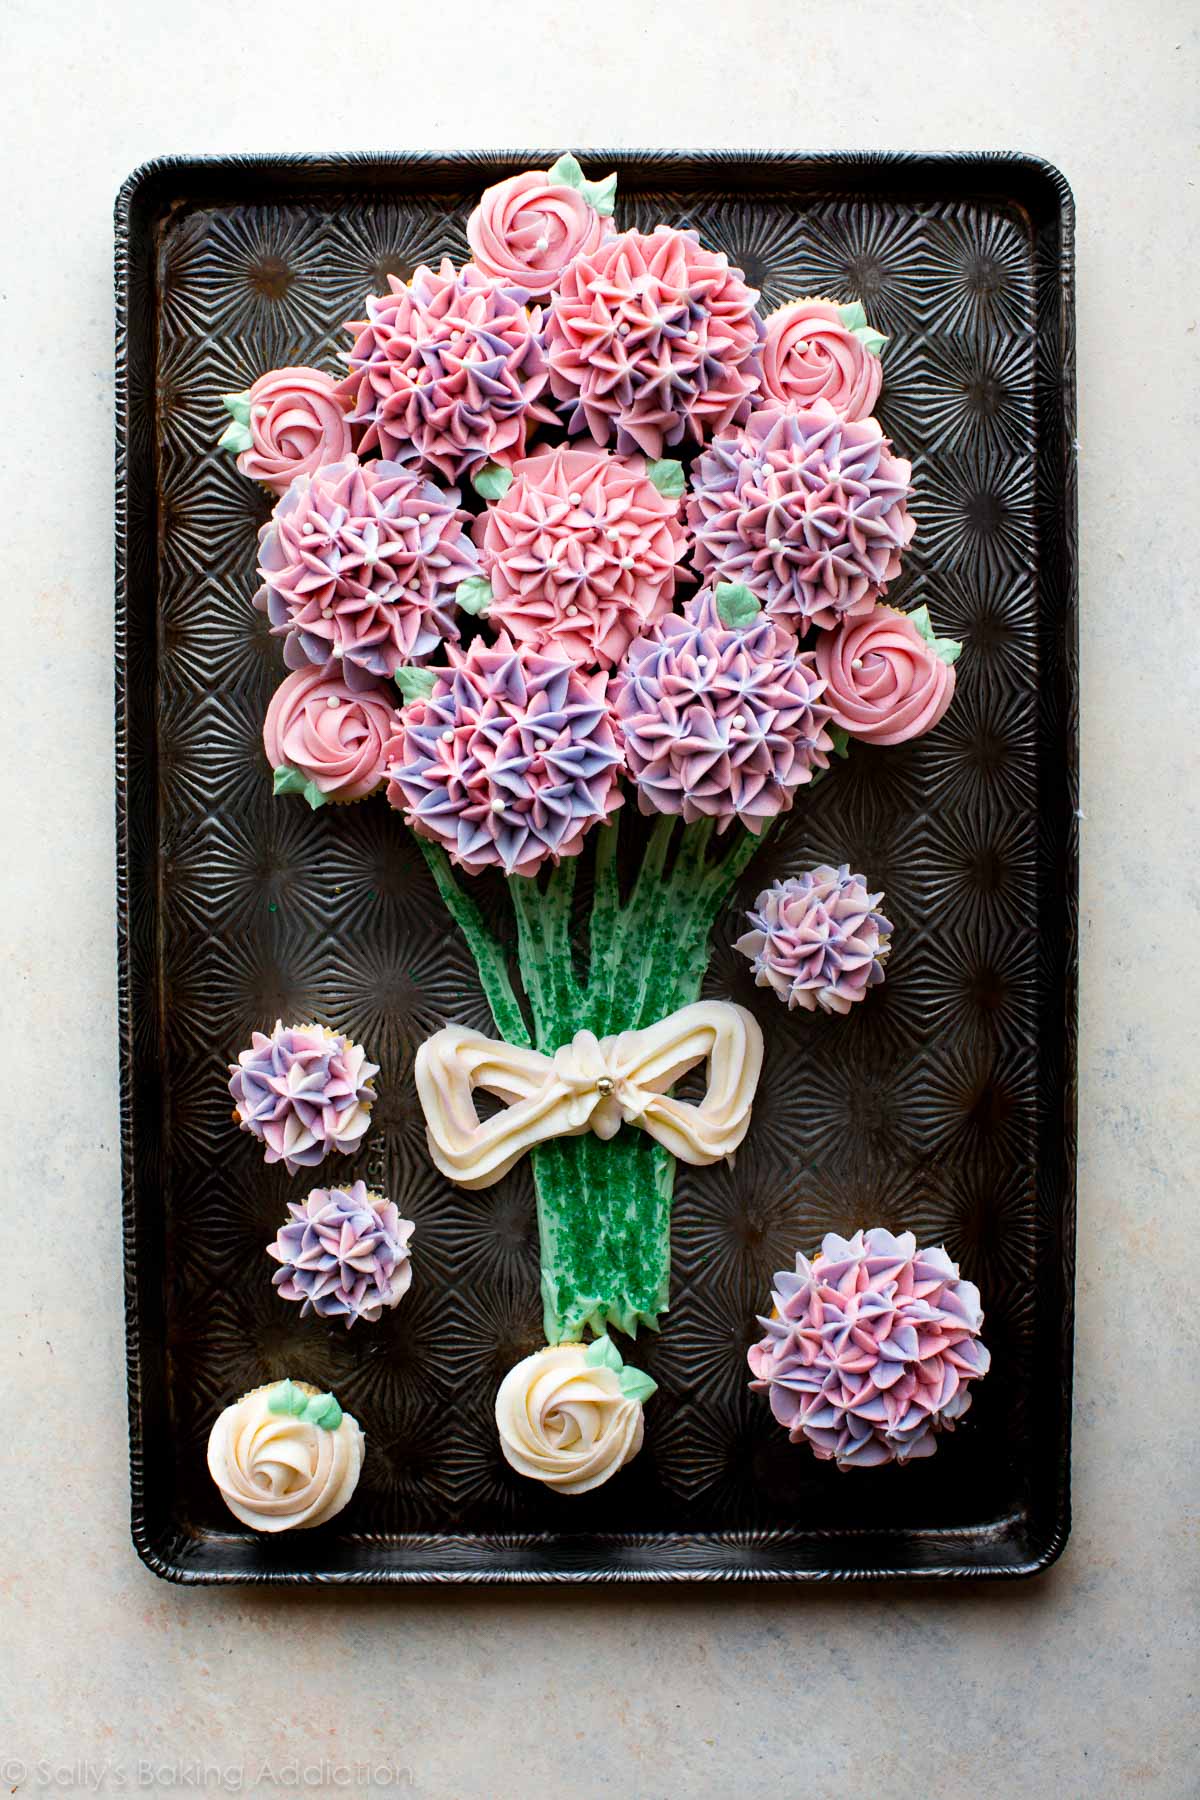
Spring means Mother’s Day, bridal showers, baby showers, weddings, and brunches. When working on my April editorial calendar, I wanted to publish a dessert fit for all of these April and May occasions that would stand out in a multitude of fabulous spring dessert recipes. Additionally, one of my goals this month is practicing a new cupcake decorating technique. The pieces all fell into place and before I knew it, a cupcake bouquet had bloomed.
Today I’m teaching you how to arrange a beautiful cupcake bouquet complete with buttercream stems and a charming buttercream bow. A little nervous about all this piping? I have you covered. Crafting these buttercream flowers is a lot simpler than it looks. It just takes a little practice, guidance, and a sturdy frosting.
Completely new to piping tips? Here is my how to use piping tips post with a video.
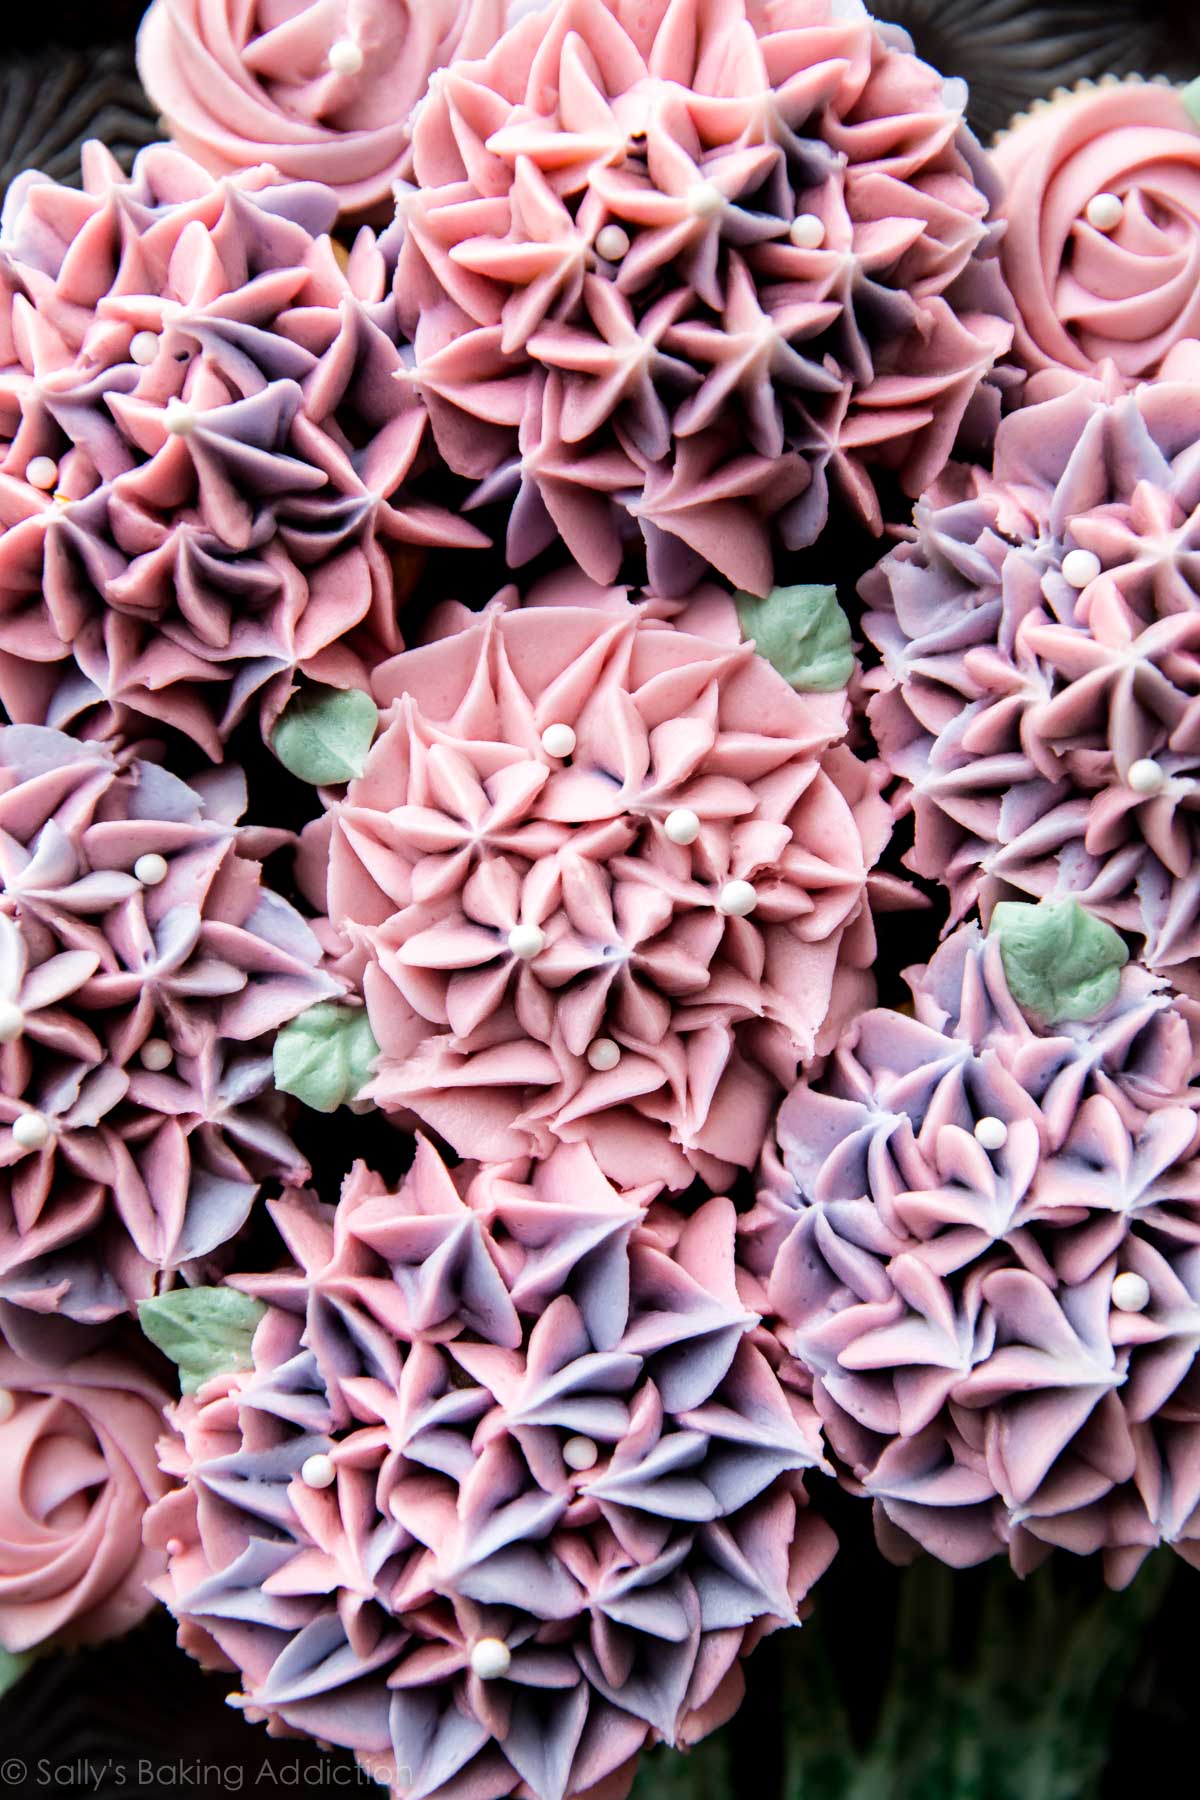
The main focus today = buttercream hydrangeas and buttercream roses.
Tools for Cupcake Bouquet
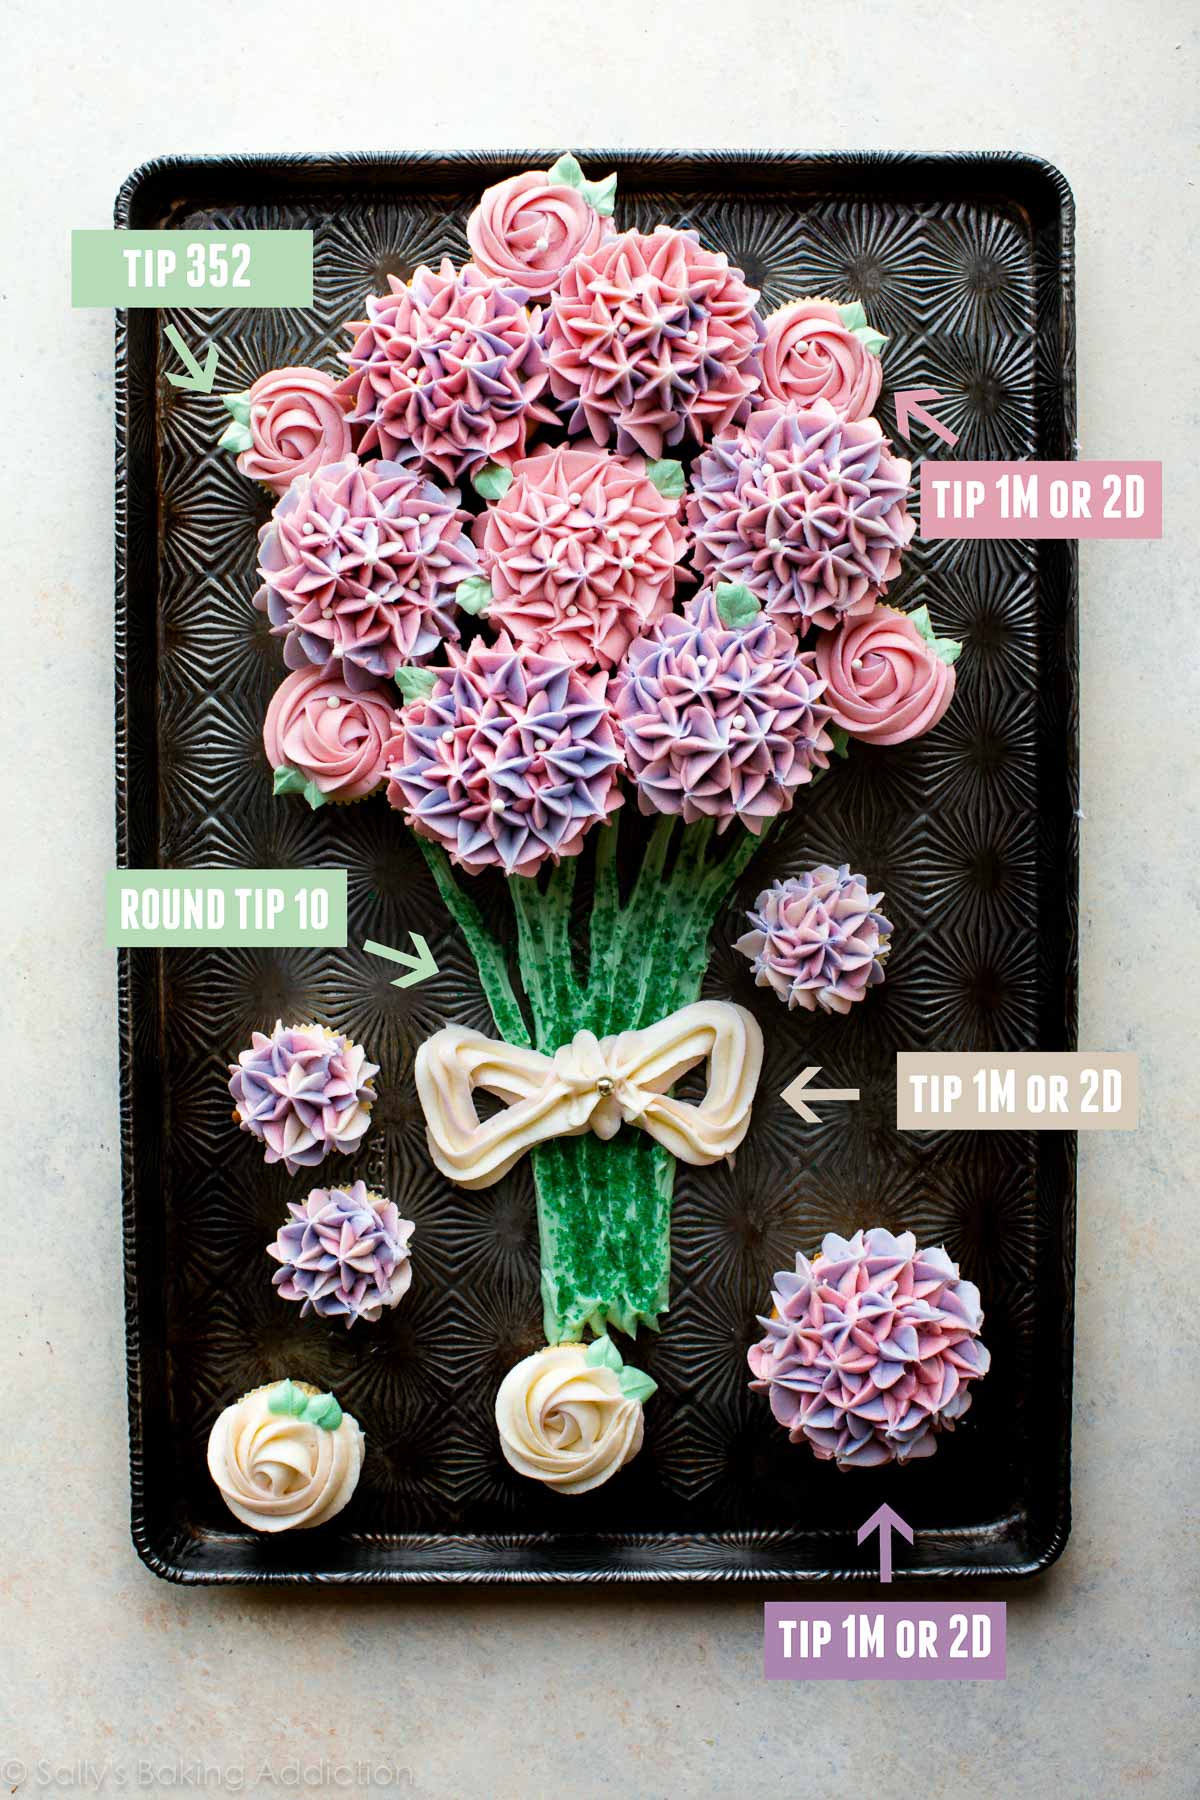
- A large star piping tip for the roses, hydrangeas, and bow. I like the 1M piping tip, but the 2D piping tip works too!
- 352 leaf piping tip for the leaves
- A round or flat tip for the stems. I used a round tip, but it ended up looking messy so I flattened the stems out.
- Piping bags (disposable or reusable— 12 or 16 inch)
- Gel food coloring (I used dusty rose, mint green, and violet)
- White sugar pearls and green sprinkles for decoration, both optional
I only used 3 piping tips: flowers + bow, leaves, and stems. Using the same piping tip for the roses and hydrangeas makes things convenient. You could even get away with only 2 piping tips if you use the leaf tip for the stems! If you don’t have this 22-piece piping tip set and are interested in cupcake/cake decorating, pick it up. I LOVE IT. All of the piping tips you need for this cupcake bouquet are included. (You’ll get the 2D instead of the 1M, but both can produce a rose and hydrangea!)
Aren’t the colors beautiful? The muted pink, violet, and mint green are all calming and soft shades for springtime. “Dusty rose” and “mint green” are sold in a 12-pack with other pastel colors and “violet” is sold in another 12-pack with more basic colors. Get creative with which colors you use! I will say that I prefer using gel food coloring instead of liquid food coloring in frosting. Liquid coloring isn’t as concentrated, so you usually need more—and more liquid could alter the consistency of your frosting.
If you don’t want to tint the frosting for the flowers, use my strawberry buttercream frosting instead for a naturally pink frosting.
Cupcake Flavors
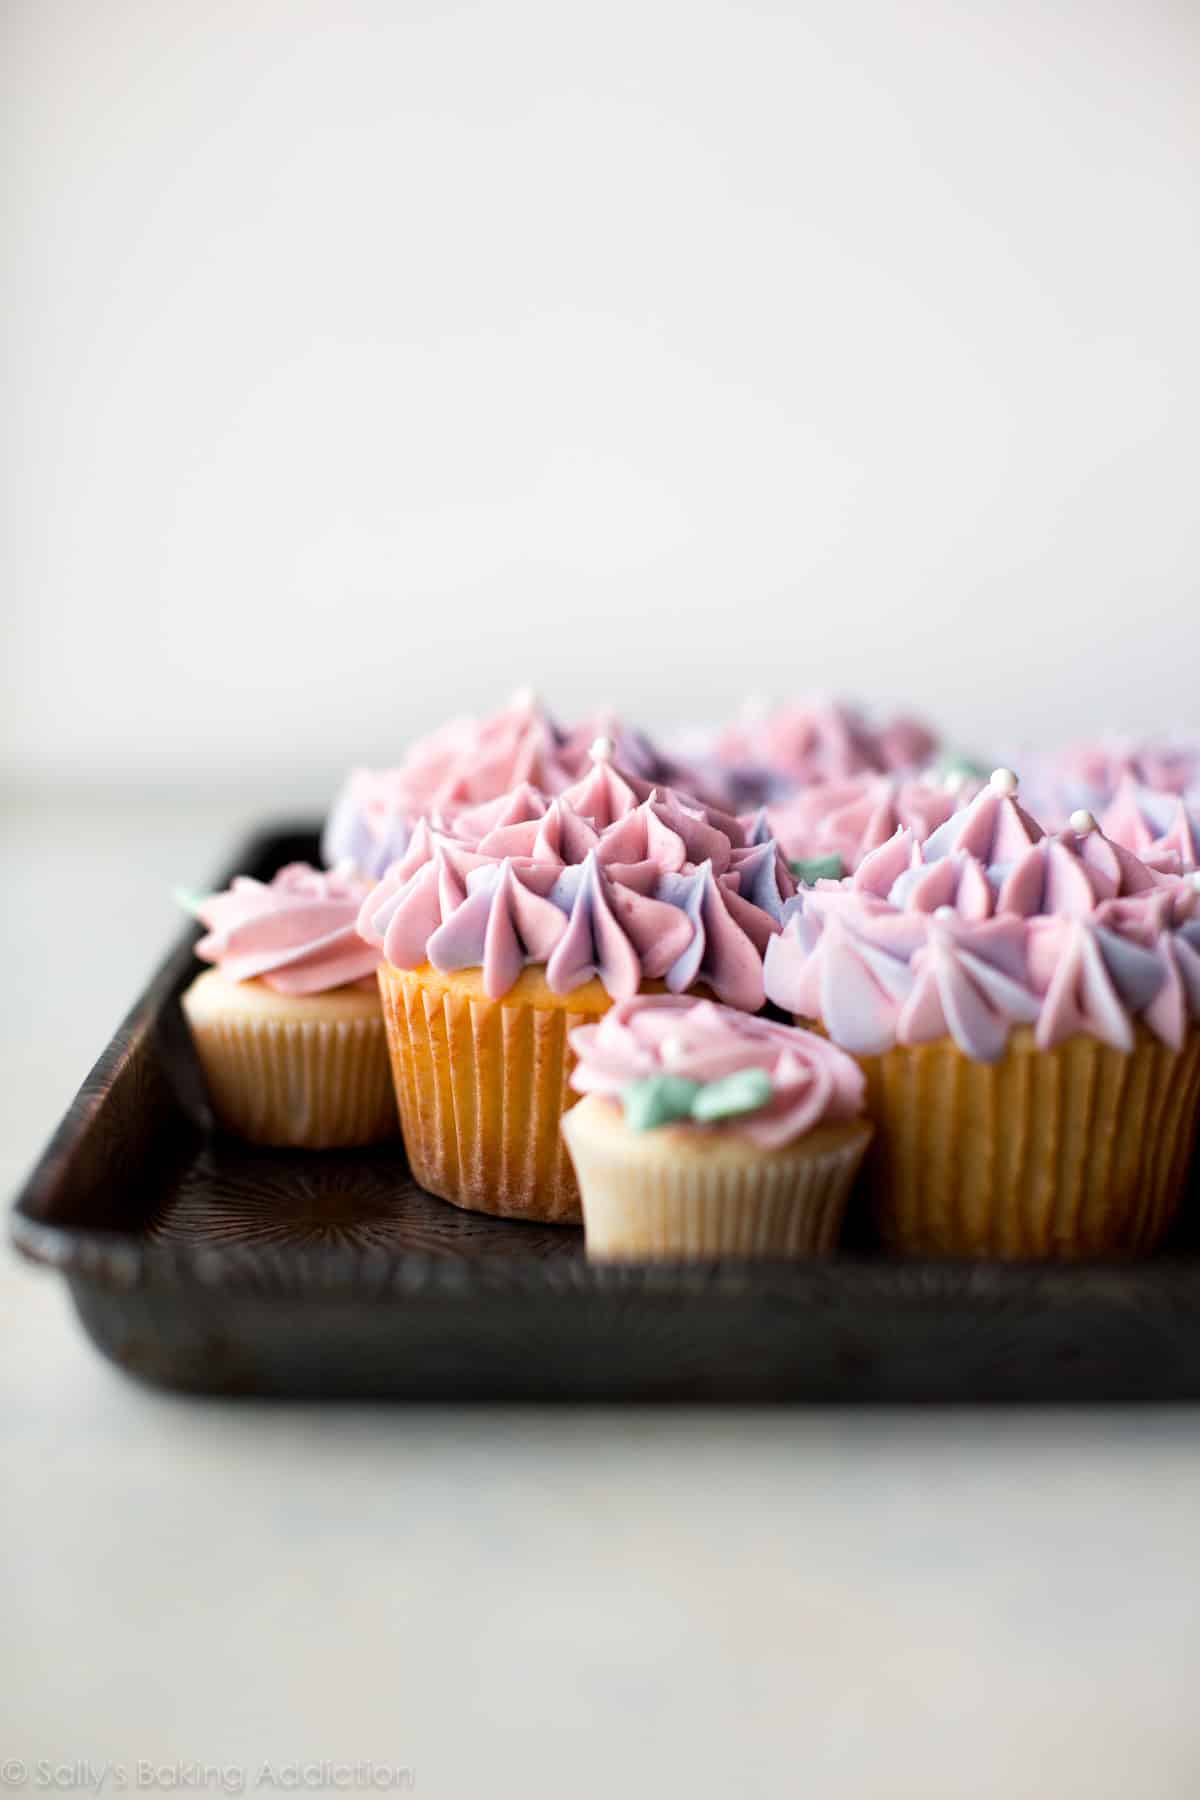
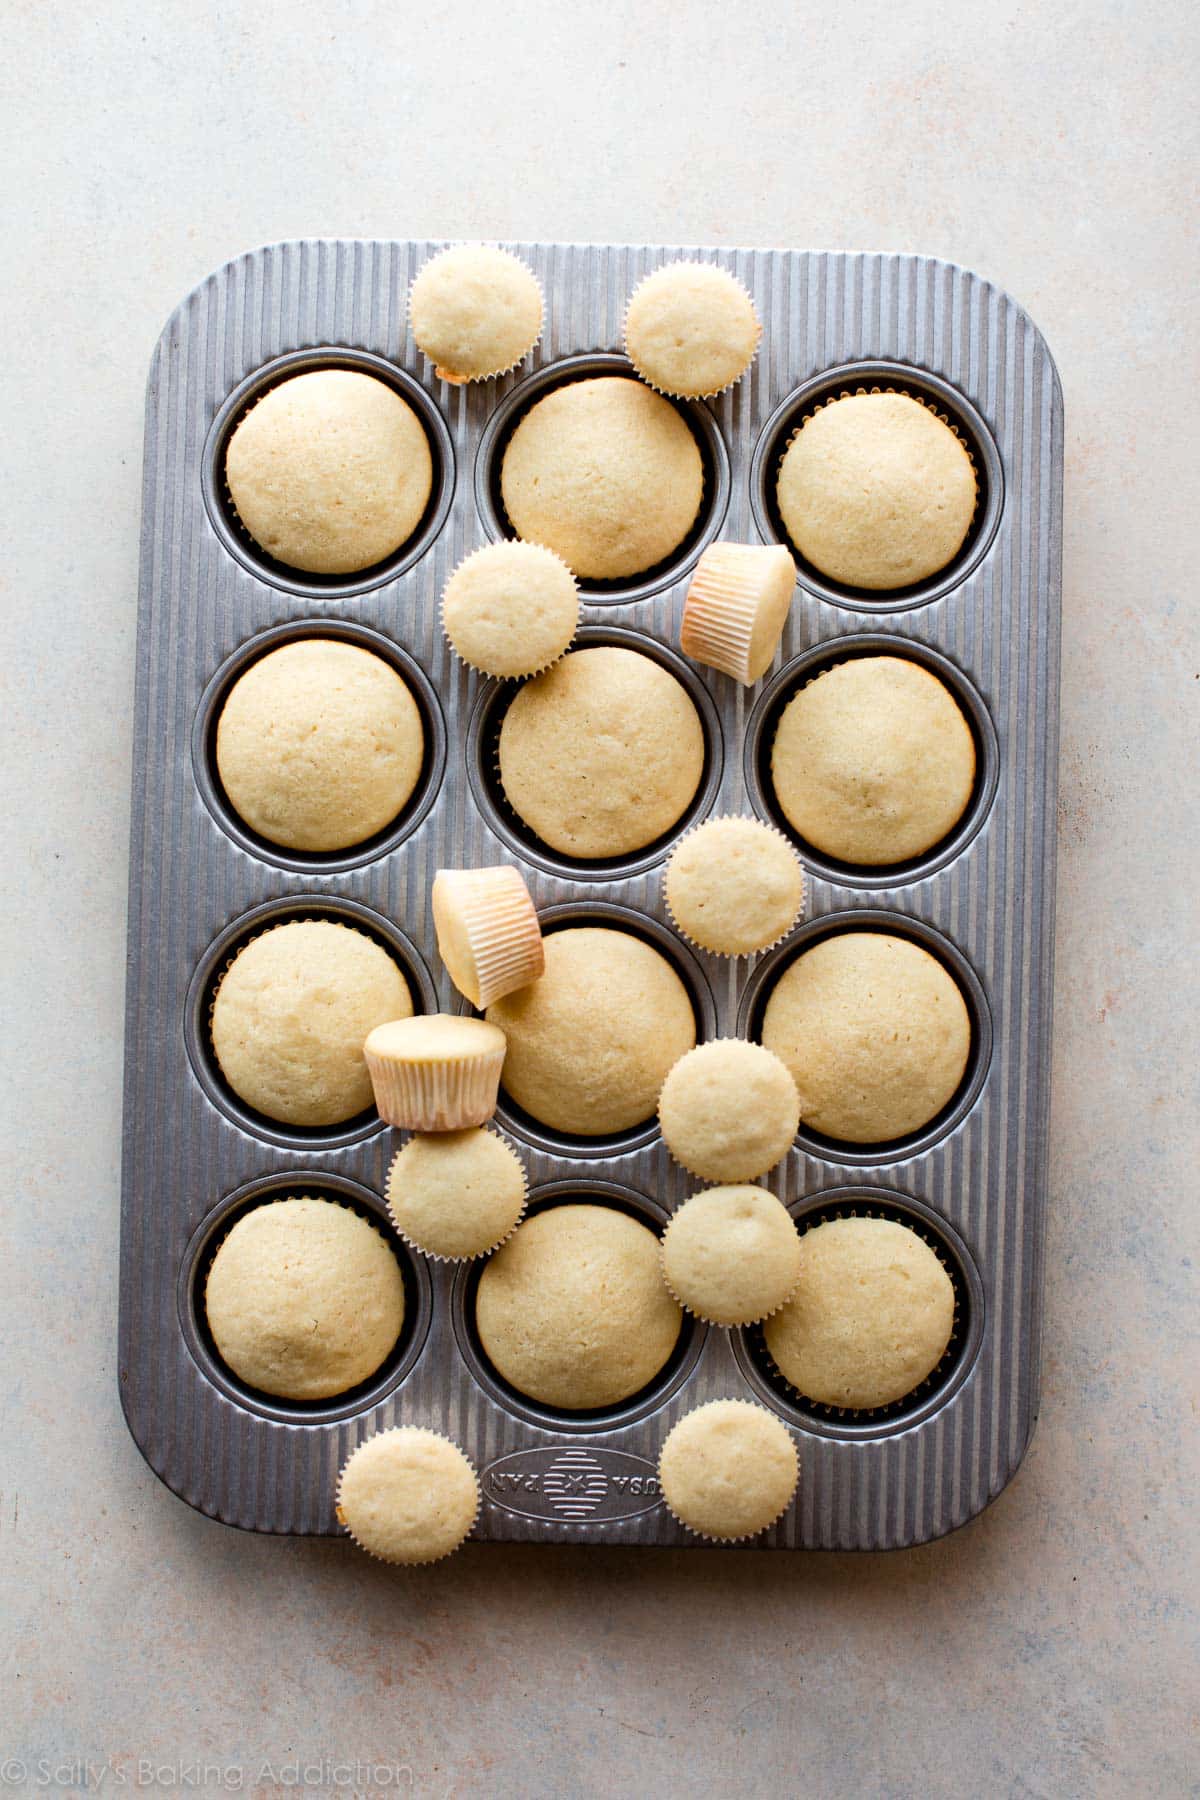
First, bake some cupcakes. I stuck with basic vanilla cupcakes. One batch of my vanilla cupcakes recipe yields 12 standard, plus 12 mini cupcakes. I loved the variation of cupcake sizes for the cupcake bouquet presentation, but you can keep them all the same size if you prefer. Other flavor suggestions:
- Lemon Cupcakes
- Chocolate Cupcakes
- Carrot Cake Cupcakes
- Banana Cupcakes
- Confetti Cupcakes
- Pistachio Cupcakes
- Strawberry Cupcakes
Vanilla Buttercream
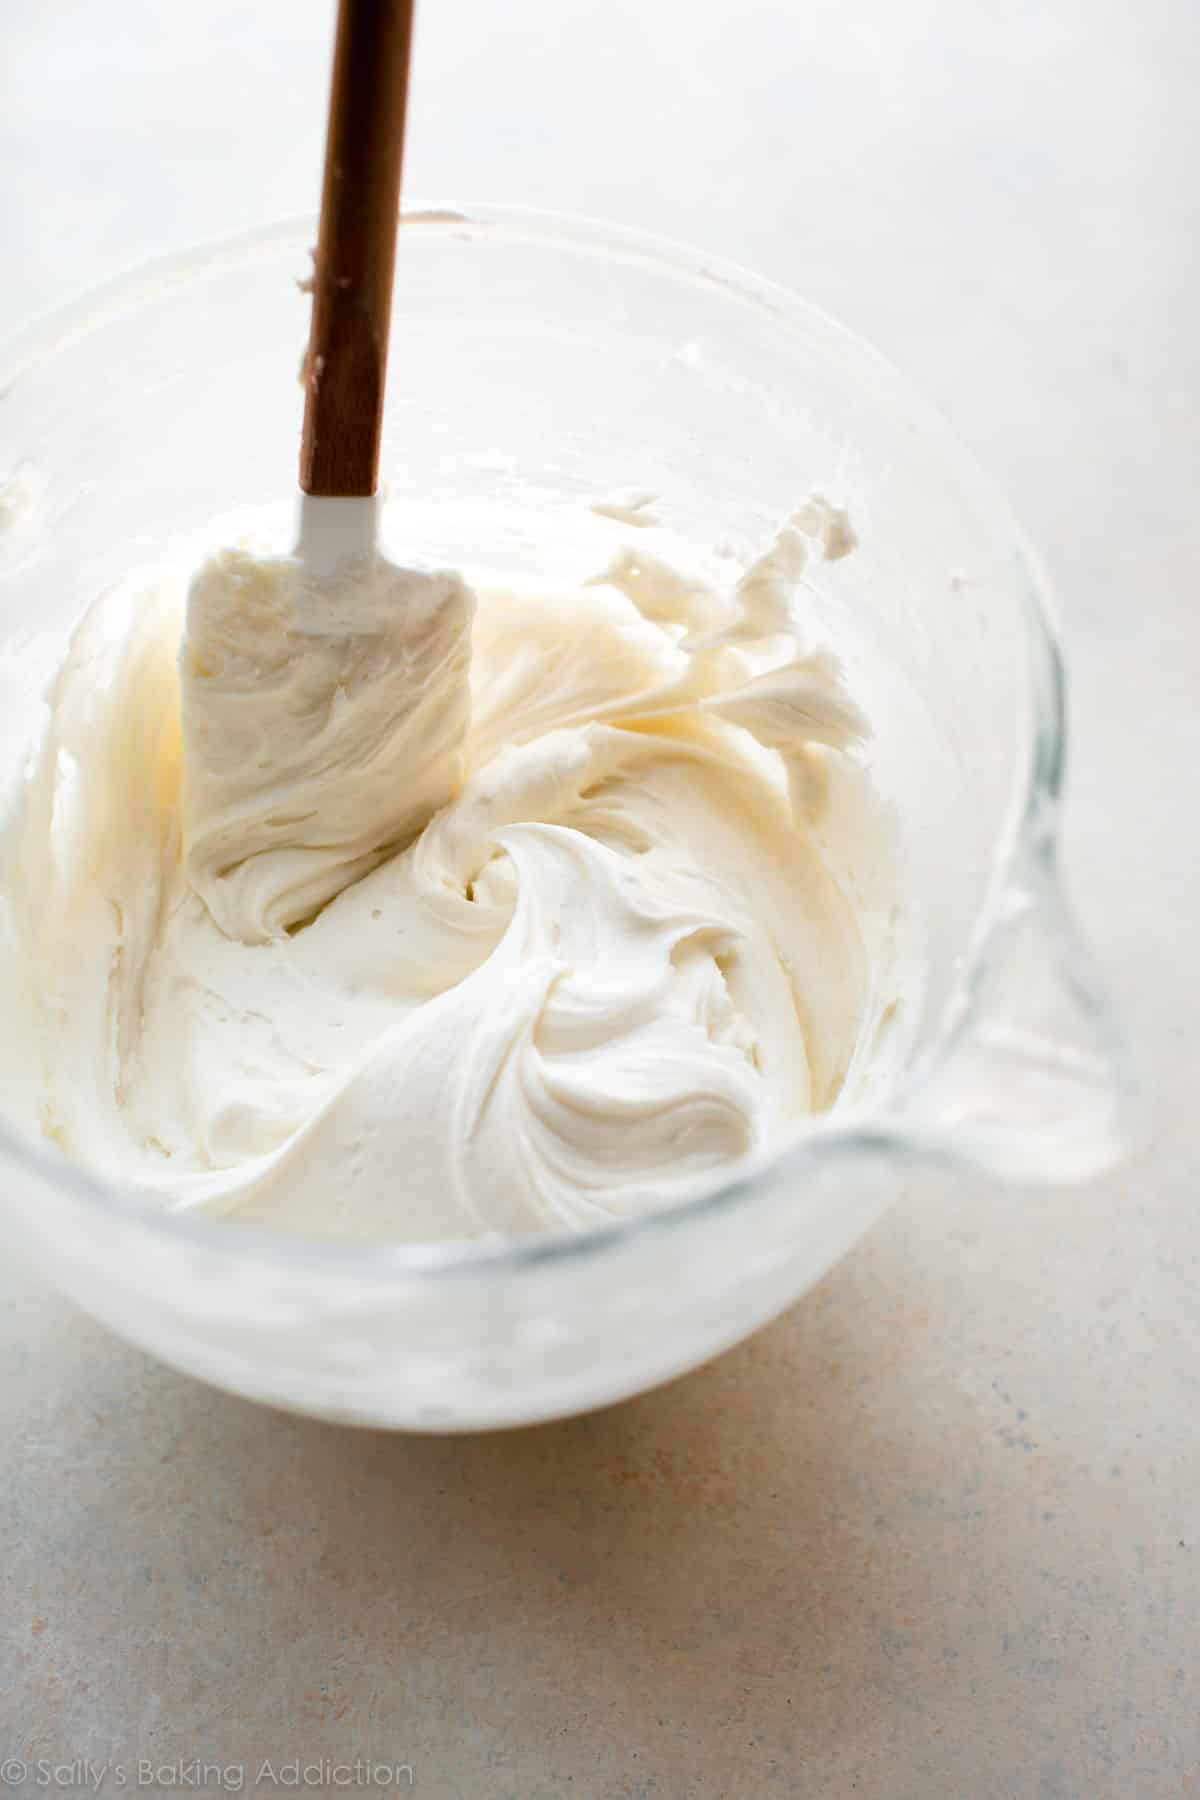
We’ll use vanilla buttercream, of course. You want a very sturdy frosting that will hold the detailed flower designs. I strongly recommend the vanilla buttercream recipe below. I love it because while it’s sturdy and strong, it’s also creamy and fluffy. Functional AND tasty, I love it!
Piping Hydrangea Flowers
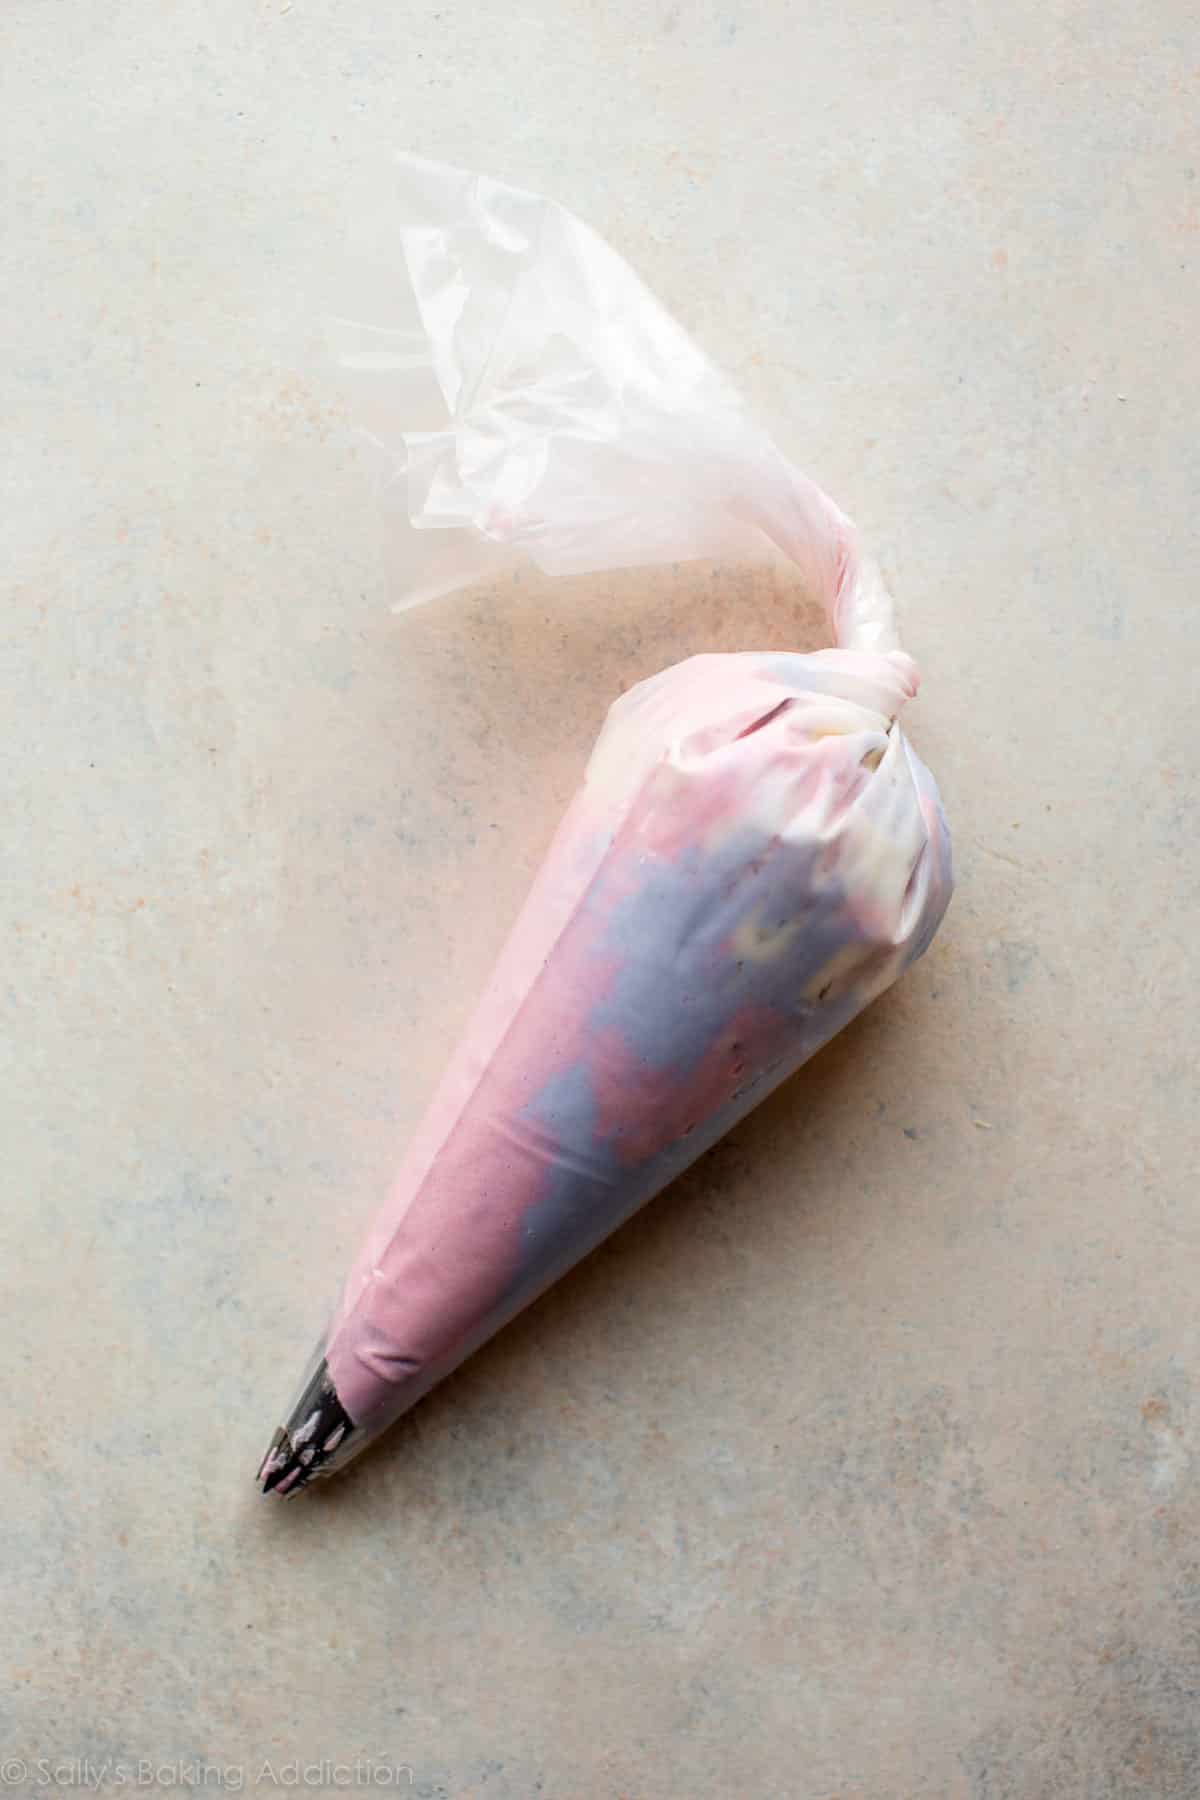
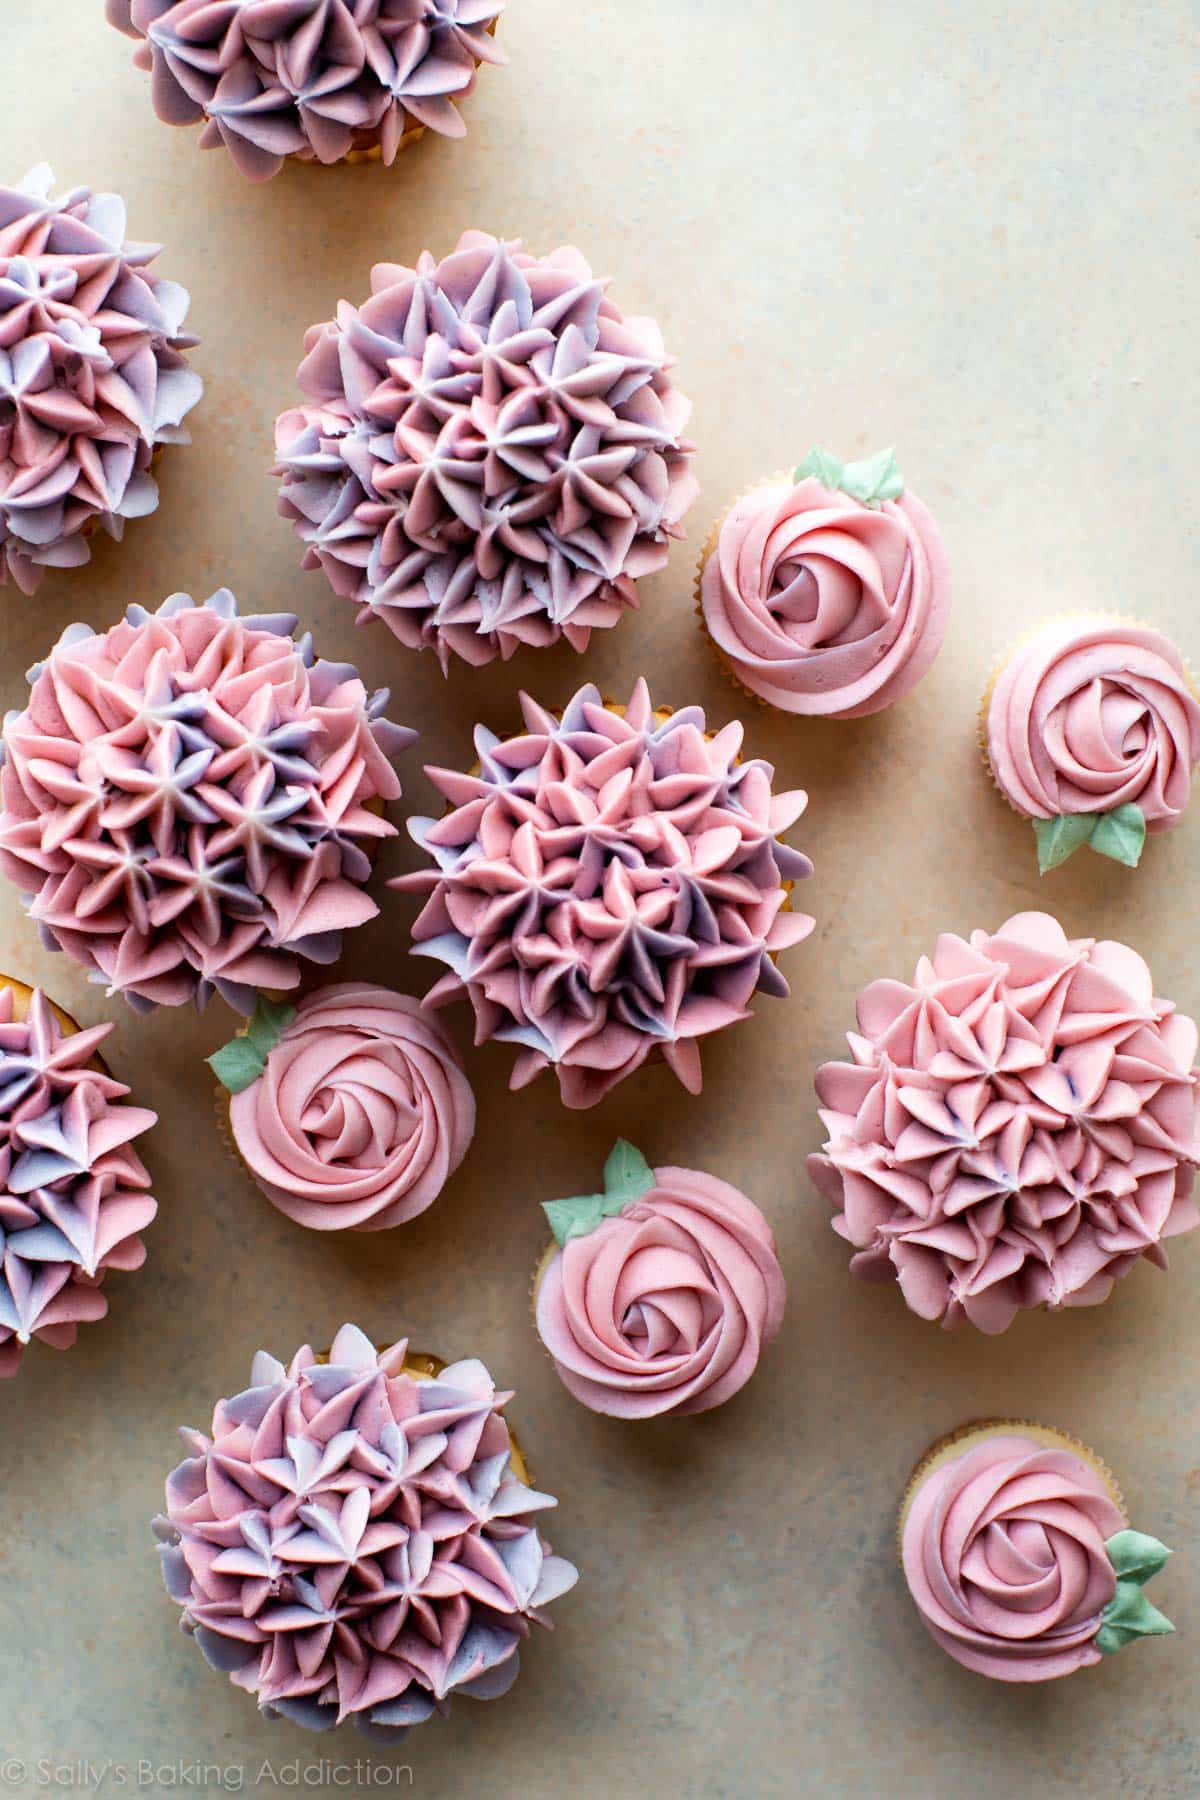
The piped hydrangea technique is very popular right now and great news: it’s a wonderful technique for beginners. I was pleasantly surprised (1) how quick it is and (2) how easy it is. To produce a gorgeous and real-ish looking hydrangea flower, use 2 or 3 colors of frosting. More than 3 colors could look overwhelming and maybe a little messy, too. I used 3 colors. I tinted the frosting pink, purple, and kept some white. There are many ways you can fill the piping bag to pipe hydrangea flowers, but I prefer to keep it REALLY simple. Drop spoonfuls of colored frosting into your piping bag, alternating colors. 1 spoonful of pink, 1 spoonful of purple, 1 spoonful of white, repeat. Your piping bag will be marbled with different colors.
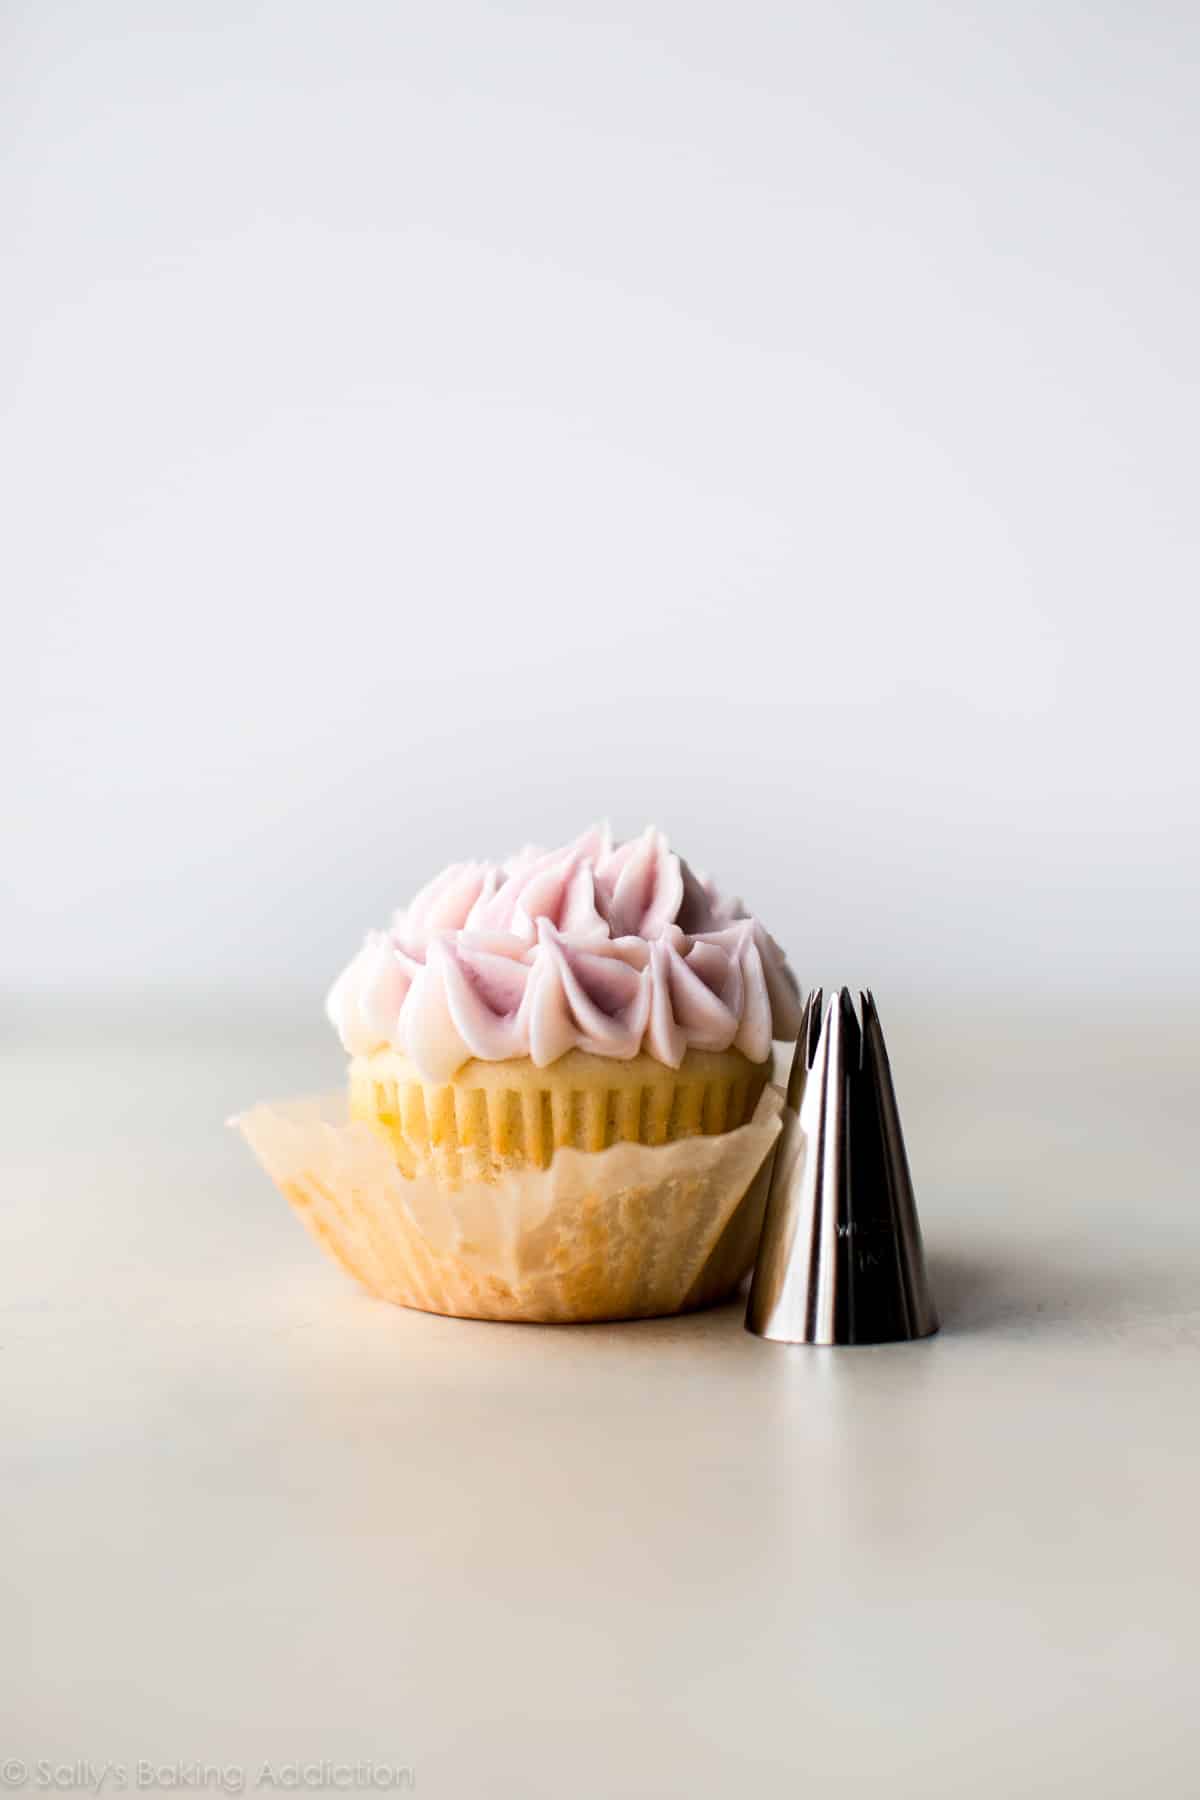
The first hydrangea you pipe may have only 1 color of frosting, so you can always pipe a little frosting onto a plate until you begin to see all the colors coming out. Grab your cupcake and place the piping tip on top of the edge. Using steady and medium pressure, begin piping stars all around the edges, then fill in the center, the same way you make monster cupcakes for these Halloween cupcakes. It’s easier to watch than to read!
Impressive looking, but easier than you ever imagined. What I love most is that every hydrangea cupcake is unique. Some have more pink, others have more purple, some have white and pink, etc. Makes each one special.
Piping ROSES
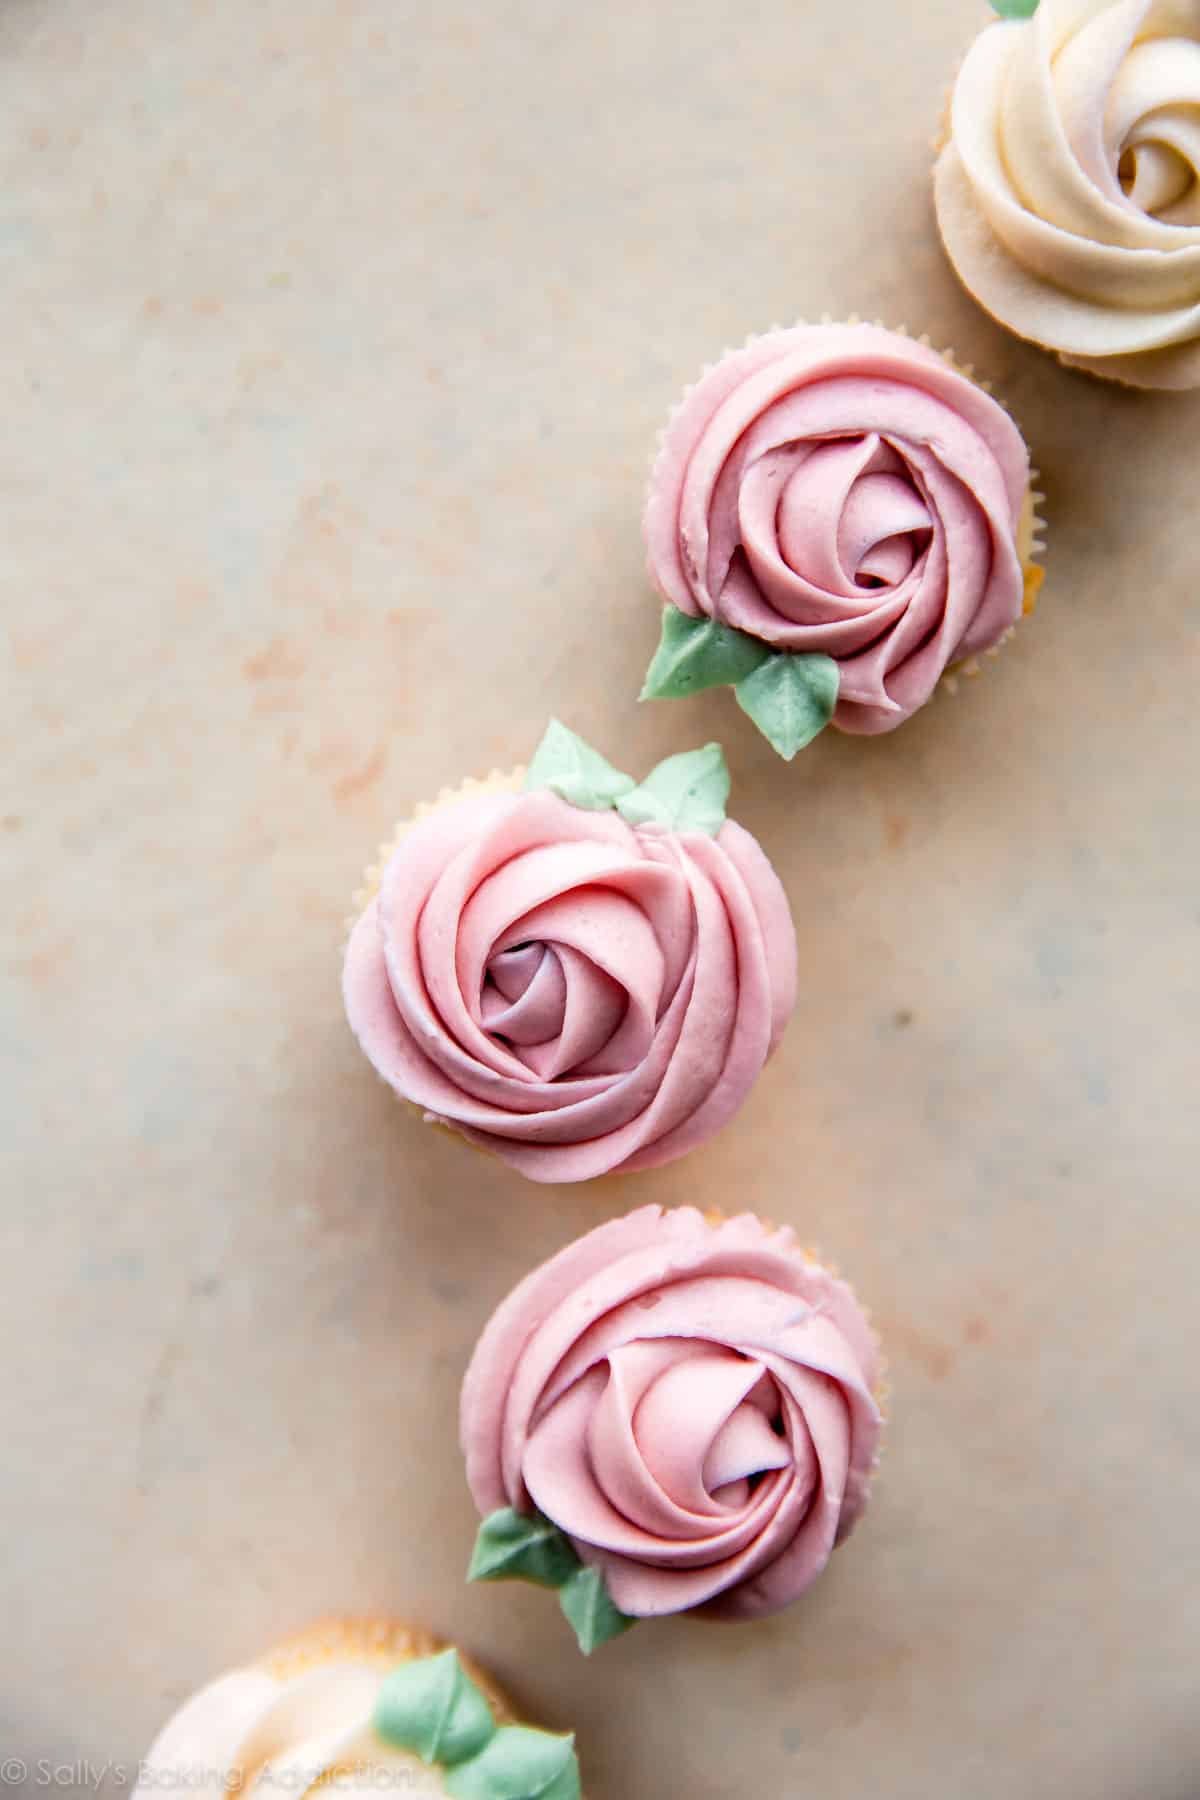
I taught you how to pipe two-toned frosting roses last year, remember? We made two-toned roses. You can just use the same piping bag you use for your hydrangeas since it’s the same exact piping tip. I piped solid color roses with leftover pink and white frosting. Place the piping tip directly on top of the center of the cupcake. Using steady and medium pressure, pipe a tight spiral around the cupcake. Lessen some pressure as you come to the end. If the end looks a little messy, add some leaves using 352 leaf piping tip.
Roses are really fun and your cupcakes have never looked more lovely!
Arranging a Cupcake Bouquet
Now that you have your hydrangea cupcakes and rose cupcakes, begin assembling your cupcake bouquet. There are many ways to present a cupcake bouquet. You can get REALLY crafty and assemble a pot with Styrofoam, but I just used a tray. Any large serving platter is great! Use your leaf tip to fill in any gaps. Adding green sprinkles on the stems, as well as a bow, was a last minute decision because my stems looked a little bare. White sugar pearls are a nice finishing touch.
Do you want your cupcake bouquet to have only roses, only hydrangeas, or both? Maybe some buttercream sunflowers too? Get crazy, have fun! By the way, you use the same leaf tip for the sunflower petals.

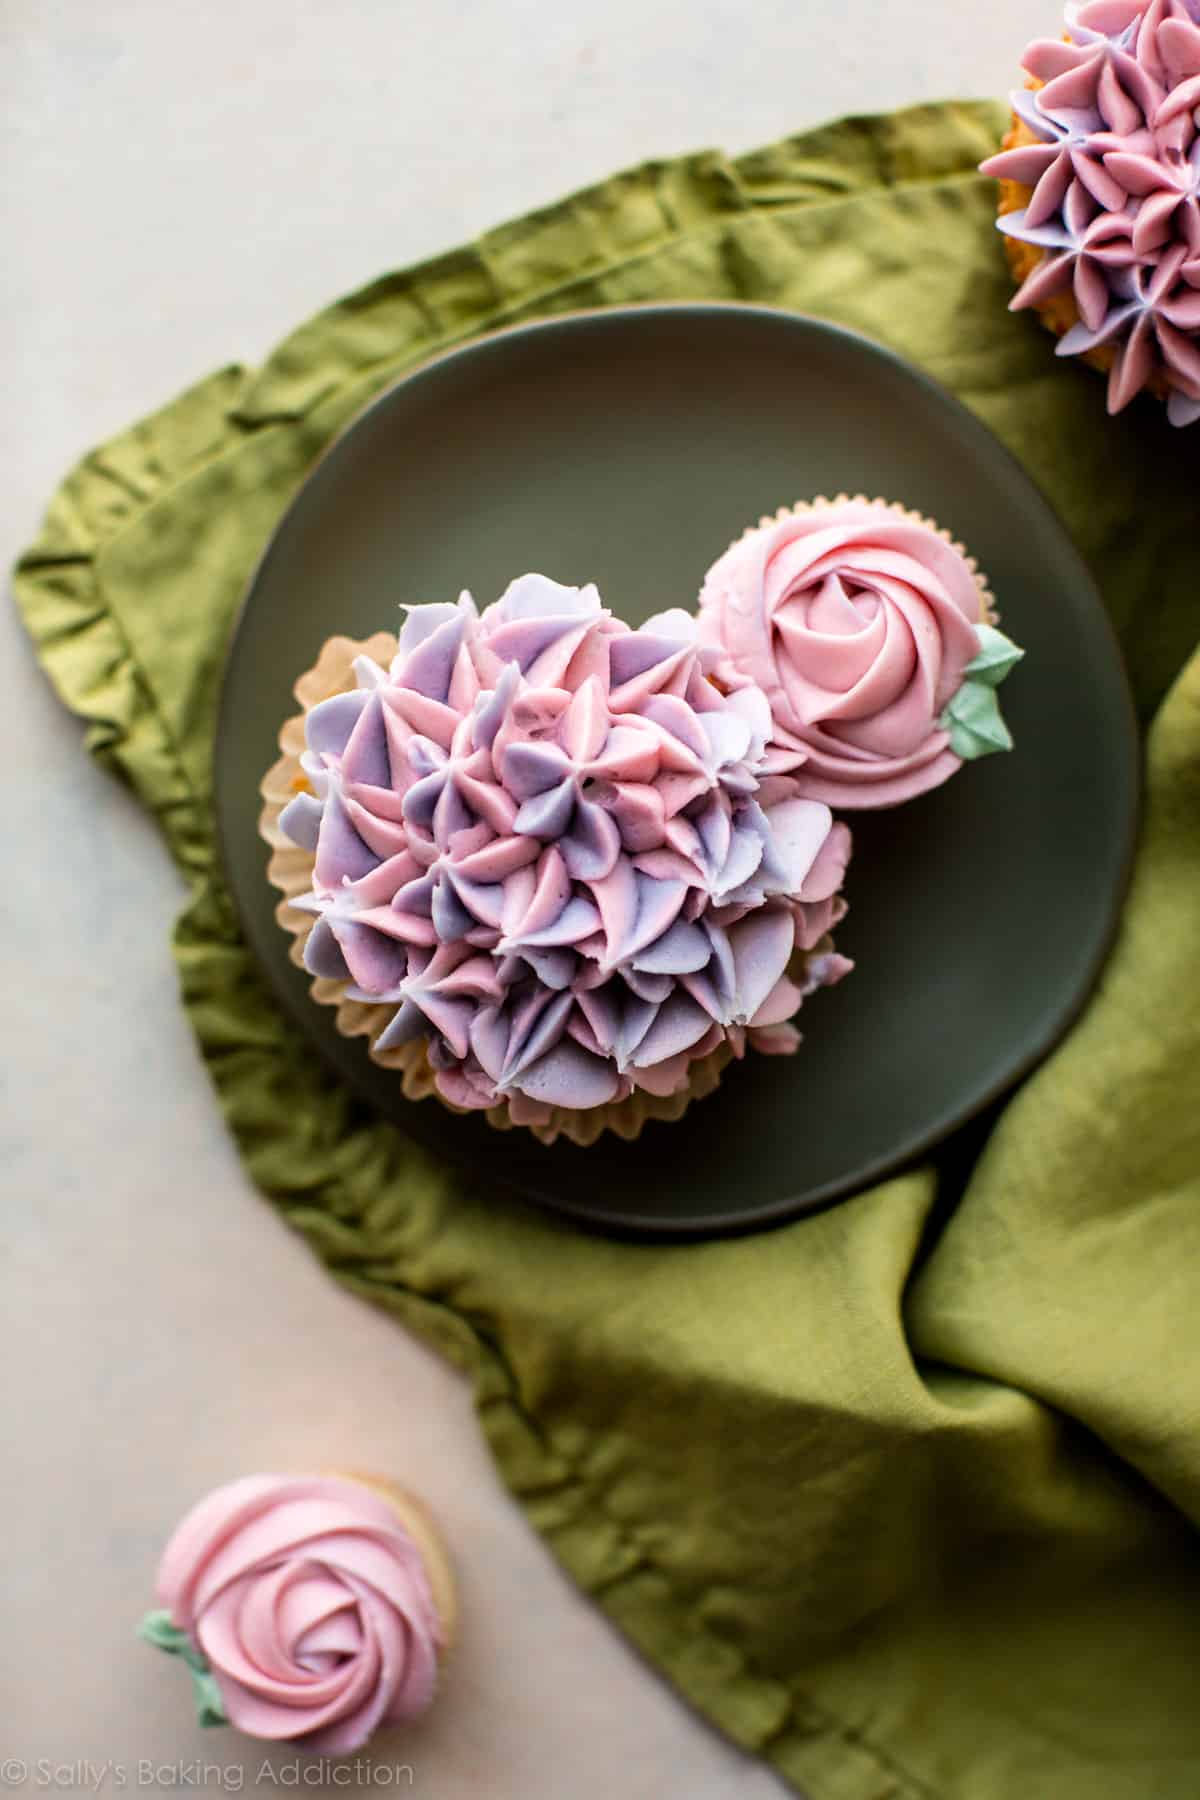
Cupcake bouquets are so simple and look way more intimidating than they really are. They’re a wonderful addition to any bridal or baby shower, part of your Mother’s Day recipes, brunch, wedding, or any event this season!! Assuming everyone loves flowers… and cupcakes… and a lot of buttercream. 😉
Print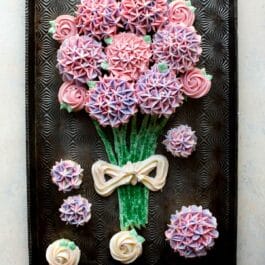
Cupcake Bouquet
- Prep Time: 25 minutes
- Cook Time: 0 minutes
- Total Time: 25 minutes
- Yield: 4 cups frosting
- Category: Cupcakes
- Method: Baking
- Cuisine: American
Description
How to arrange a beautiful cupcake bouquet complete with buttercream stems and a charming buttercream bow!
Ingredients
- 1 and 1/2 cups (340g) unsalted butter, softened to room temperature
- 6 cups (720g) confectioners’ sugar
- 1/3 cup (80ml) heavy cream (milk works too but the frosting won’t be as creamy)
- 2 teaspoons pure vanilla extract
- salt, to taste
- food coloring (I prefer gel coloring)*
- 1 batch baked & cooled cupcakes (vanilla cupcakes, lemon cupcakes, chocolate cupcakes, etc)*
- optional for garnish: green sprinkles, white sugar pearls
Instructions
- With a handheld or stand mixer fitted with a paddle attachment, beat the butter on medium speed until creamy, about 2 minutes. Add confectioners’ sugar, heavy cream, and vanilla extract. Mix on low until it begins to come together, then increase to high speed and beat for 3 full minutes. Add another Tablespoon of cream if frosting is too thick. Add a pinch of salt if frosting is too sweet. (I add 1/8 tsp salt.)
- Spoon 3/4 cup of frosting into a separate bowl. Stir in a drop of green food coloring. Add to a piping bag fitted with the 352 leaf piping tip (see note). This will be for the stems and leaves. Set aside.
- Divide remaining frosting up evenly depending how many colors you are using. Tint frosting your desired colors.
- Fit a piping bag with a 1M piping tip or 2D piping tip. Add spoonfuls of frosting to the bag, alternating colors. Your piping bag will be marbled with different colors. Twist the open end shut and squeeze the frosting down to the tip. Squeeze some frosting onto a plate until you begin to see more than 1 color. (Or just pipe this onto a cupcake!)
- Hydrangeas: Place the piping tip on top of the edge of a cupcake. Using steady and medium pressure, begin piping stars all around the edges, then fill in the center. For some flair, add a few white sugar pearls to the hydrangeas!
- Roses: Place the piping tip on top of the center of the cupcake. Using steady and medium pressure, pipe a tight spiral around the cupcake. Lessen some pressure as you come to the end. If the end looks a little messy, add some leaves using the 352 leaf piping tip.
- Assemble the bouquet: Arrange cupcakes in a circular shape on a serving platter or food-safe tray. Use any extra cupcakes as decor around the bouquet or serve separately. Pipe leaves around any edges of cupcakes to fill the gaps. Pipe the stems coming out of the bottom of the bouquet. If desired, top the stems with green sprinkles. Using the 1M piping tip or 2D piping tip and any color frosting, pipe a bow on top of the stems.
- Your bouquet is ready to serve! Store any leftovers in the refrigerator for up to 4-5 days.
Notes
- Make Ahead Instructions: Make frosting 1 day in advance, cover it tightly and store in the refrigerator until ready to use the next day. Beat it on medium speed with the mixer for a minute or two before using.
- Special Tools (affiliate links): Electric Mixer (Handheld or Stand) | 12-count Cupcake Pan | 24-count Mini Cupcake Pan | Cupcake Liners | Piping Bags (Reusable or Disposable) | Pastel Gel Paste Color Kit | Regular Gel Paste Color Kit | Wilton 1M Open Star Tip | Wilton 410 Round Tip | Wilton 352 Leaf Tip | White Sugar Pearls
- Food Coloring: Gel food coloring colors I used are dusty rose, mint green, and violet.
- Cupcakes: One batch of my homemade vanilla cupcakes (what I used) yields 12 standard, plus 12 mini cupcakes. I loved the variation of cupcake sizes for the cupcake bouquet presentation, but you can keep them all the same size if you prefer.
- How To Make Stems: I created a few different cupcake bouquets and was never pleased with my stems. I settled on using a round tip, then flattened the stems out with a spoon so they looked less messy. Use any round or flat piping tip for the stems, but be sure to use a coupler so you can easily switch between your stem tip and leaf tip. You could even use the leaf tip for the stems and if that’s the case, you don’t need a coupler. 🙂


The way you describe the instructions makes it very easy to follow. Thank you, I appreciate you!
Hi Sally! Thanks for sharing your recipes. I love your step by step instructions. I would like to make a few cupcake bouquets for Easter. Regarding the buttercream, I understand that the sugar provides stability for piping the flowers. I was wondering if there is a less sweet, more fluffy and lighter option available please? I have tried to cut the sugar and replace with corn starch and cream of tartar, and tweaked the salt but still finding it quite sweet. I am looking for frosting that is light and airy but stable. Perhaps I need to mix longer or add more heavy cream. I have tried the not so sweet whipped frosting but I think the cream cheese isn’t stable enough. American Buttercream is relatively easy and stable but rather sweet in my opinion. I don’t think SMBC holds up well with piping flowers… Could you please let me know your thoughts when you have a moment? Thanks so much.
Hi Margie, both our Swiss meringue buttercream and whipped frosting (the lighter of the two) hold up well to piping and would be great options here. Let us know if you give either a try!
SMBC for the win! It worked, thanks so much!!
I am definately making these for Mother’s Day! I love your baking sheet by the way, could you tell me where I may be able to purchase it?
Hi Madi, it’s a vintage baking pan that can be difficult to find these days. It’s Ekco Ovenex Starburst Pan.
Love this recipe! Made some for Mother’s day this year and Mom and sister loved it! Didn’t buy them a dozen roses but made them edible ones instead. Thank you Sally!
Hi
I know this is an old post, but I’m reading comments about a video, but don’t see one. Is it still there?
Also, could this buttercream frosting be used to write on a cake.
This bouquet is magnificent! You are so talented as a designer and teacher!
Hi Mary Jo, I’m so sorry but I don’t see any comments on this blog post about a video – our basic guide to piping tips with a video may be a great post for you to reference! Yes, this buttercream is sturdy enough to use for writing. Thank you for your sweet comment!
Thanks for your response. Maybe they were referring to the video on the piping one. I’ll look thanks so much. Need to write on a cake so that’s good to know
Hi Sally. I want to get a head start for Valentine’s Day. I plan on making a dozen red rose cupcakes. What color cupcake liners should I use? Is it k to use the brown ones and place them in the green tulip liners. All of your suggestions would be greatly appreciated.
Hi Jessy, those ideas sound wonderful. Any natural colored (brown or green) liners would perfectly emulate a bouquet of flowers. We think a neutral color like white or cream could also look nice. Would love to hear how it turns out!
Thank you so much Sally. The cake was really good. I can’t wait to have another one
This recipe came to my rescue again. It held up beautifully to color and piping and tasted great too (I add 1/2t of almond extract because I love it but it is great without it too). This is a wonderful and useful recipe! Thanks (again) Sally!
So pretty!
Thank you Sally for a great frosting recipe and a beautiful presentation idea!! I made the hydrangea and rosette cupcakes (minus the stems) for a garden party and they were a hit. I added some gold dust for extra sparkle because I am also a sprinkle-lover. The frosting was just the right amount of sweet and piped beautifully. Thanks for making cupcake decorating a lot less intimidating!
I bet they were so pretty with the gold dust!
How many cupcakes can you frost with that amount of frosting?
I was able to frost 1 dozen standard cupcakes and 1 dozen mini cupcakes. Depends how much you use per cupcake.
Just gorgeous, the hydrangeas and roses are so beautiful!
This is a fabulous tutorial Sally. Such a lovely idea and the end result is beautiful yet unique. Thanks for sharing!
Oh, It’s so cute!! I never knew that you used that kind of tip for roses. I can’t wait to try this!