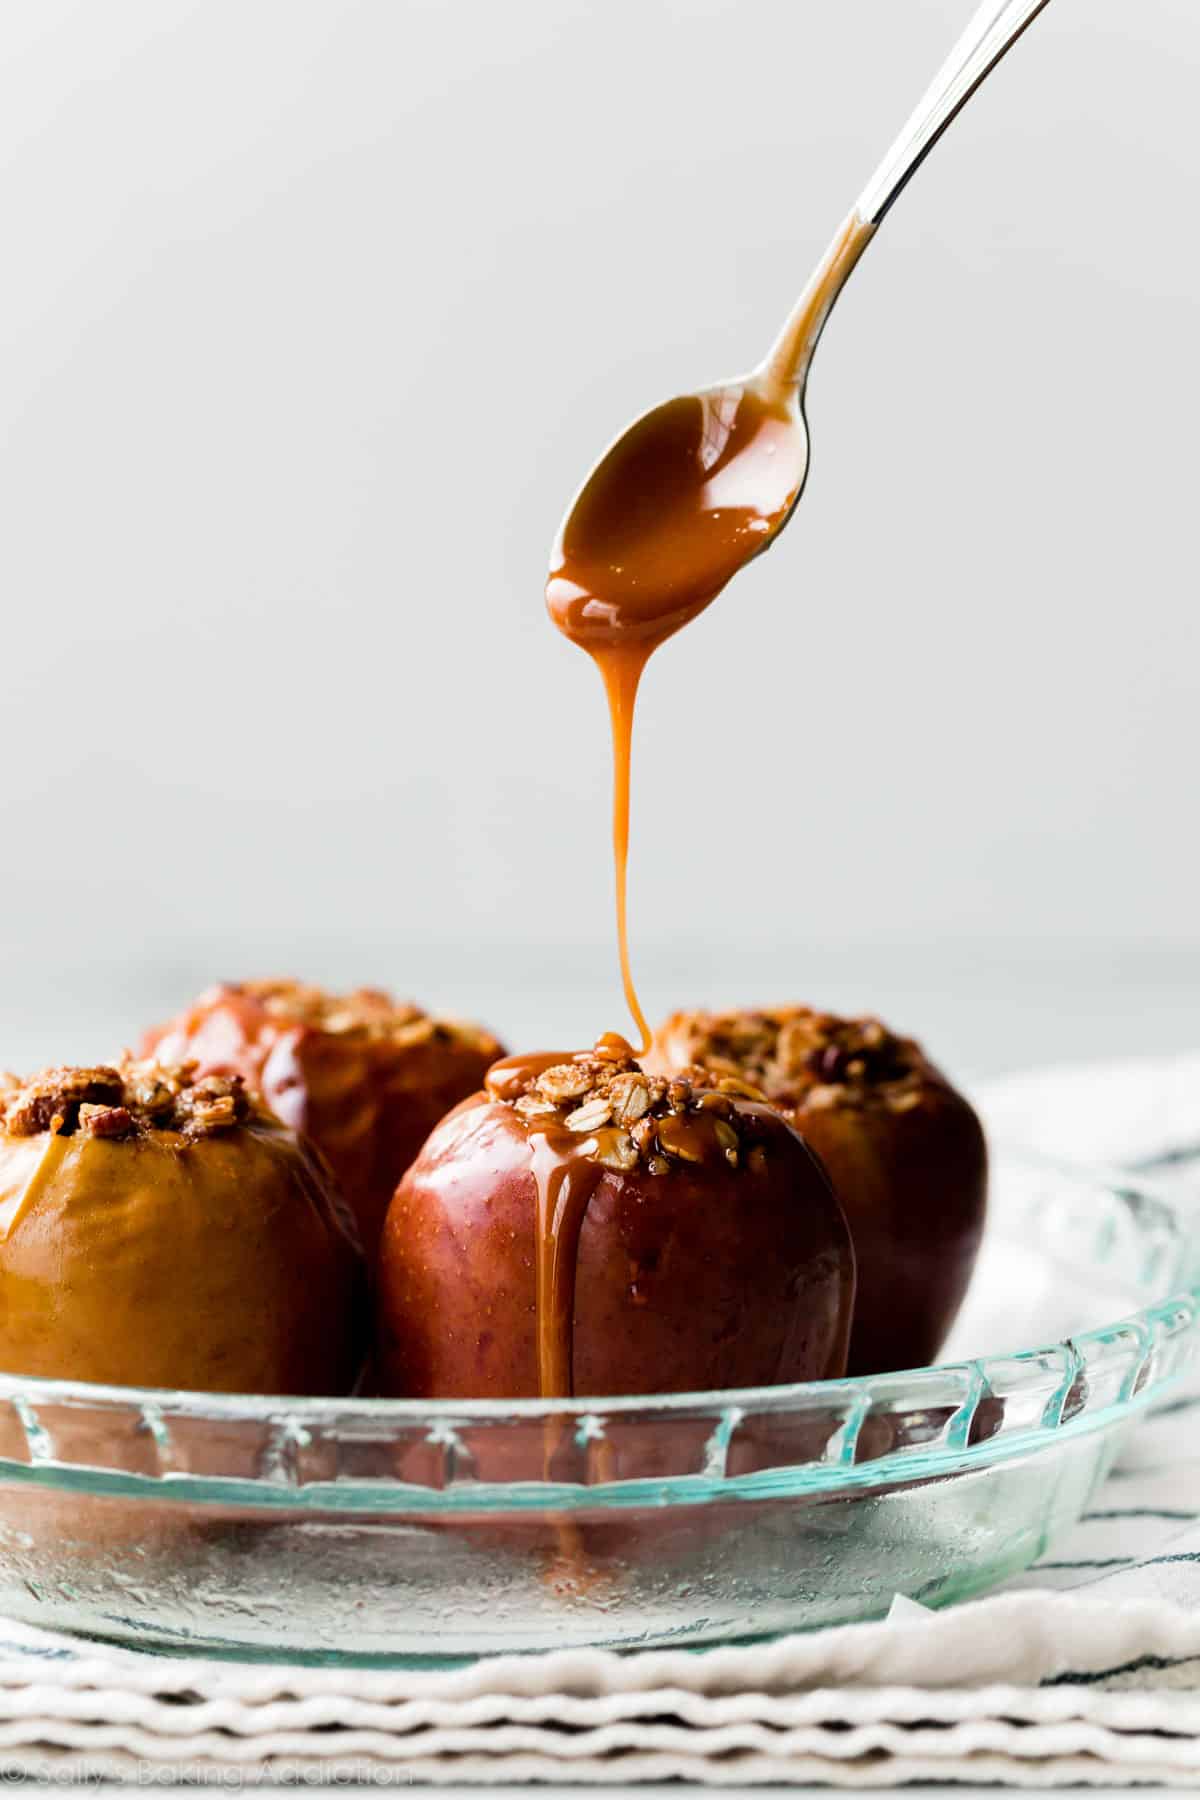
Craving a dessert where fresh apples shine? These juicy baked apples highlight fall’s favorite fruit. Core your apples, fill with a buttery brown sugar cinnamon crumble, then bake until slightly soft. Enjoy warm from the oven and for a little extra pizazz, serve with salted caramel or vanilla ice cream. This is a relatively quick dessert that kids AND adults both love.
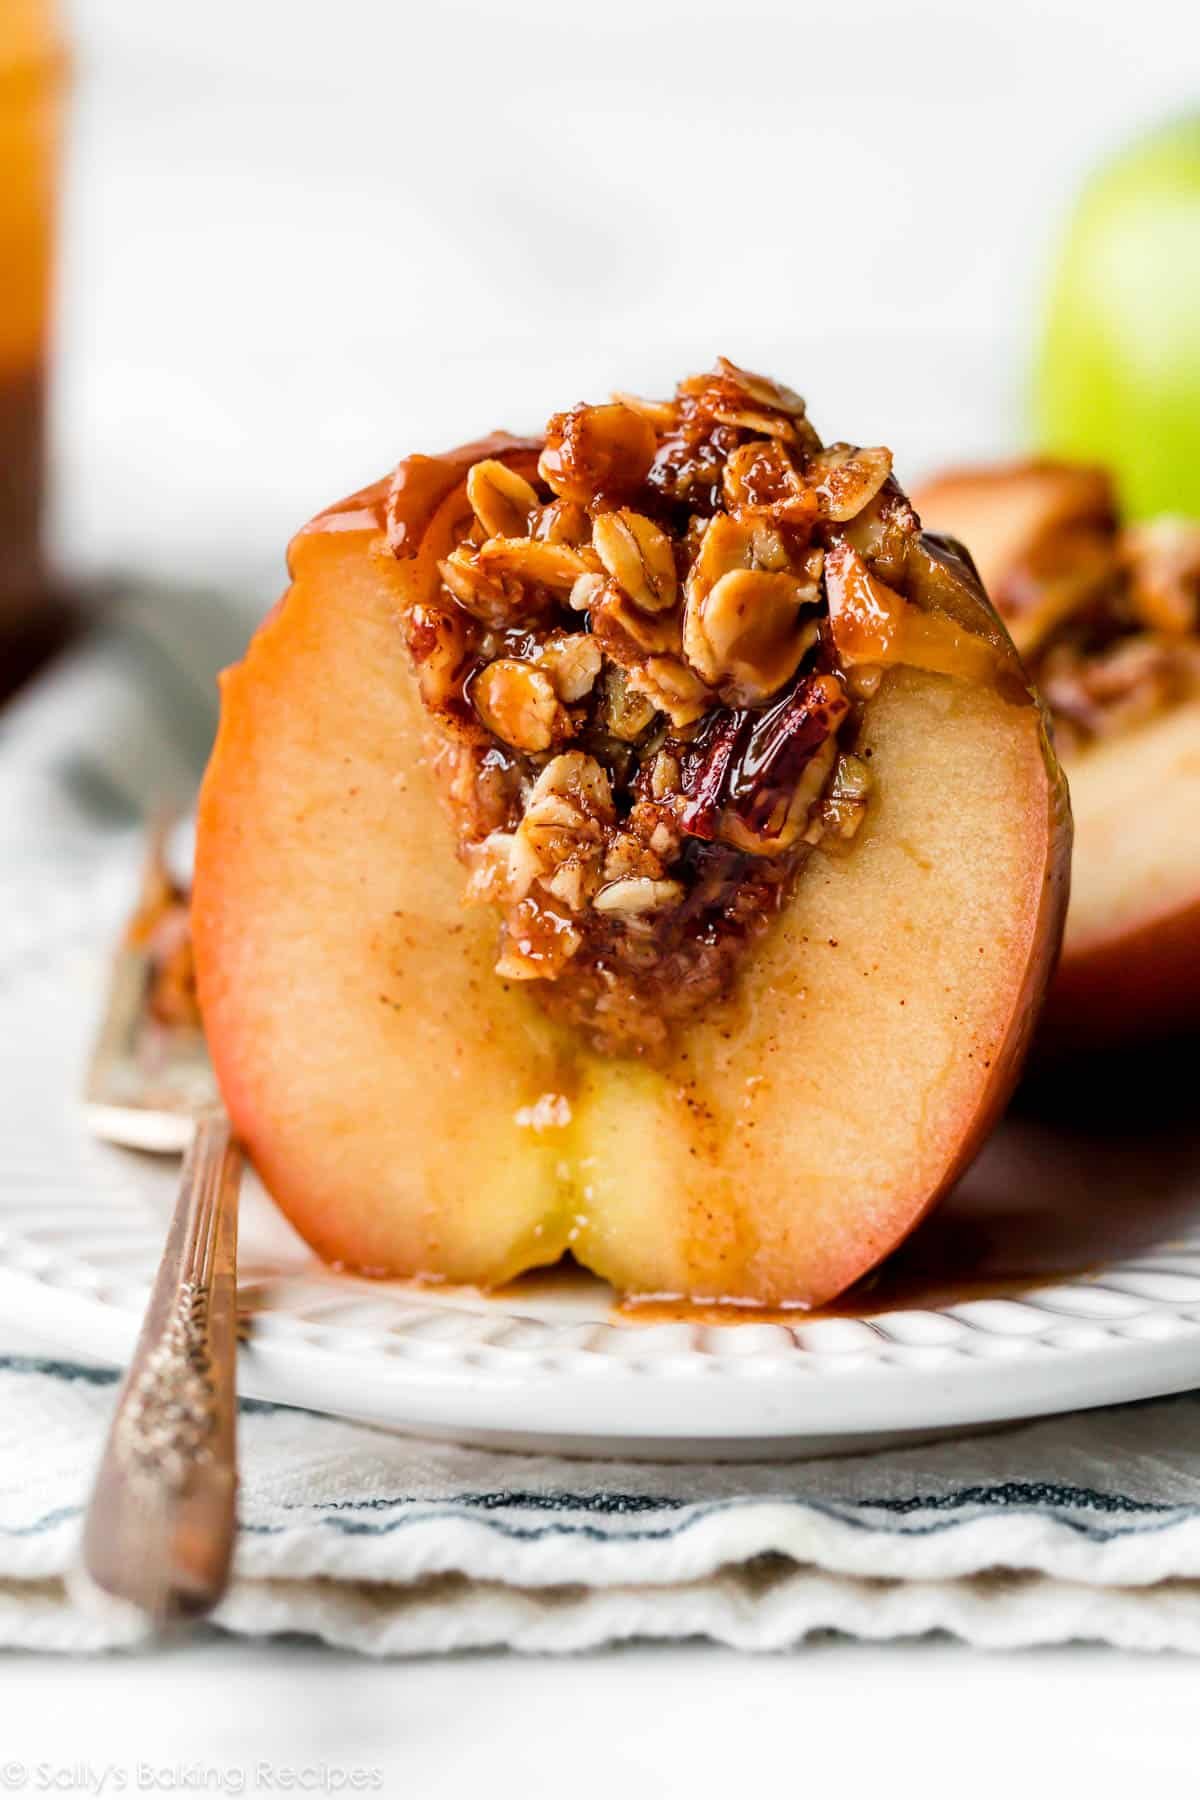
Whenever I take my first bite of a freshly baked apple, I always ask myself why I don’t make them more often. It’s a classic and comforting treat that tastes unbelievable right out of the oven, especially on chilly nights. No-fuss and quick, baked apples are the solution when you need a guaranteed delicious dessert without putting in a ton of effort.
Hold onto this recipe. I promise it will come in handy. Especially if you’re on the hunt for healthier dessert recipe ideas or quick dessert recipes!
What Are Baked Apples?
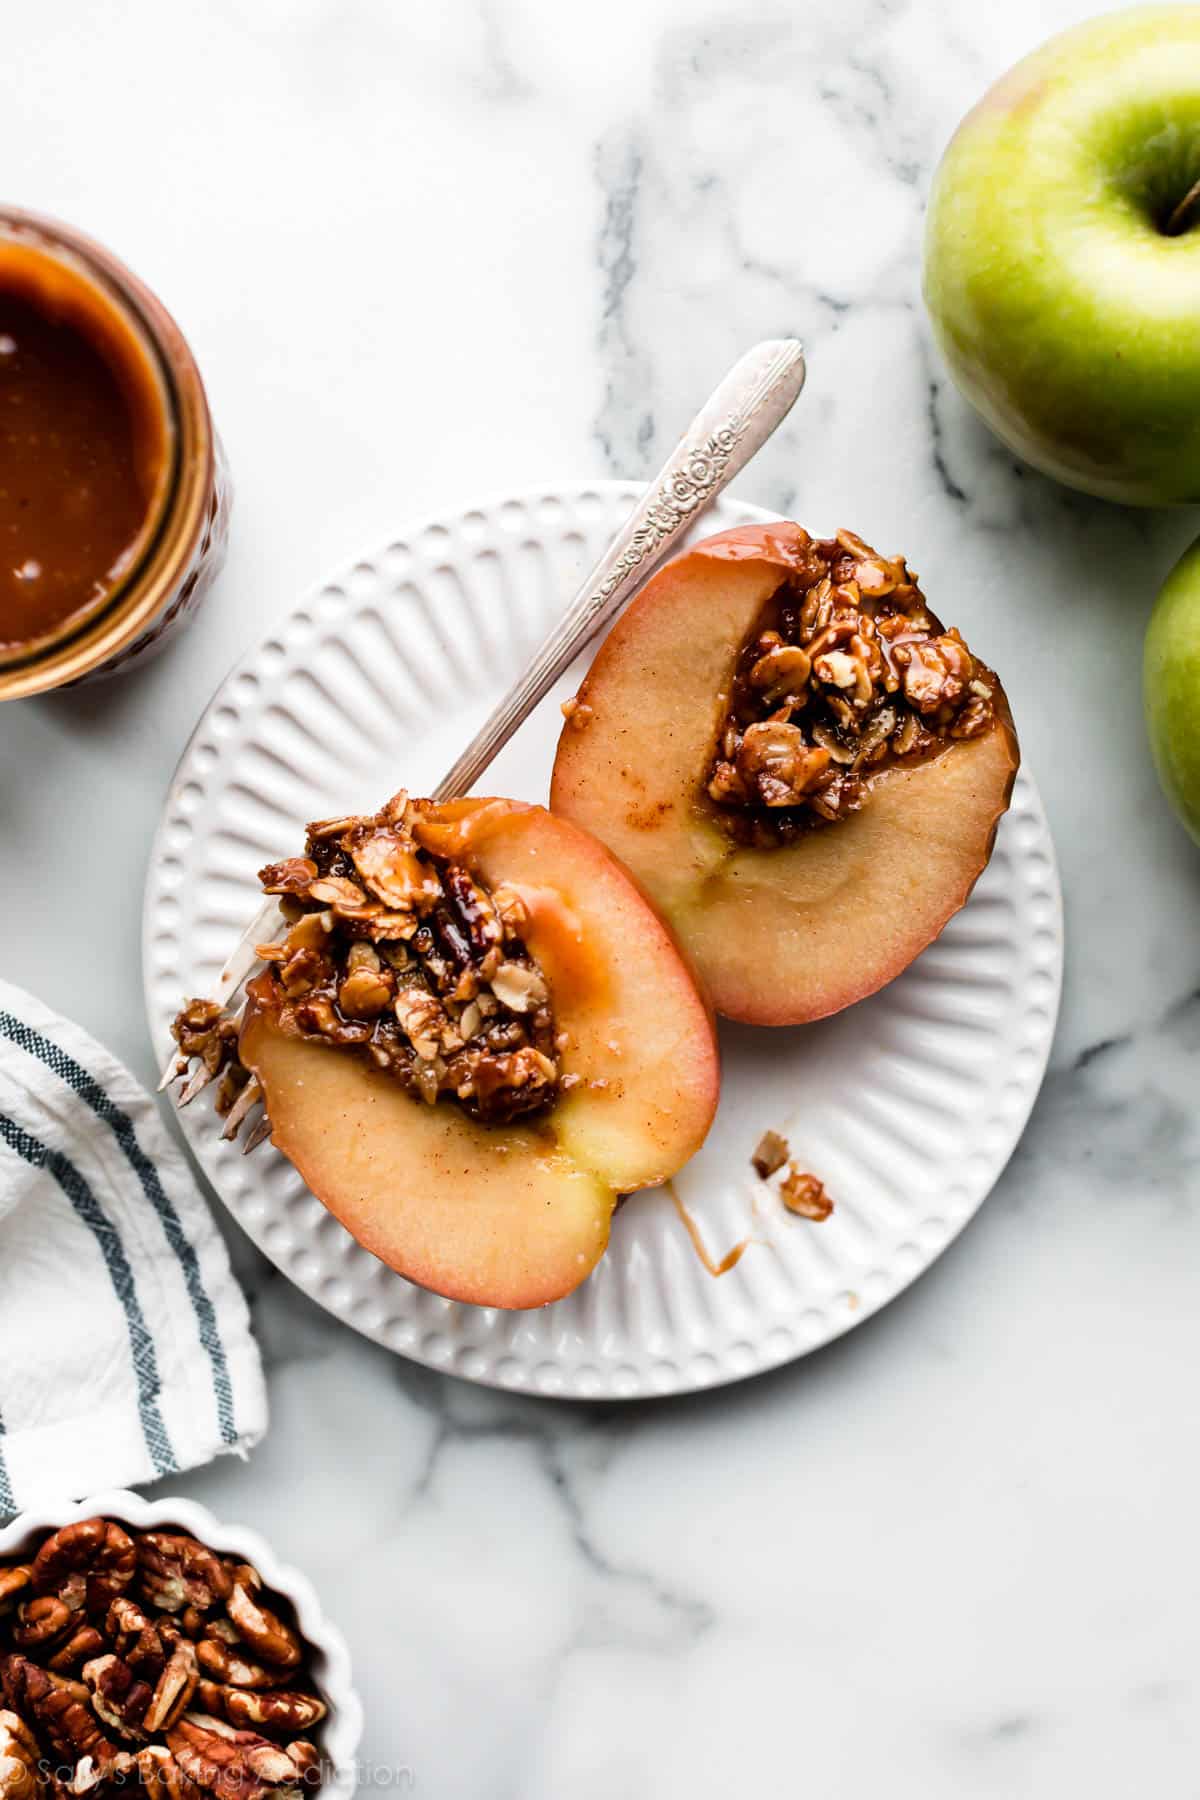
The term baked apples can refer to sliced, chopped, or whole apples that are baked until slightly softened and juicy. Baked apples usually include sugar, butter, and/or cinnamon. This recipe is for whole baked apples, cored and stuffed with buttery brown sugar and cinnamon-spiced oats, and baked until warm and juicy. We’re doing it big today.
You’ll Love These Baked Apples Because They’re:
- Great for a small family and you easily can halve or double the recipe as needed
- Like individually portioned apple crisp
- Made with only 6 simple ingredients
- Free from common allergens—no eggs, no gluten, no nuts (nuts are optional)
- The perfect way to use freshly picked apples
When it comes to gluten free dessert recipes, these are always a top pick in the fall!
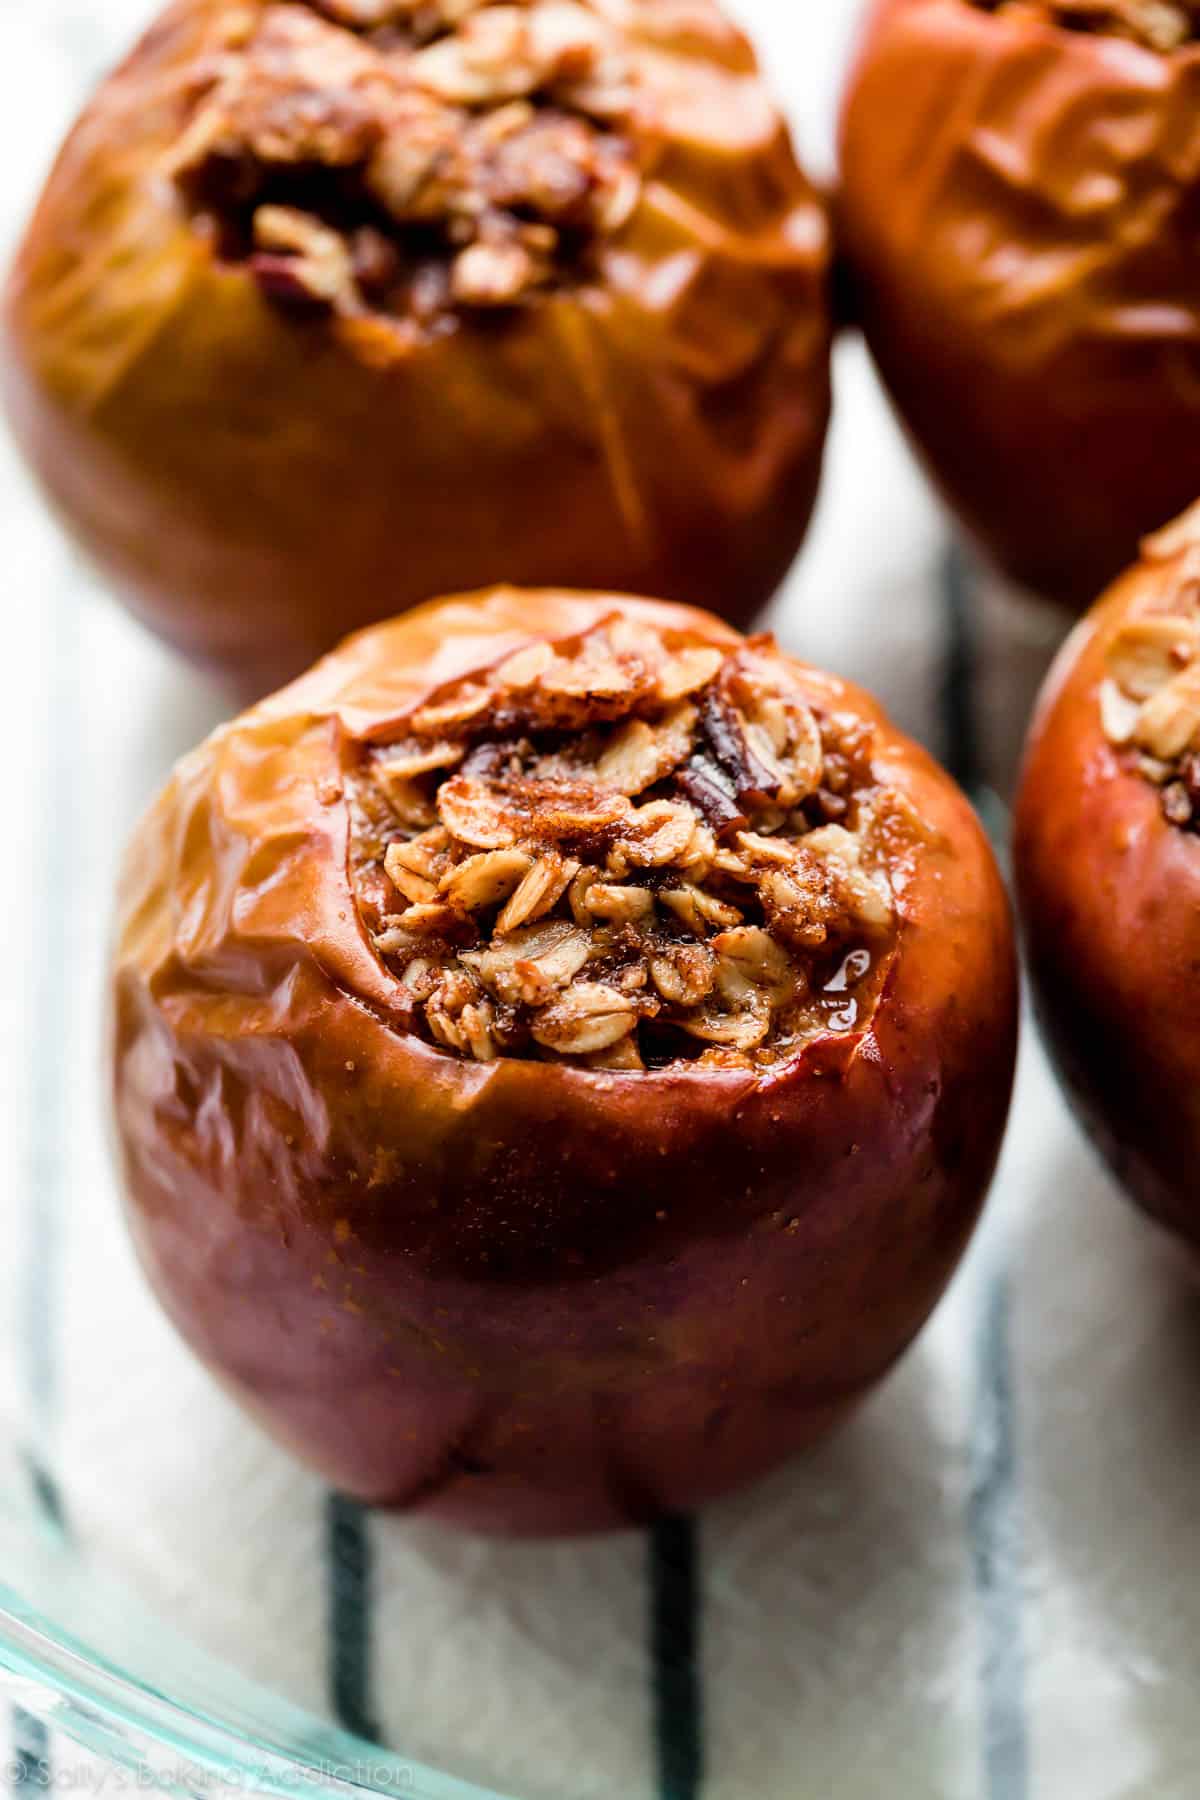
Overview: How to Make Baked Apples
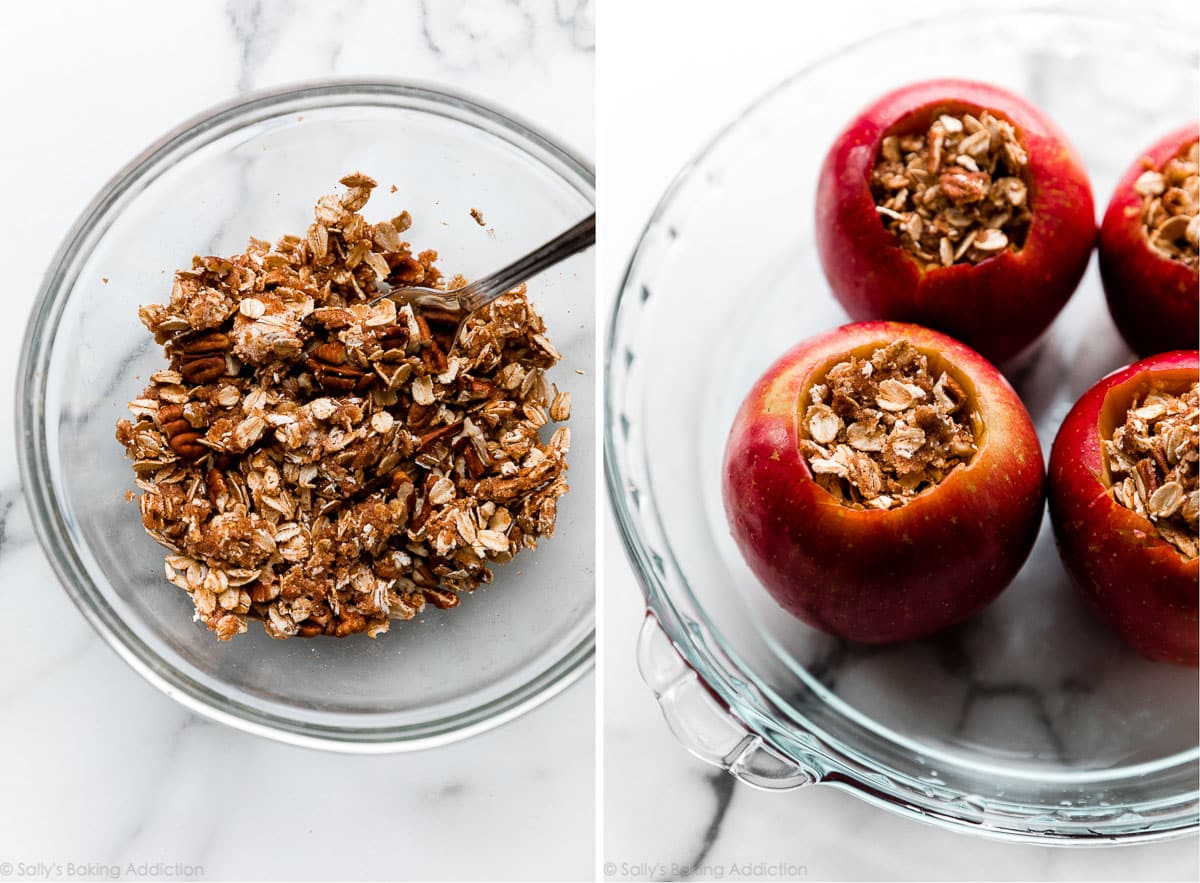
- Mix all of the filling ingredients together. You need soft butter, brown sugar, cinnamon, nutmeg, and oats. Craving a little flavor? Add some raisins, dried cranberries, or chopped pecans. You could also add the zest from 1 orange or a pinch of ground ginger, too.
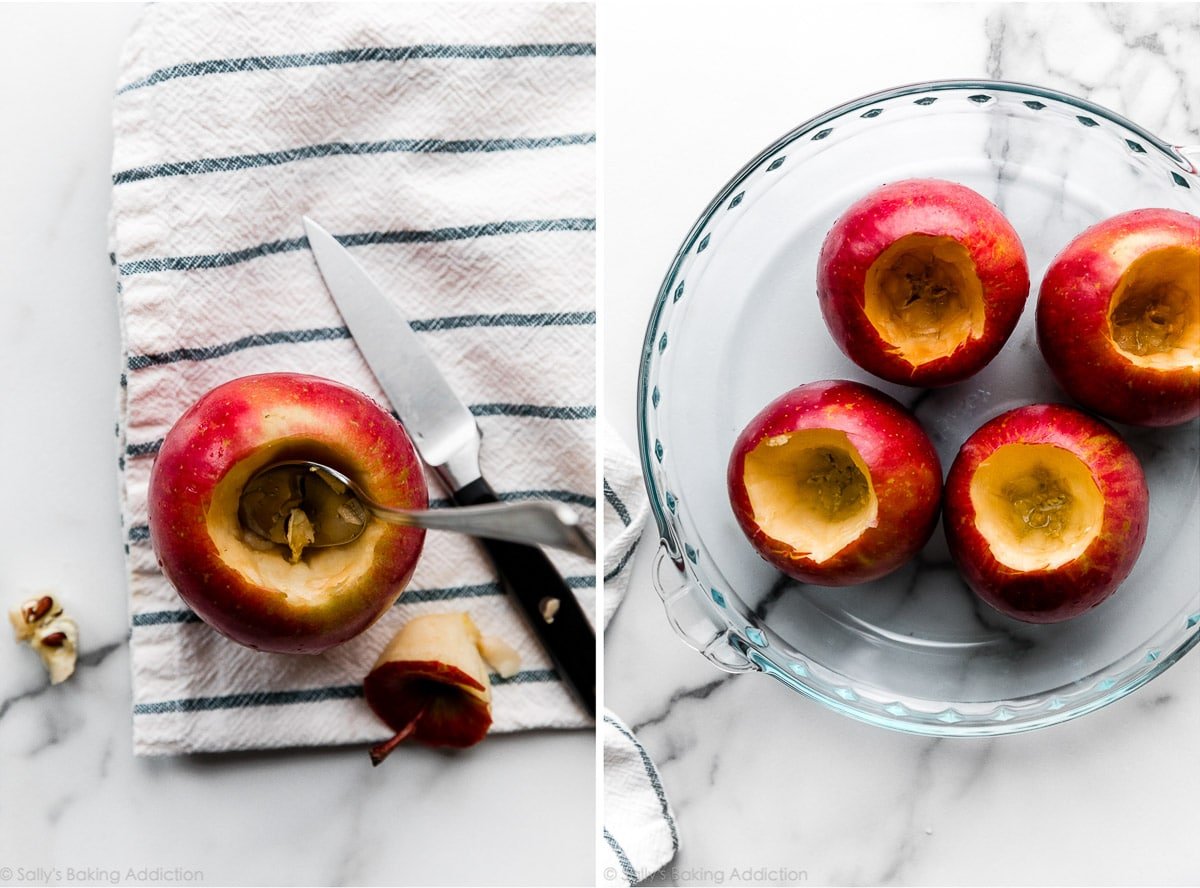
- Core the apples. This step is the trickiest part of the recipe, but if you use a little arm muscle and have patience, you’ll be fine. I recommend using a sharp paring knife and a spoon. (Or an apple corer.) I find cookie scoops can easily break or crack the apples. Once the core is out, use a spoon to dig out any more seeds.
- Place the apples into your baking dish. I recommend an 8-inch or 9-inch round or square pan. Once the apples are in the dish, fill them with the brown sugar oat mixture.
- Add warm liquid. To keep the apples moistened and to prevent them from burning, fill the pan with a little warm water. Like when we bake flourless chocolate cake, we want a steamy and humid oven for baked apples. For something different, use warm apple cider instead! (You can even spike the water or apple cider with a couple Tablespoons of bourbon or whiskey. Cheers.)
- Bake. The baked apples take about 40-45 minutes to become pleasantly soft and tender. Bake longer for softer, mushier baked apples.
- Serve. Remove the baked apples from the oven and let them sit for about 5 minutes before serving. If you crave a little extra juiciness, spoon some of the hot liquid from the pan onto each. Serve with whipped cream, salted caramel, and/or vanilla ice cream.
What About a Version with Pie Crust?
While these baked apples are like individual apple crisps, my apple pie baked apples are like individual apple pies. (Another fun fall baking project adults & kids will both enjoy!) If you’re more of a pie crust aficionado, try that version instead. Plus, it’s hard to ignore how adorable that little lattice topping is!
Are They Soft & Mushy?
Yes, they’re slightly soft but no, they aren’t mushy. The best part of this recipe, besides all the flavors, is that you have total control over the texture. Bake for only about 40-45 minutes for slightly soft apples that hold their shape but can still be eaten with a spoon. Add a few more minutes if you like them extra soft or mushy.
Best Apples to Use
The best apples to use for whole baked apples are firm and perfectly round. I usually use Granny Smith, Fuji, Pink Lady, or Honeycrisp. Select apples that stand up straight because you don’t want them to topple over in the oven. If you favor pears, you’ll love my maple vanilla baked pears instead.
My advice: The larger the apple, the more brown sugar crumble you can stuff inside!

More Ways to Use Your Apples
- Apple Crumble Pie
- Brown Butter Apple Blondies
- Apple Cinnamon Bread & Fresh Apple Cake
- Healthy Apple Muffins
- Apple Pie Bars (with Salted Caramel!)
- Apple Cinnamon Scones
- Gluten Free Apple Crisp
- Apple Pie
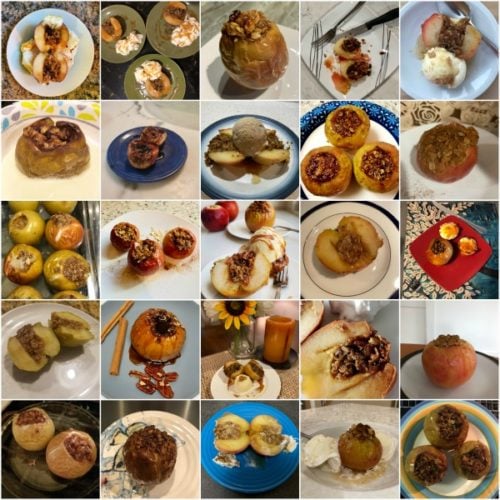
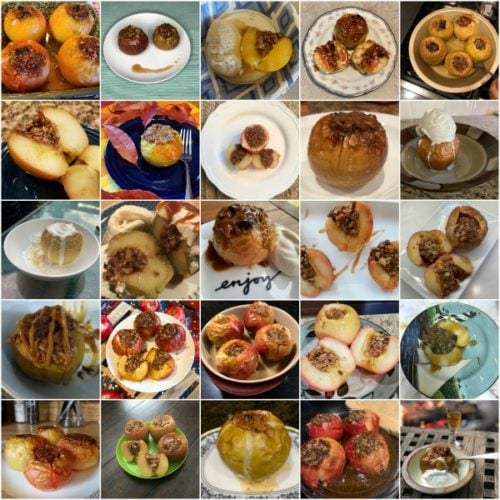
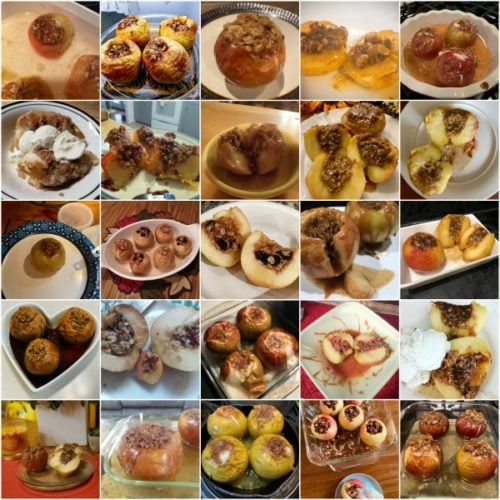
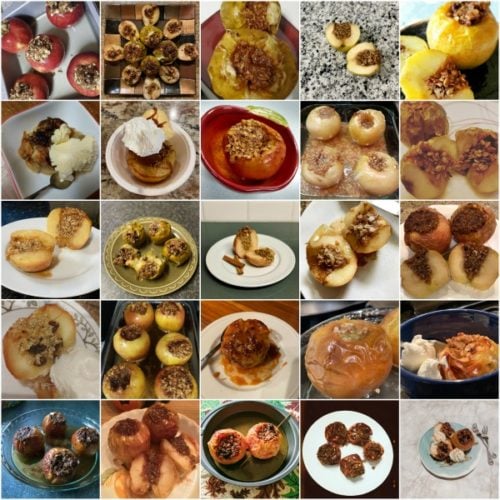
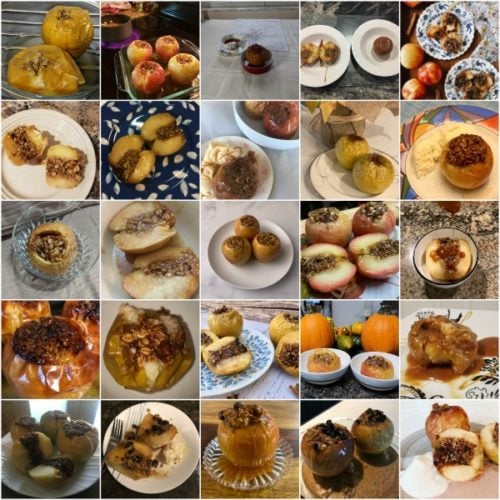
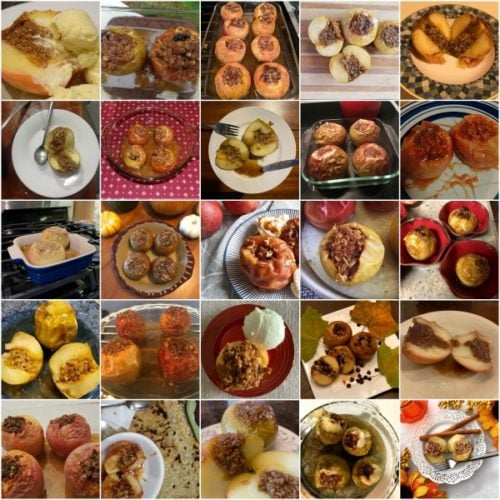
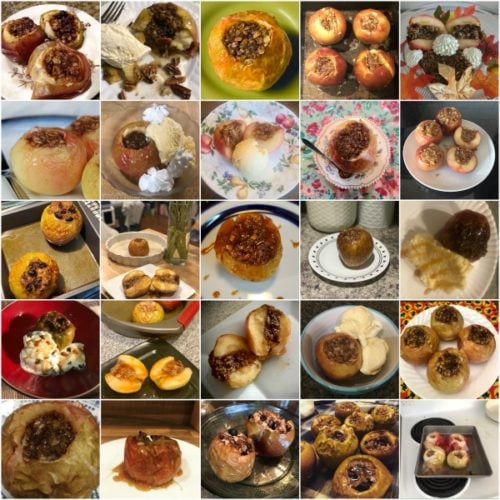
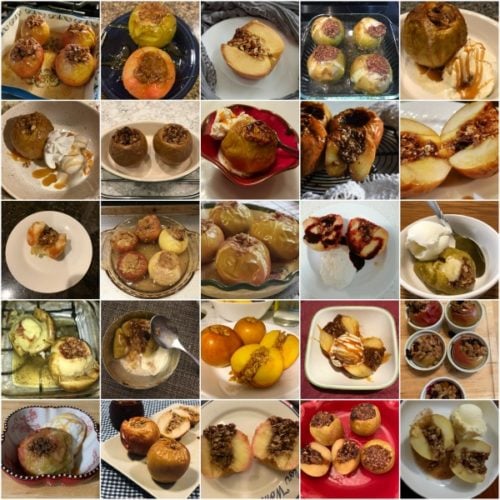
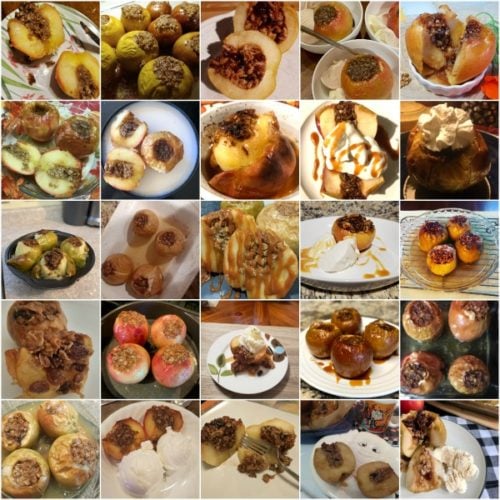
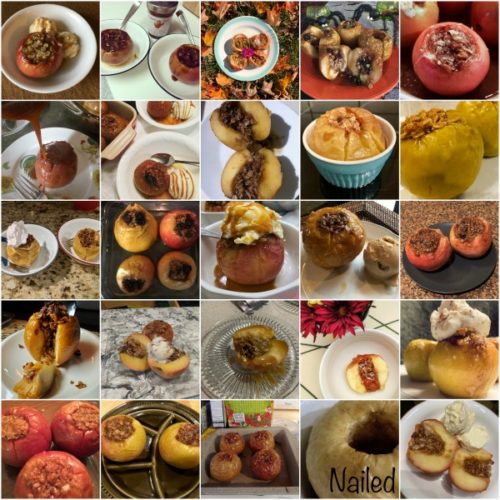
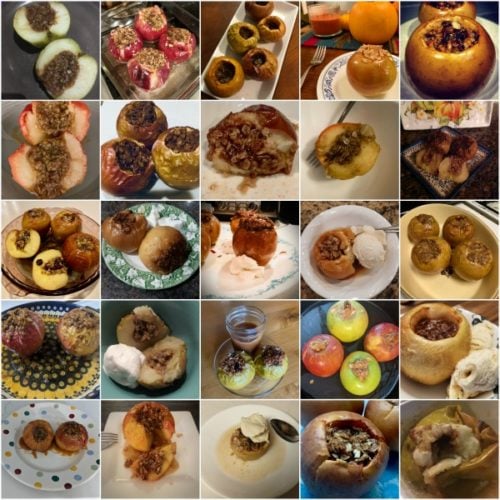
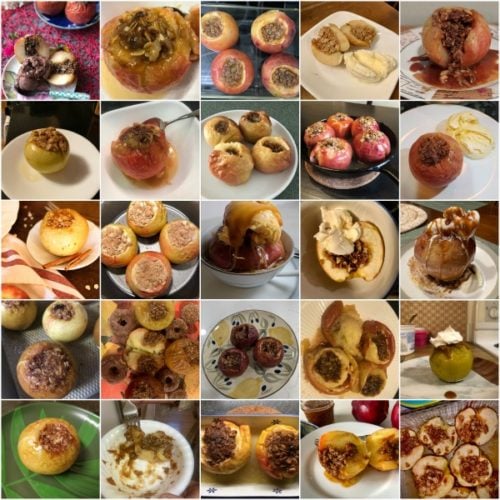
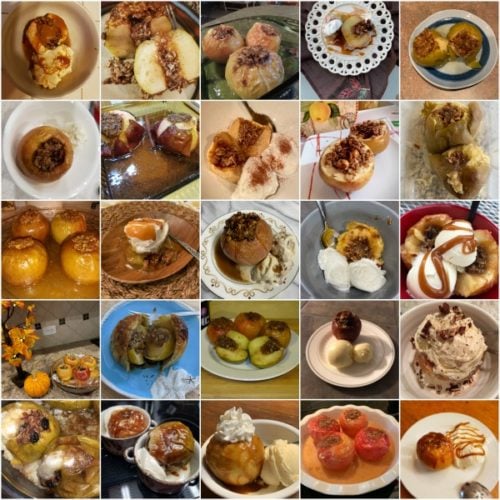
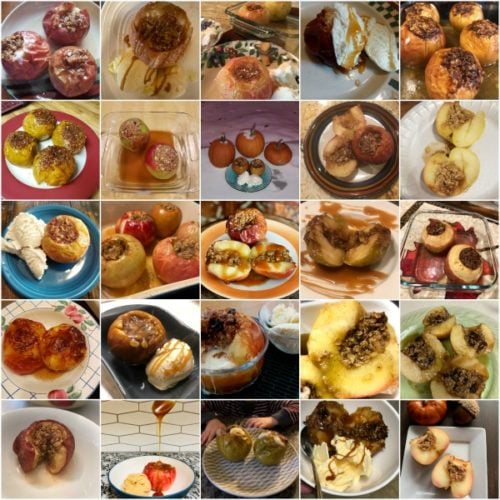
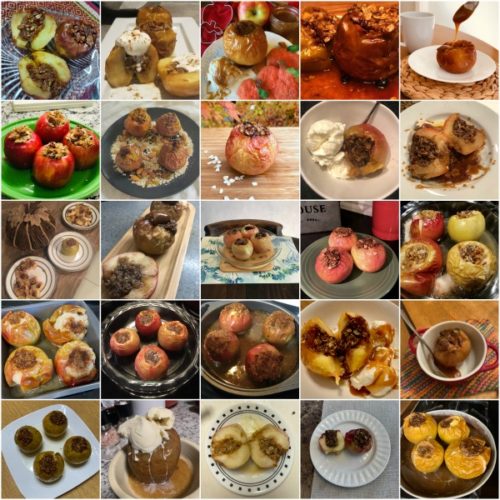
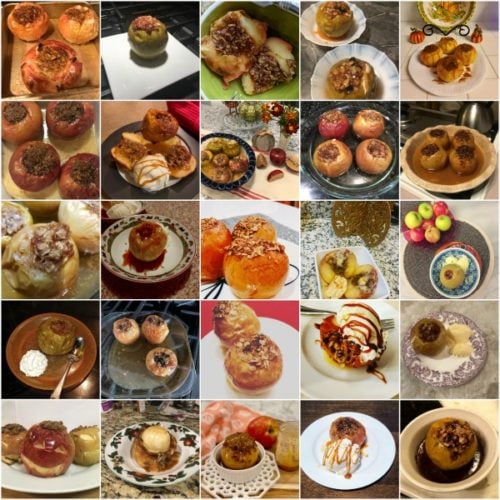
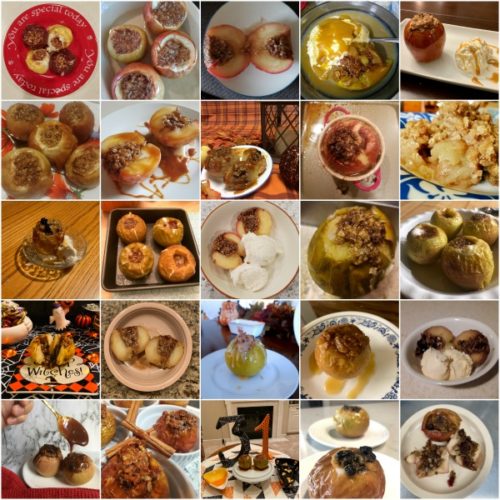
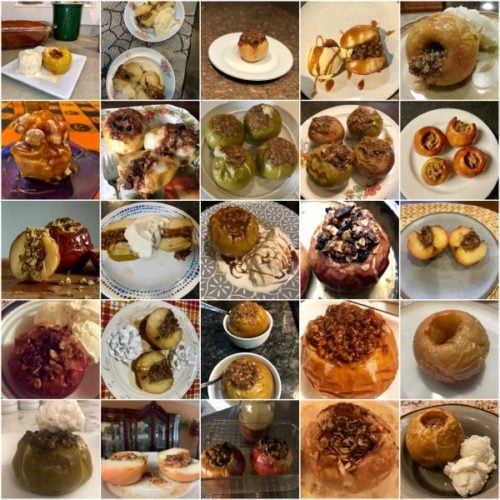
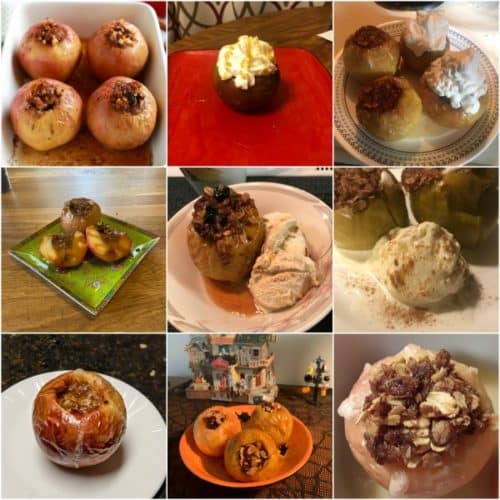
See Your Homemade Baked Apples
Many readers tried this recipe as part of a baking challenge!
Print
Baked Apples
- Prep Time: 15 minutes
- Cook Time: 45 minutes
- Total Time: 1 hour
- Yield: 4
- Category: Dessert
- Method: Baking
- Cuisine: American
Description
This recipe is for whole baked apples stuffed with buttery brown sugar oat crumble. For extra flavor, feel free to swap the water with warm apple cider.
Ingredients
- 3 Tablespoons (43g) unsalted butter, softened to room temperature (extra soft, so it’s easy to mash)
- 1/4 cup (50g) packed light or dark brown sugar
- 1/2 teaspoon ground cinnamon
- 1/8 teaspoon ground nutmeg
- 1/4 cup (21g) old-fashioned whole rolled oats
- 4 large apples (see note), rinsed and patted dry
- optional: 2 Tablespoons raisins, dried cranberries, or chopped nuts
For Baking
- 3/4 cup (180ml) warm water
Instructions
- Preheat oven to 375°F (191°C).
- Using a handheld or stand mixer with a paddle attachment, or simply using a fork or spoon, beat/mash the butter, sugar, cinnamon, and nutmeg together until combined. Stir in the oats, then the raisins/dried cranberries/nuts, if using. Set aside.
- Core the apples: This can be tricky, but I recommend using a sharp paring knife and a spoon. (Or an apple corer.) I find cookie scoops can easily break or crack the apples. Using a sharp paring knife, cut around the core, about halfway or 3/4 down into the apple. Use a spoon to carefully dig out the core. Takes a bit of patience and arm muscle. Once the core is out, use a spoon to dig out any more seeds.
- Place cored apples in an 8-inch or 9-inch baking pan, cake pan, or pie dish. Spoon filling into each apple, filling all the way to the top. Pour warm water into the pan around the apples. The water helps prevent the apples from drying out and burning.
- Bake for 40-45 minutes or until apples appear slightly soft. Bake longer for softer, mushier baked apples. The time depends on how firm your apples were and how soft you want them to be.
- Remove apples from the oven and, if desired, baste the outside of the apples with juices from the pan. This adds a little moisture to the skin, but it’s completely optional.
- Serve warm with salted caramel, whipped cream, or ice cream. Cover and store leftovers in the refrigerator for up to 2 days.
Notes
- Make Ahead Instructions: I don’t recommend preparing the baked apples ahead of time to serve later. They brown and become mushy, fast. Instead, prepare the filling in advance, cover, and refrigerate for up to 3 days before spooning into the apples and baking. I don’t recommend freezing these baked apples because they’re overly mushy when thawed.
- Special Tools (affiliate links): Electric Mixer (Handheld or Stand) or Glass Mixing Bowl | Apple Corer | 8-inch Square Pan or Round Pan, 9-inch Square Pan or Round Pan, or 9-inch Pie Dish
- Best Apples to Use: Choose perfectly round apples that are on the firmer side. I usually use Granny Smith, Fuji, Pink Lady, or Honeycrisp. Make sure they stand up straight on their bottom, so they don’t tip over in the oven. For more information, here are the best apples to use for baking.
- Sugar: Brown sugar adds moisture, as well as the best flavor. Feel free to use regular granulated sugar or even coconut sugar if needed. I don’t recommend any liquid sweeteners or sugar replacements.
- Oats: Oats add wonderful texture. You can use the same amount of quick oats instead. I don’t recommend leaving out the oats but if you need to, you can try replacing with finely chopped nuts. I don’t recommend replacing with oat flour or any flour.
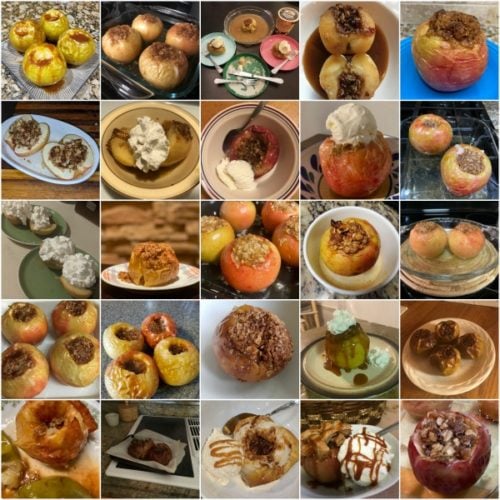

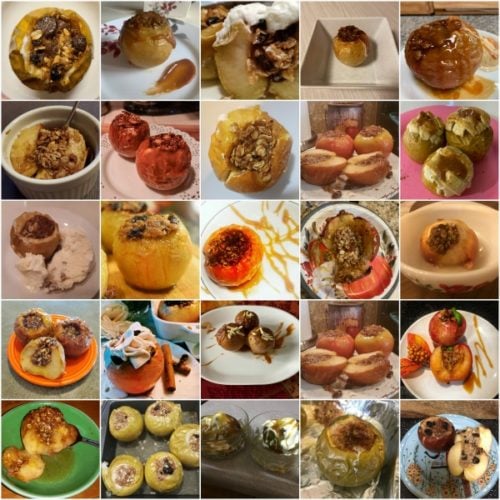
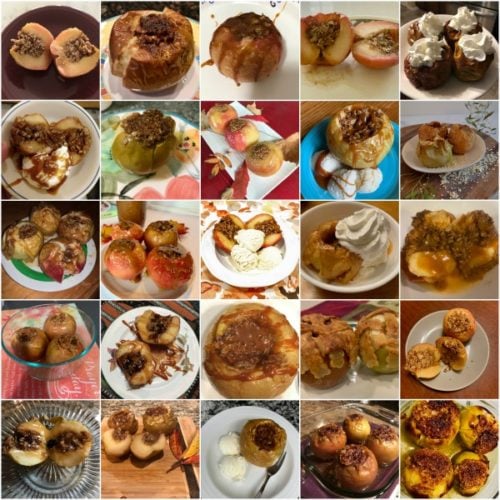
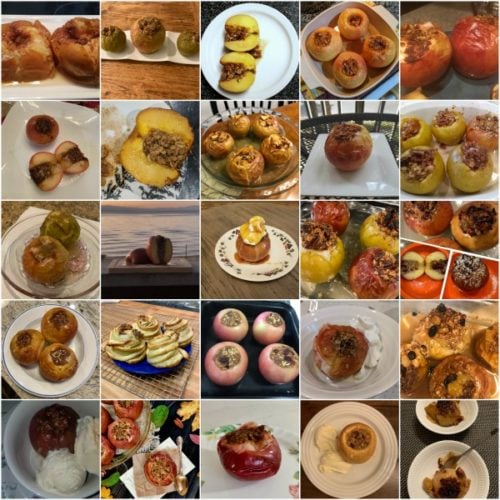


This was awesome! I love the oats mixed with brown sugar and cinnamon. I left out the nutmeg for personal preference and added the nuts and raisins.
What is the best way to reheat the apples? Oven? Temp? Time? They will be at room temperature after removing them from the fridge a few hours before.
Hi Cari, see recipe notes regarding make ahead options. We don’t recommend preparing the baked apples ahead of time to serve later. They brown and become mushy, fast. Instead, prepare the filling in advance, cover, and refrigerate for up to 3 days before spooning into the apples and baking.
Nope. These were no where near done after checking at 45 minutes so I let them bake another 10 minutes; still not done; another 5 mntues; *still* not done.. I followed the recipe *exactly* using the type of apples recommended, coring as instructed, water in the baking dish, proper temp and finally gave up as dinner guests were waiting. Won’t make again.
I always make extra so we can stir the leftovers into the morning oatmeal.
These are DELICIOUS! and so easy to make. They will be on my fall rotation of pumpkin recipes.
Thank you for another great recipe, Sally.
I loved this recipe so much!
My husband has been wanting baked apples for awhile now, so I’m going to use your recipe this evening. Q
Great recipe! Easy on whim when you want something sweet but a little healthier! Thanks sally! Love your recipes
I can’t find the Nutritional Facts including Calories.
Hi Peggy, We don’t usually include nutrition information as it can vary between different brands of the same ingredients. Plus, many recipes have ingredient substitutions or optional ingredients listed. However, there are many handy online calculators where you can plug in and customize your exact ingredients/brands. Readers have found this one especially helpful: https://www.verywellfit.com/recipe-nutrition-analyzer-4157076
I loved this recipe so much!
Everyone around town has apples galore this year, so I made this using some large Granny Smiths from a friend’s tree. I baked the apples a little longer than they 35 minutes and the apples got very soft. Everyone loved them! I am definitely going to make this again.
I haven’t had baked apples since my grandmother made them over 50 yrs ago. They’re heavenly! I made coring easy with a pumpkin carving serated knife. Only took minutes for 6 large apples. I also used pie spice mix and fresh apple cider instead of the water. Thanks for the keeper of a recipe!
Since I only did one apple, just to see, I used a pot and lid. I added apple pie spice and a tablespoon of sugar to the cored apple.
This is delicious! I DID use a sugar substitute (Sucralose) and a dash of molasses in lieu of brown sugar. And I added about 1/3 cup chopped walnuts and 1/3 cup rum soaked raisins. This goes in the “keeper” file. Thank you!
For pizzazz, I added 1/4 cup Brandy. Yum!
Do you cook the baked apples covered or uncovered
Hi Sue, uncovered!
My husband loves these apples ⭐
Can these be eaten if made the night before or morning of an evening party? Will they still “hold up” or do they need to be eaten right away. Thank you!
Hi De, these are best enjoyed right away. See recipe Notes for our best suggestions on making them ahead. Hope they’re a hit!
I made them they where delicious with vanilla ice cream I I add a bit of chopped nuts and raisins pinch dried cranberries pinch of cherries amazing
I made 5 apples instead of 4, and doubled+ the filling, and it was just barely enough. I added a bit of cardamom with the other spices as a personal preference, because it goes so well with apple desserts! Use sparingly if you’re not used to it, as it’s a pretty strong flavor. I used large apples, and just took the core out, but next time I’ll hollow it out a bit more. You want the apple to shine as the main ingredient, but the filling is *so* good, you want a good balance between the two, so I’ll 3x or even 4x the filling – you won’t regret it, it’s so good! I also toasted the oats slightly, which really added to the flavor, and used apple juice instead of water in the baking pan, and then drizzled the reduced juice, that had drippings from the baking apples and spices, over the finished apples. Make sure your apples are good and mushy if you’re just going to serve them with a spoon or fork. Truly wonderful. Everyone loved them!
Great recipe for baked apples! Love the addition of oats instead of flour in the topping. Vegan butter (Earth’s Balance Buttery Sticks) worked perfectly to keep it dairy free. Hubby put whipped cream on his and loved this dessert. Will make again for sure!