There’s nothing quite like a chocolate chip cookie, except for two chocolate chip cookies sandwiched together with ice cream. These cookie ice cream sandwiches use a quick no-chill cookie dough recipe that produces soft cookies perfect for freezing. I strongly recommend using mini chocolate chips, and be sure to freeze the assembled sandwiches for at least 3 hours prior to serving.
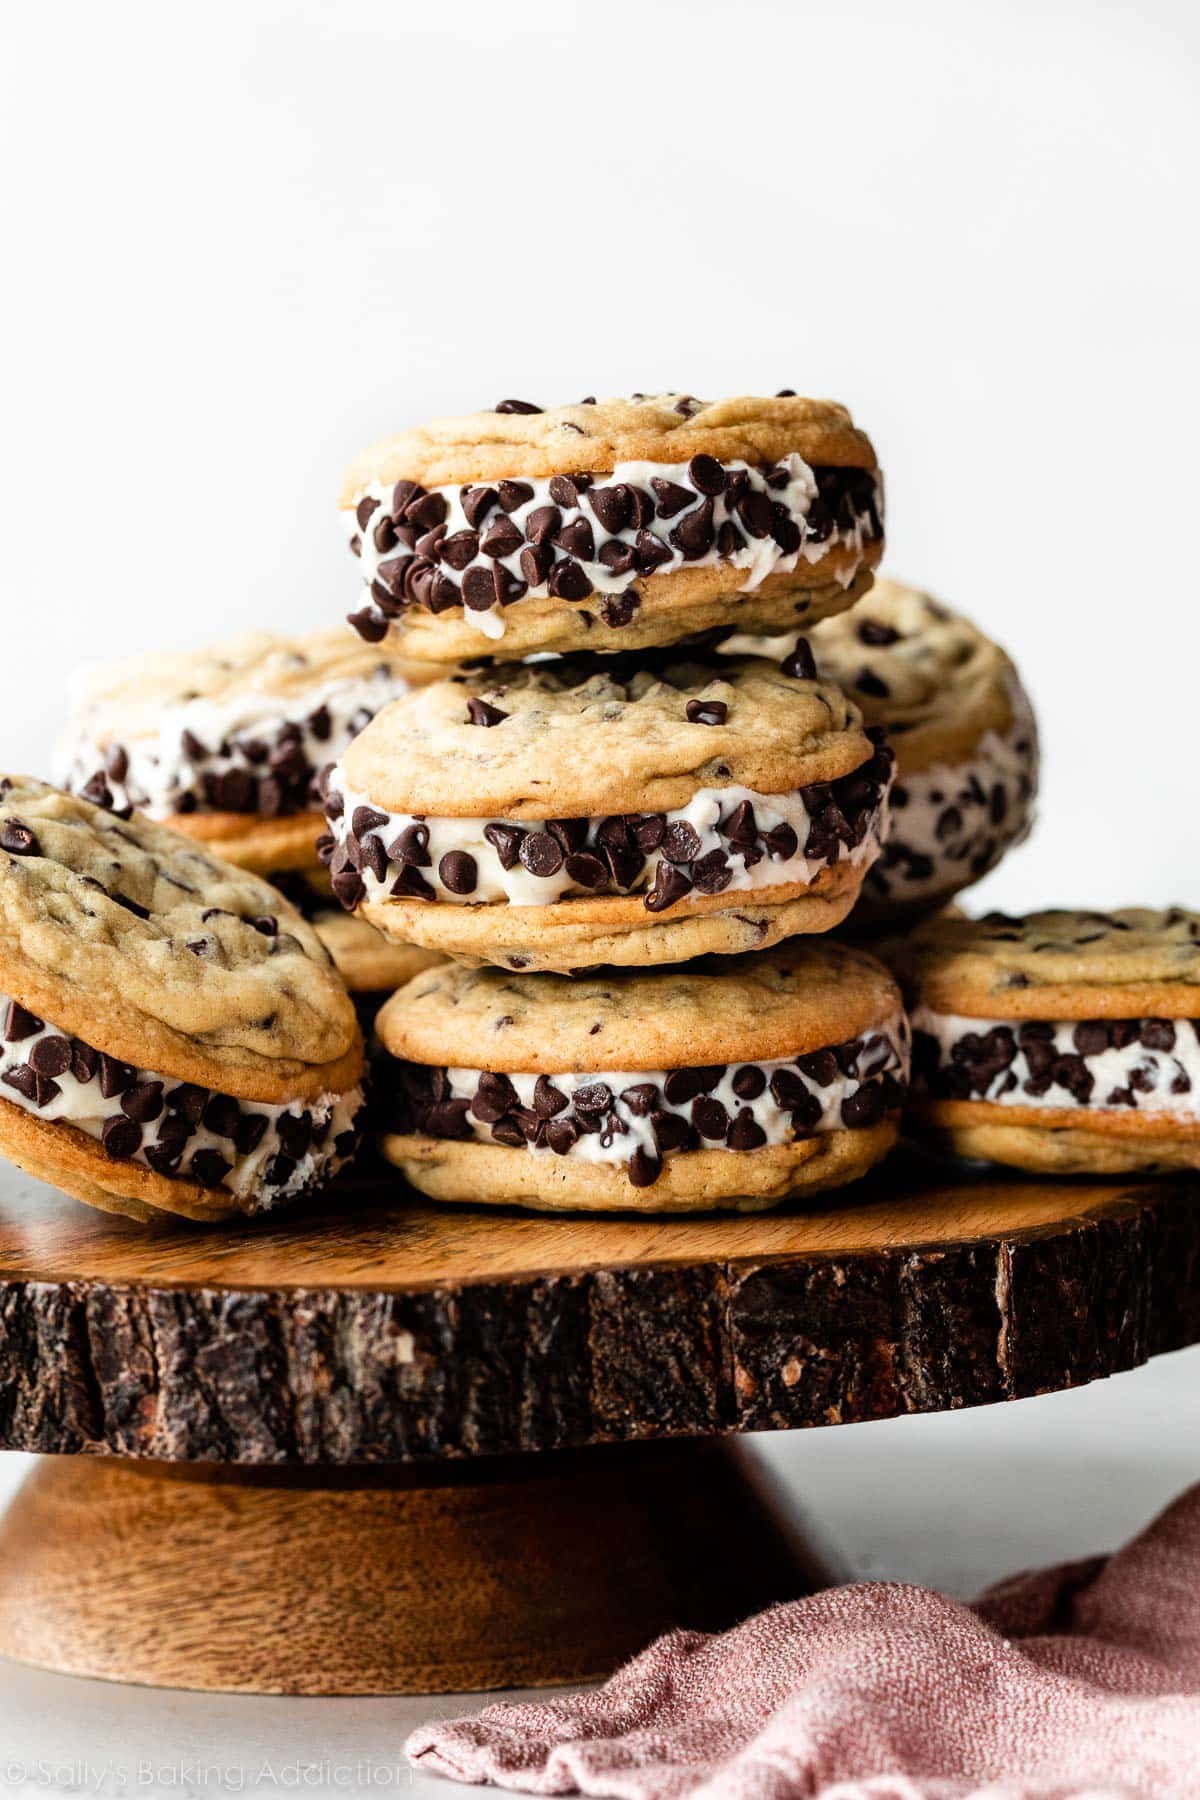
Have you ever heard of a Chipwich before? Growing up, they were my ice cream treat of choice: two soft chocolate chip cookies sandwiched with creamy vanilla ice cream and rolled in mini chocolate chips. I can’t find them as easily these days, plus I enjoy making my own frozen treats (3-ingredient strawberry banana popsicles anyone?!). So, on occasion, I’ll whip up a homemade version of this nostalgic dessert.
Here’s Why You’ll Love These Cookie Ice Cream Sandwiches
- The cookies DO NOT REQUIRE DOUGH CHILLING. (Yes, I find the need to shout that!)
- Cookies are soft and won’t break your teeth after freezing.
- Use any ice cream flavor you enjoy.
- Rolling sides in mini chocolate chips or sprinkles adds texture, plus it helps seal in the ice cream.
- They’re a great make-ahead treat for a hot summer day.
And if you love brownies, you’ll flip for these brownie ice cream sandwiches!

This Recipe WORKS.
Cookie ice cream sandwiches are a favorite summertime treat and I’ve made several variations over the years. One of my top choices as the sandwich “bread” is this cake batter chocolate chip cookies recipe. They’re always a hit, but the cookie dough requires chilling. It’s a lot of waiting and they’re certainly worth the effort, but a quicker cookie recipe is obviously more convenient.
Today’s recipe is the essential cookie for a homemade ice cream sandwich. It’s my giant chocolate chip cookies recipe made with mini chocolate chips and portioned smaller. (And, if you’re comparing, it’s basically my popular chewy chocolate chip cookies recipe only with softened butter!) They’re soft, which means they won’t be rock hard after freezing. The cookies are also nice and flat, which makes sandwiching (and eating as a sandwich) very easy.
Chilling cookie dough prevents spreading and it also helps the dough develop better flavor. However, you do not have to chill this cookie dough because there’s enough flour to soak up the liquid, so the cookies will not overspread. And a slightly more developed flavor isn’t quite as important because we’re turning the baked cookies into something else!
- FAQ: Do you have any no-chill gluten-free cookie options? Yes, use these flourless almond butter cookies or these flourless peanut butter chocolate cookies as the “bread.”
Grab These Cookie Dough Ingredients:
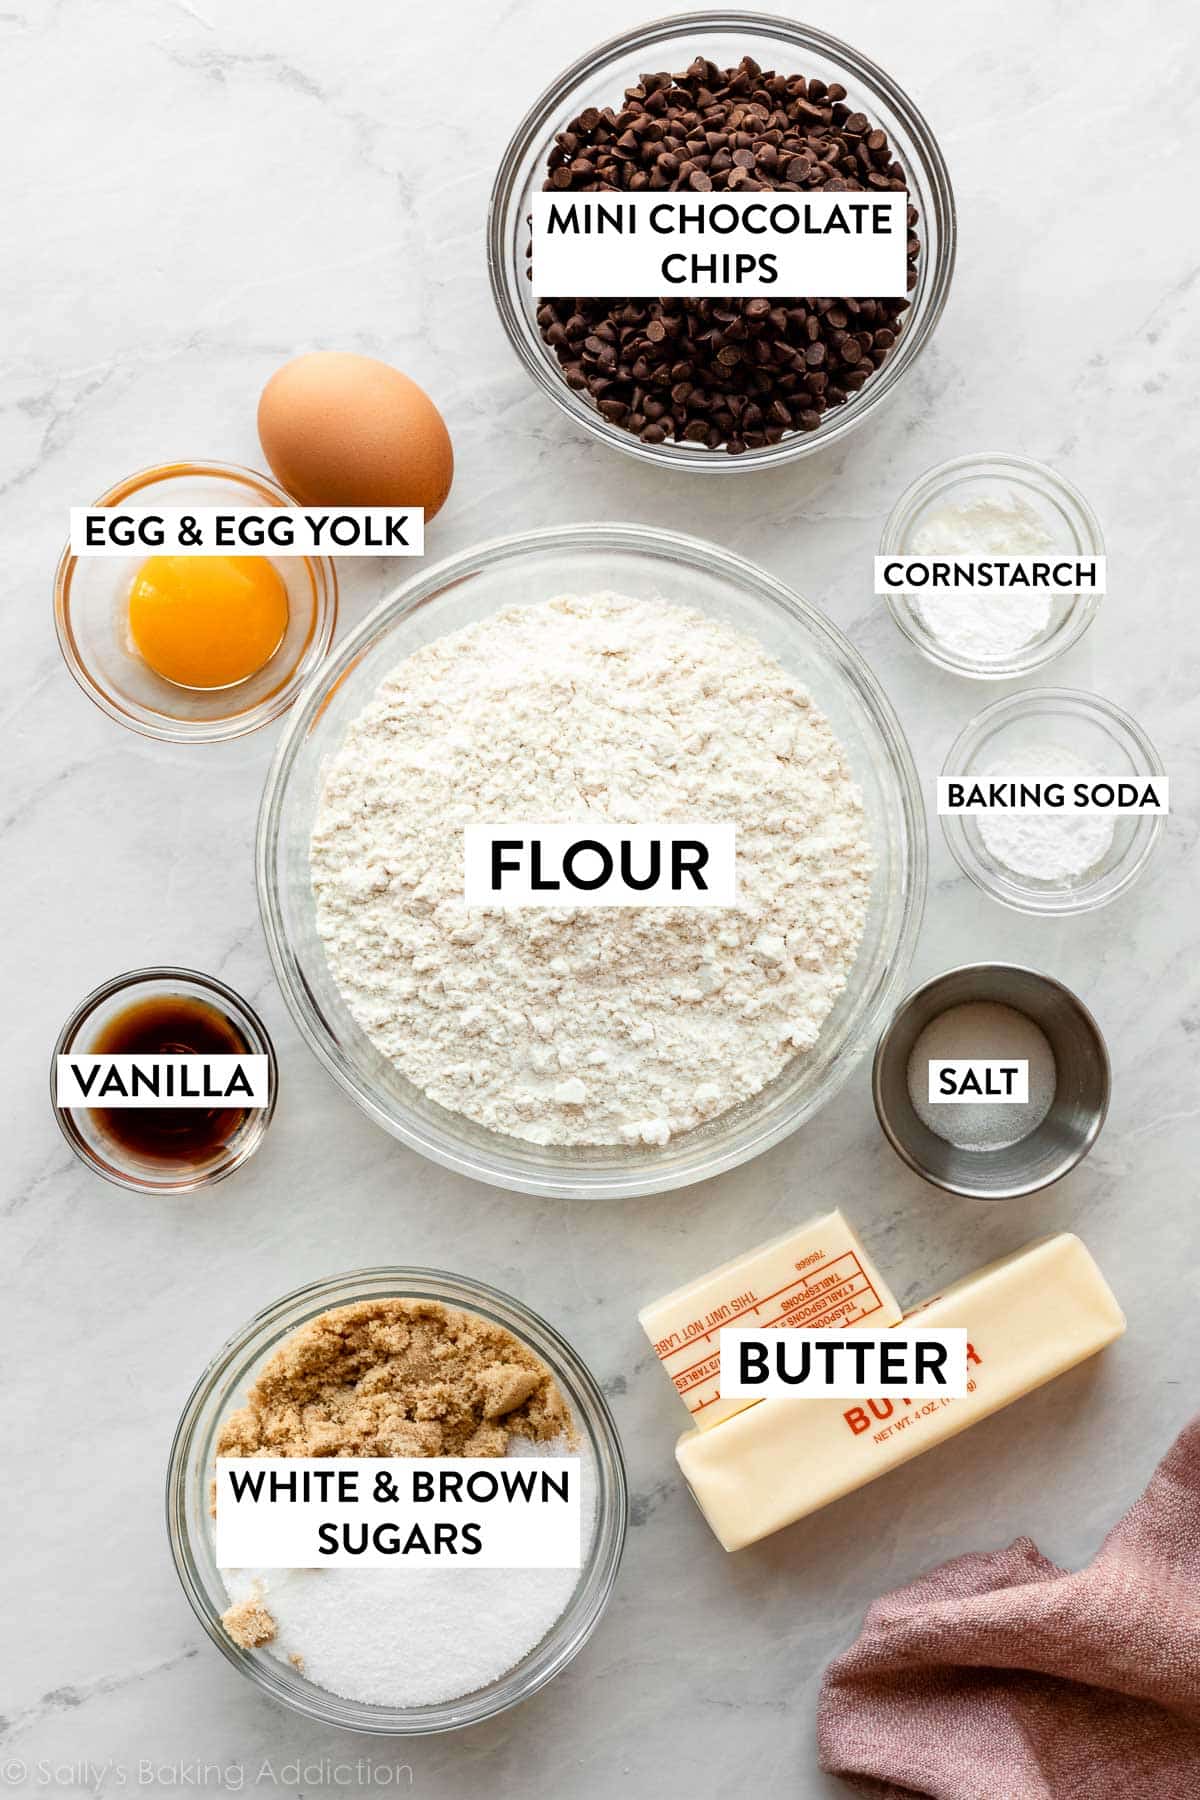
You also need 3 cups (about 540g) of your favorite ice cream.
Notice two slightly special ingredients: cornstarch & an extra egg yolk. Cornstarch helps produce a super soft cookie, which is the ideal “bread” for a frozen cookie sandwich. And an extra egg yolk keeps the cookies flavorful and tender. 1 egg is not enough for this dough and 2 eggs is too many.
Success Tip: Use Mini Chocolate Chips
Mini chocolate chips are perfect for frozen cookie ice cream sandwiches. When frozen, the smaller chips aren’t as rock hard as the regular-size chocolate chips. They’re simply easier (and more pleasant) to eat, plus you can enjoy more chocolate in every single bite when you use smaller chips.
Expect a creamy cookie dough:
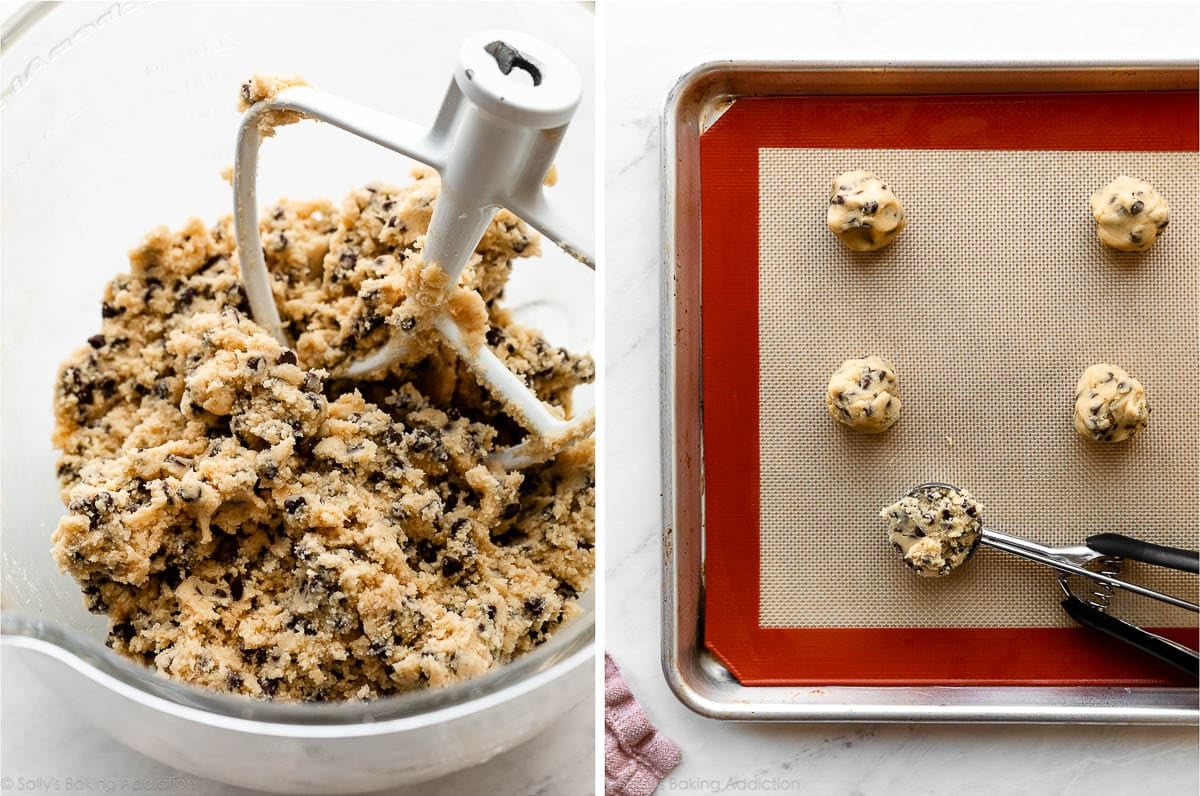
A medium cookie scoop is the perfect size for portioning your cookies. This recipe yields 24 cookies, which means you’ll have 12 ice cream sandwiches.
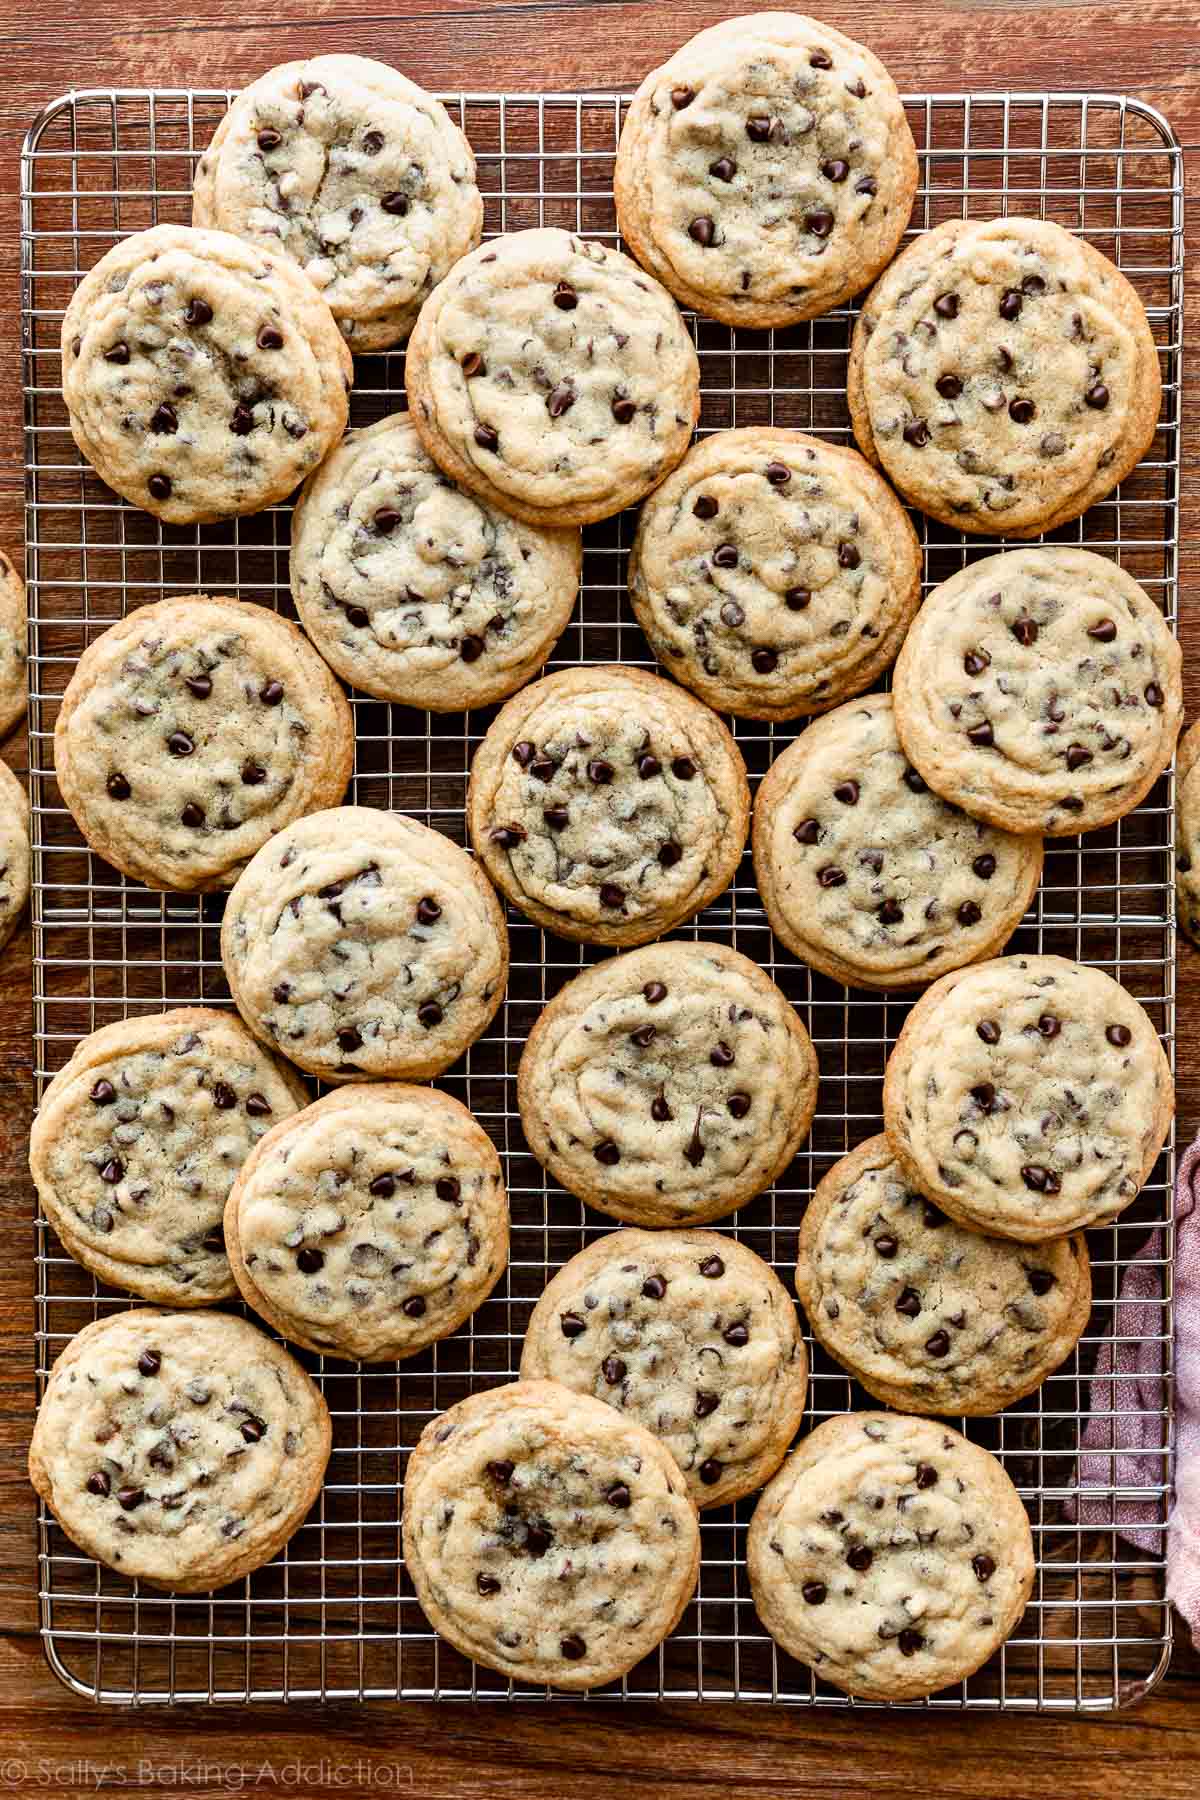
Soft cookies with a nice spread:
Assembling & Freezing Your Cookie Ice Cream Sandwiches
After all of the cookies cool completely, you can assemble your ice cream sandwiches. There’s no need to soften your ice cream prior to starting this step, though if your ice cream is particularly hard to scoop, give it a couple minutes to slightly soften.
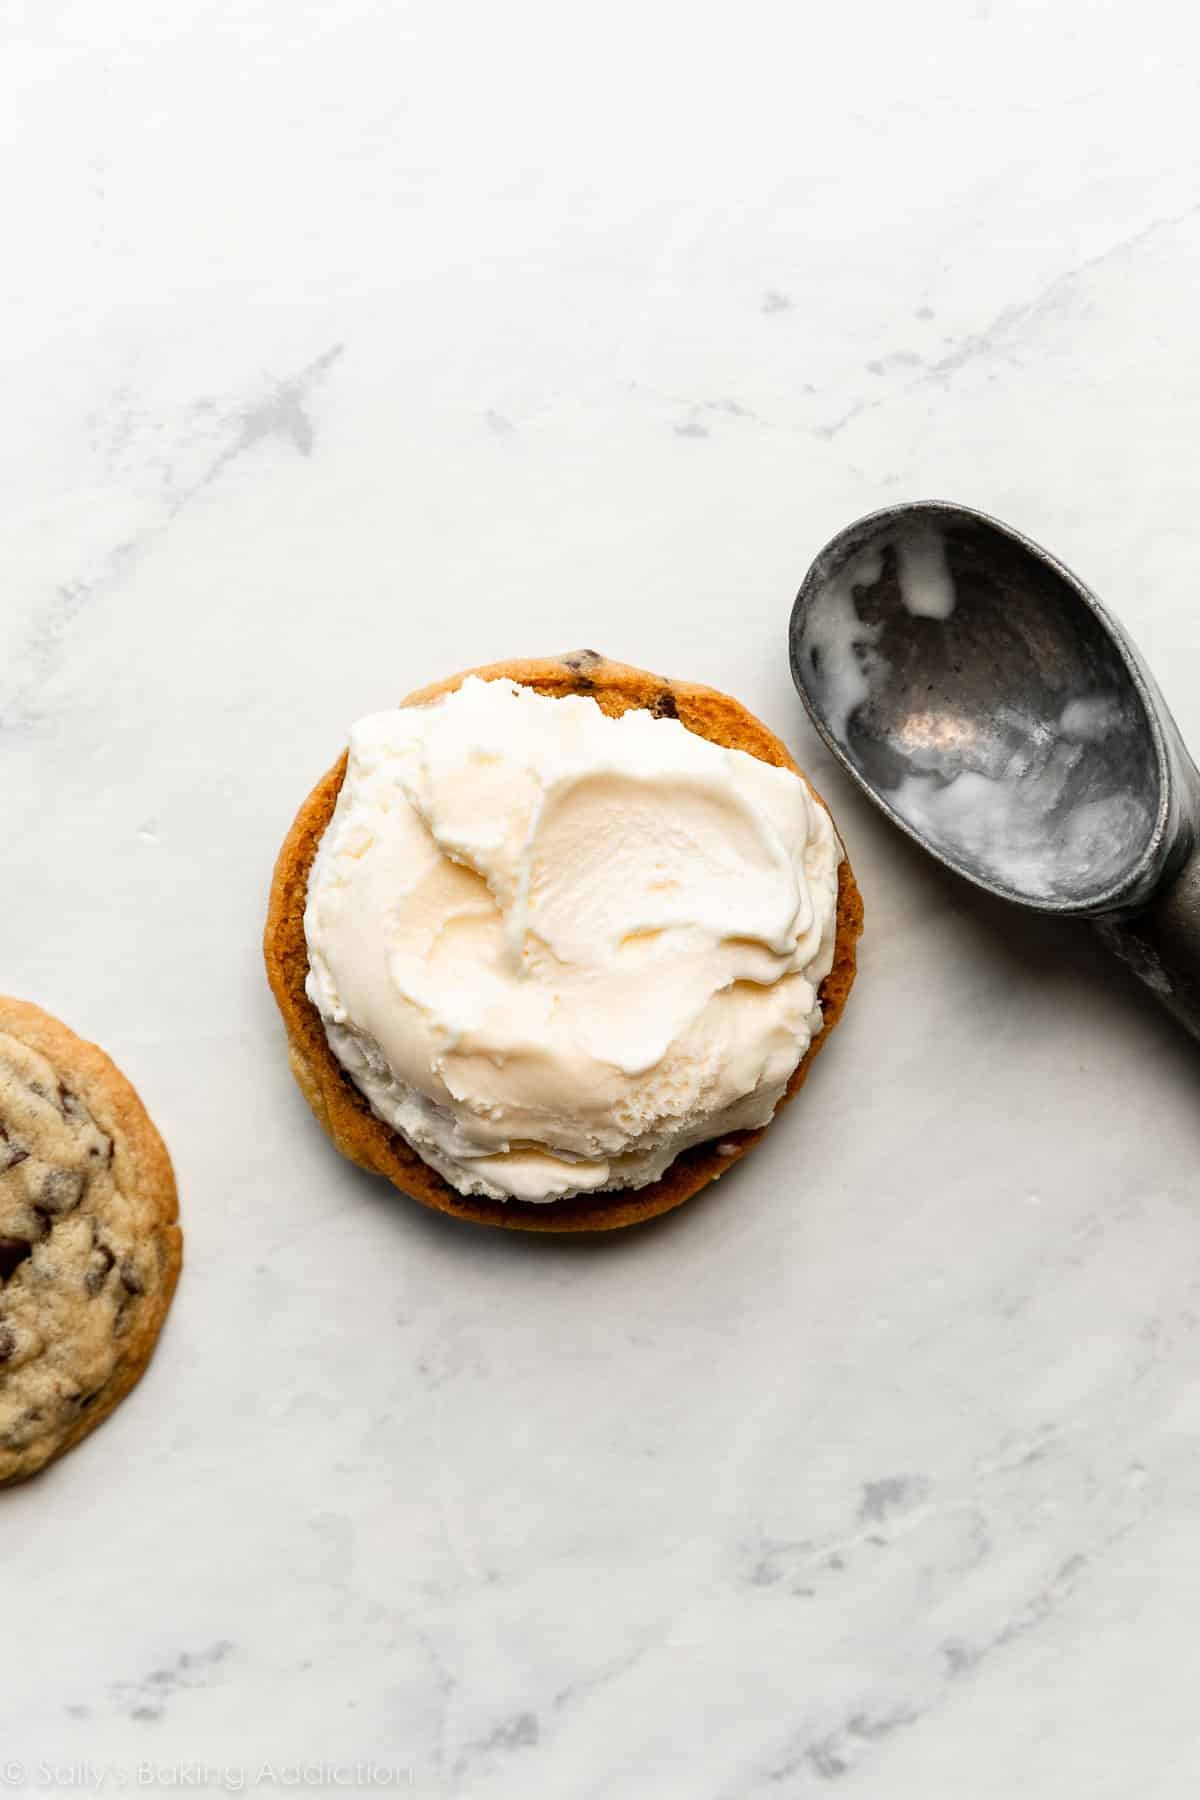
Flip a cooled cookie over and place 1 generous ice cream scoop, about 1/4 cup or 45g, on top. Use your scoop to gently spread the ice cream to the edges. Sandwich a cookie on top, then pick up the assembled sandwich and gently press it all together in the very center to make a compact sandwich.
And I mean a VERY gentle press because if you press too hard, the cookies could break.
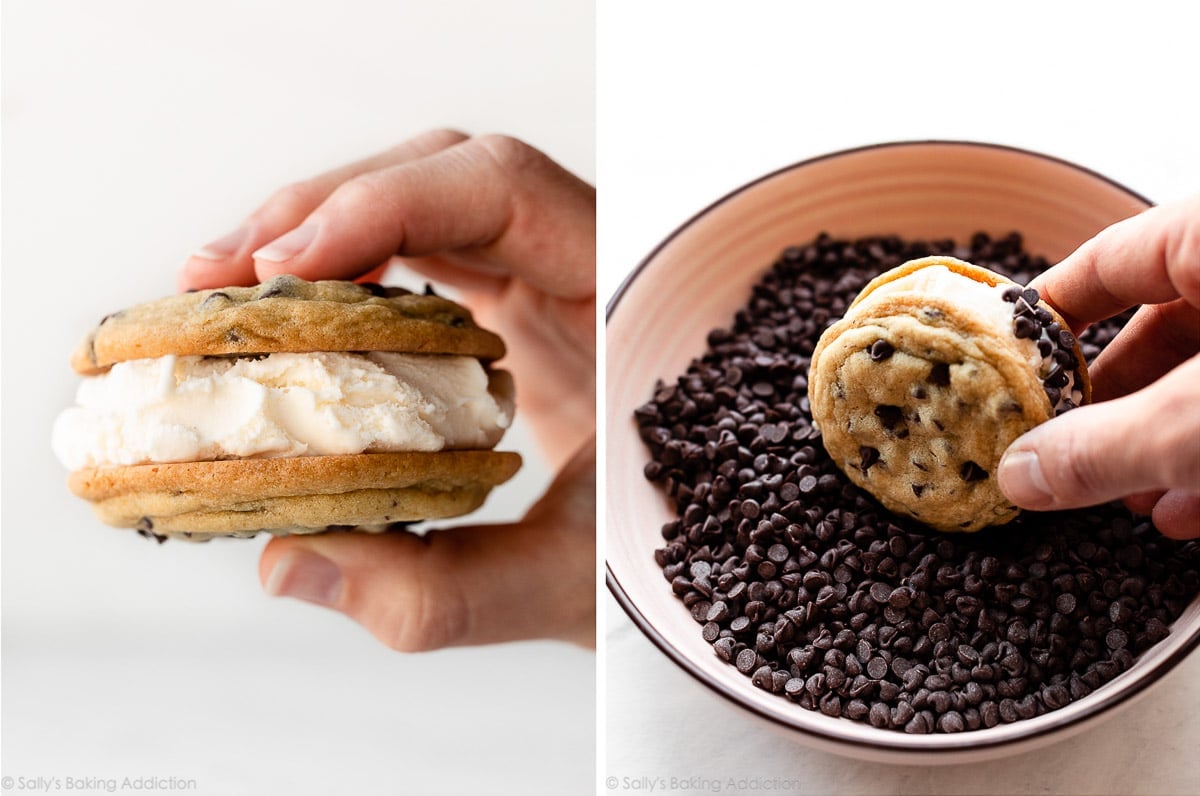
Roll the edges in mini chocolate chips, sprinkles, or even finely chopped nuts. This little extra is not only tasty, it’s actually functional because it holds the ice cream in place.
You can enjoy the cookie sandwiches immediately, but I recommend freezing to set their shape.
3 Success Tips for Freezing
- Tightly wrap each sandwich individually in plastic wrap or parchment paper to hold the assembled sandwich together.
- Make one sandwich at a time and place in the freezer as soon as it’s assembled. Don’t assemble the entire batch and then freeze because the first few will be melting by the time you’re done.
- Freeze for a minimum of 3 hours and up to 3 months. After 3 hours, the ice cream is still a bit soft but the sandwiches are frozen enough to easily pick up and enjoy. If you have time, 6 hours is more ideal for a sturdy, compact cookie ice cream sandwich. Still, it’s less time than freezing a big ice cream cake.
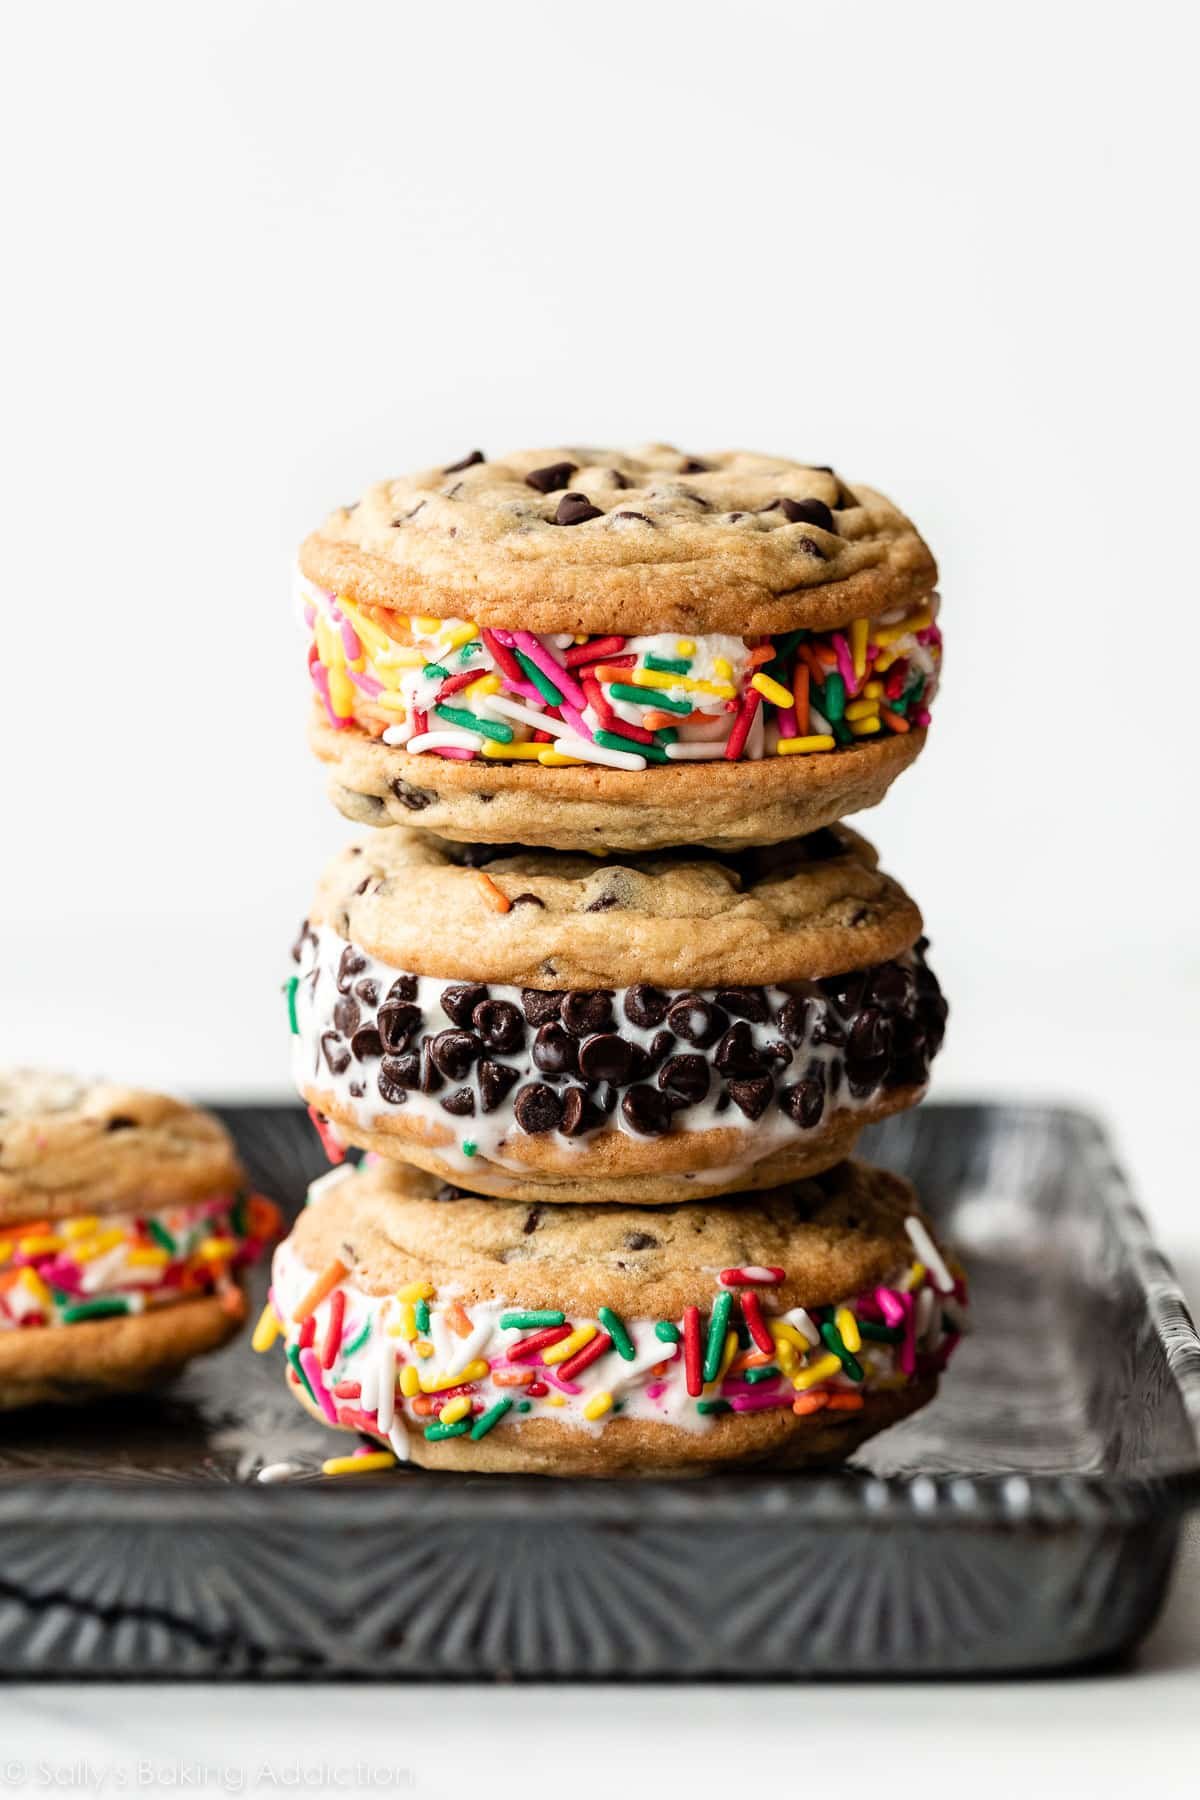
I have never felt more rushed than during this photo shoot. These treats melt quickly!!!
And Finally, a Sugar Cookie Variation
And if you love sugar cookies, follow my sugar cookie recipe and add 1/2 cup (about 75g) of sprinkles to the dough after it’s mixed together. (Or skip the sprinkles in the dough.) Cut chilled rolled-out dough into 2.5-inch circles. After the cookies bake and cool according to the sugar cookie instructions, assemble your ice cream sandwiches using the assembly instructions below.


If you’re still craving cookie ice cream sandwiches when fall hits, try them with the cookies from my pumpkin oatmeal cream pies!
For more cookie inspiration, today’s cookies join 25+ others on my Summer Cookie Recipes collection page. Have fun!
Print
Cookie Ice Cream Sandwiches (Like a Chipwich!)
- Prep Time: 30 minutes
- Cook Time: 13 minutes
- Total Time: 3 hours, 30 minutes (includes freezing)
- Yield: 12 3-inch sandwiches
- Category: Dessert
- Method: Baking
- Cuisine: American
Description
This recipe produces a soft chocolate chip cookie which is perfect for making cookie ice cream sandwiches. You do not have to chill this cookie dough! For best results, I recommend using mini chocolate chips and freezing the assembled sandwiches for at least 3 hours.
Ingredients
- 2 and 1/4 cups (281g) all-purpose flour (spooned & leveled)
- 1 and 1/2 teaspoons cornstarch
- 1 teaspoon baking soda
- 1/2 teaspoon salt
- 3/4 cup (12 Tablespoons; 170g) unsalted butter, softened to room temperature
- 3/4 cup (150g) packed light or dark brown sugar
- 1/2 cup (100g) granulated sugar
- 1 large egg + 1 egg yolk, at room temperature
- 2 teaspoons pure vanilla extract
- 1 and 1/4 cups (225g) mini semi-sweet chocolate chips
Sandwiching
- 3 cups (about 540g) vanilla ice cream (or your desired flavor)
- 1 cup mini chocolate chips (180g), sprinkles (150g), or finely chopped nuts (100g)
Instructions
- Preheat oven to 350°F (177°C). Line 3 large baking sheets with parchment paper or silicone baking mats. (If you don’t have 3 baking sheets, bake the cookies in batches.)
- Whisk the flour, cornstarch, baking soda, and salt together in a medium bowl.
- Using a handheld or stand mixer fitted with a paddle attachment, beat the butter, brown sugar, and granulated sugar together in a large bowl on medium-high speed until combined and creamy, about 2 minutes. Add egg, egg yolk, and vanilla extract, then beat on medium-high speed until combined. Scrape down the sides and up the bottom of the bowl as needed. Beat in the dry ingredients on low speed, then beat in the chocolate chips until combined. The dough will be soft and sticky.
- Since the dough is so sticky, I recommend using a cookie scoop and this medium size is perfect. Scoop cookie dough into balls, about 1.5 Tablespoons of dough per cookie, and arrange 3 inches apart on the baking sheets. Bake for 12–13 minutes or until lightly browned on the sides. The centers will look soft.
- Remove from the oven and allow cookies to cool on the baking sheet for 5 minutes. If desired, while the cookies are still warm, press extra mini chocolate chips into the tops of the cookies. This is optional and just for looks. Transfer to a wire rack to cool completely before assembling your ice cream sandwiches.
- Assemble the sandwiches: Flip a cooled cookie over and place 1 generous ice cream scoop, about 1/4 cup or 45g, on top. Use your scoop to gently spread the ice cream to the edges. Sandwich a cookie on top, then pick up the assembled sandwich and gently press it all together in the very center to make a compact sandwich. Roll sides into mini chocolate chips, sprinkles, or nuts. If not enjoying right away (they’re messy if you don’t freeze them first), immediately wrap assembled sandwich in plastic wrap or parchment paper and place in the freezer. Repeat with remaining cookies and ice cream.
- Freeze for at least 3 hours and up to 3 months.
Notes
- Make Ahead Instructions: You can bake the cookies up to 3 days before assembling your ice cream sandwiches. Store covered at room temperature until ready to assemble. Assembled cookie sandwiches can freeze for up to 3 months.
- Special Tools (affiliate links): Baking Sheets | Silicone Baking Mats or Parchment Paper | Glass Mixing Bowl | Whisk | Electric Mixer (Handheld or Stand) | Medium Cookie Scoop | Cooling Rack | Ice Cream Scoop | Plastic Wrap or Parchment Paper (for wrapping)
- Why the cornstarch and extra egg yolk? Cornstarch helps produce a super soft cookie, which is the ideal bread for a frozen cookie sandwich. Feel free to skip the cornstarch if you don’t have any. An extra egg yolk keeps the cookies flavorful and tender. 1 egg is not enough for this dough and 2 eggs is too many, so just use the yolk of that 2nd egg.
- I recommend mini chocolate chips: When frozen, the smaller chips aren’t as rock hard as the regular size chocolate chips. They’re simply easier (and more pleasant) to eat, plus you can enjoy more chocolate in every single bite when you use a smaller chip.
- Ice Cream: Use your favorite flavor. There’s no need to soften your ice cream prior to assembling, though if your ice cream is particularly hard to scoop, give it a couple minutes and try again.
- Gluten Free Options: Use these flourless almond butter chocolate chip cookies or these flourless peanut butter chocolate cookies as the “bread.” As always, make sure the ice cream you are using is labeled gluten free.


I liked the cookies on their own! I found I needed 2 full eggs. Also thought it would be good to flatten the dough balls slightly on the baking sheet before cooking so they come out just a little flatter and bigger.
Yum! This recipe made the best ice cream sandwiches.
Thank for this recipe, it might be the first time I’ve made cookies that didn’t turn out totally burned! They are soft and delicious, perfect for ice cream sandwiches. Thank you so much!
Can you make this recipe in a flat pan cookie and then use round cookie cutter. Or would the cookies turn out to thick.
Hi Cindy, we fear the cookies would be a bit too thick that way. Best to bake them as drop cookies as written.
How would I store these ice cream sandwiches in the freezer? Do I wrap each one in foil? Or parchment paper?
Hi Cherryl, we recommend wrapping each sandwich individually in parchment paper or plastic wrap.
hello, what if you just have a regular mixer without the paddle attachment?
Hi Lauren, you can use an electric hand mixer with the standard beater attachements.
These cookies were AWESOME. I made them for a church gathering and they all got eaten, by other people, and I never got any put if I did they would have tasted Great. I totally recommend this recipe.
I want to make these, just a little bit smaller. If I use the small cookie scoop, what will be the baking time?
Hi Sofia, I would recommend checking them at the 9-minute mark. If the edges are set, they’re done. Enjoy!
I love this recipe. I am wondering if any of your other cookies recipes can be used to make ice cream sandwiches. I would love to have multiple flavors. Thanks for a great recipe!